ps把普通照片处理成时尚杂志封面海报教程
平面设计 发布日期:2026/5/20 浏览次数:1
正在浏览:ps把普通照片处理成时尚杂志封面海报教程
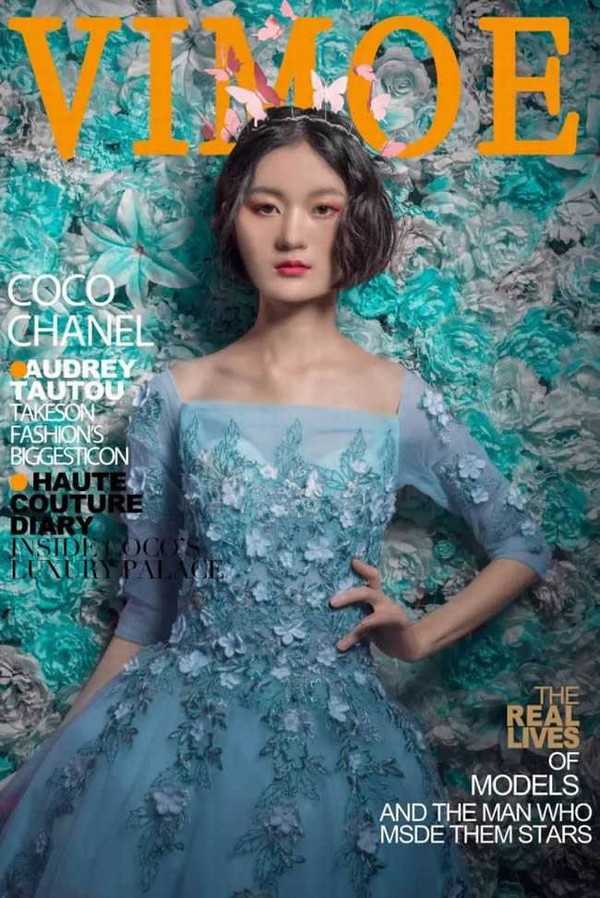
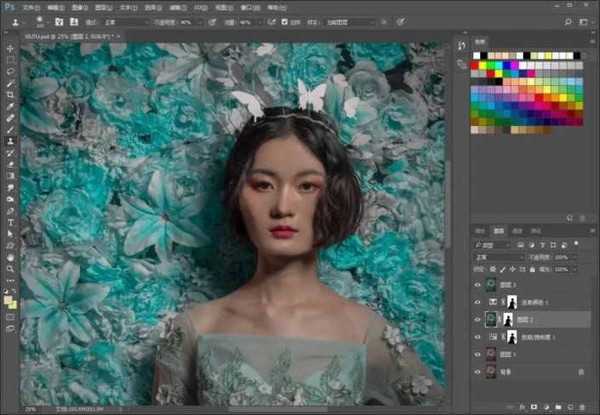
效果图:
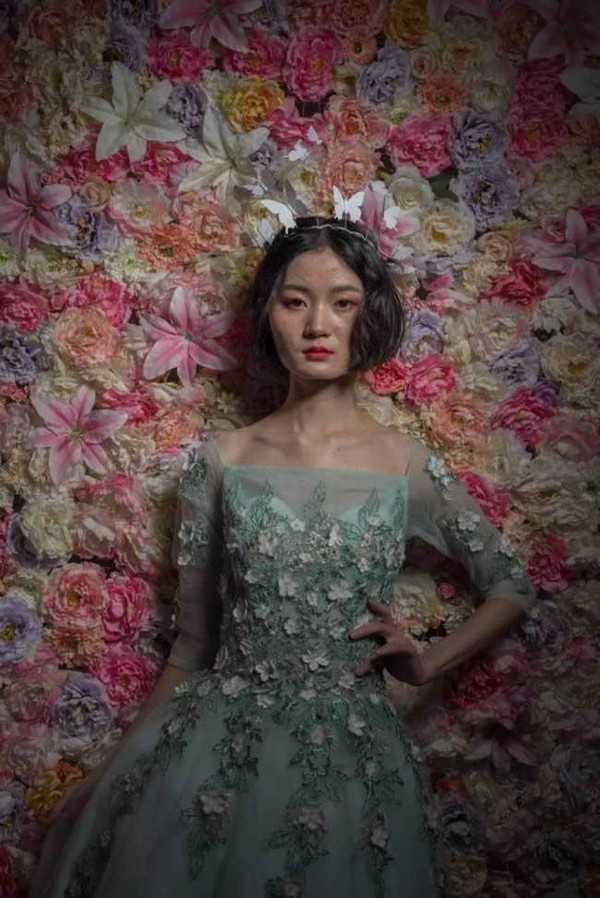
素材:
操作步骤
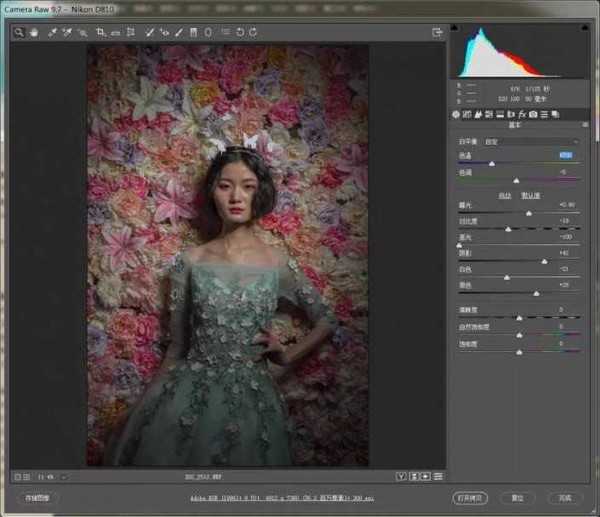
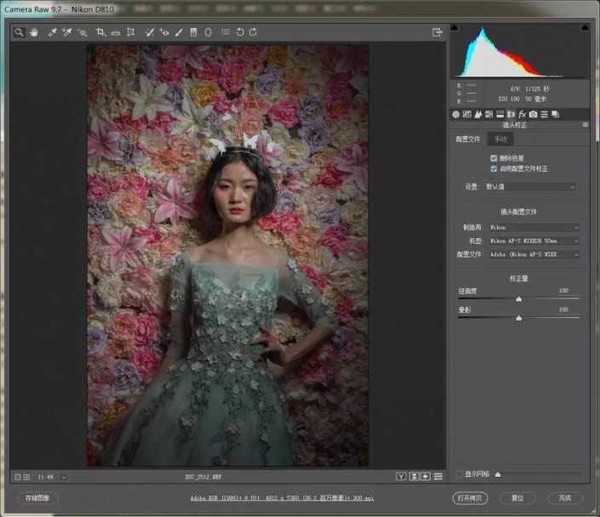
1.打开【PS】,【拖入】素材,添加【Camera Raw滤镜】,参数如下
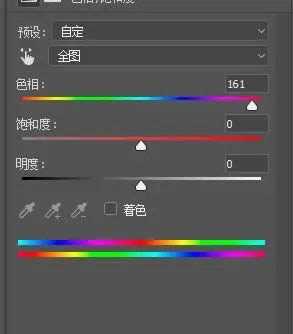
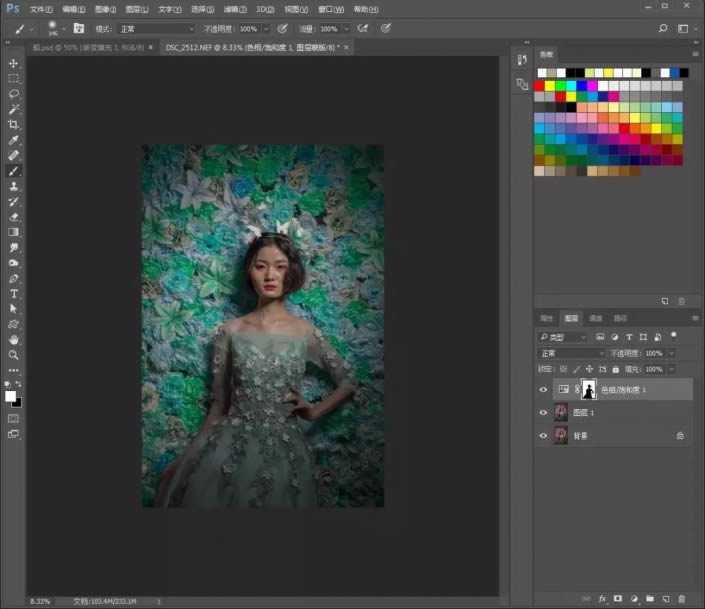
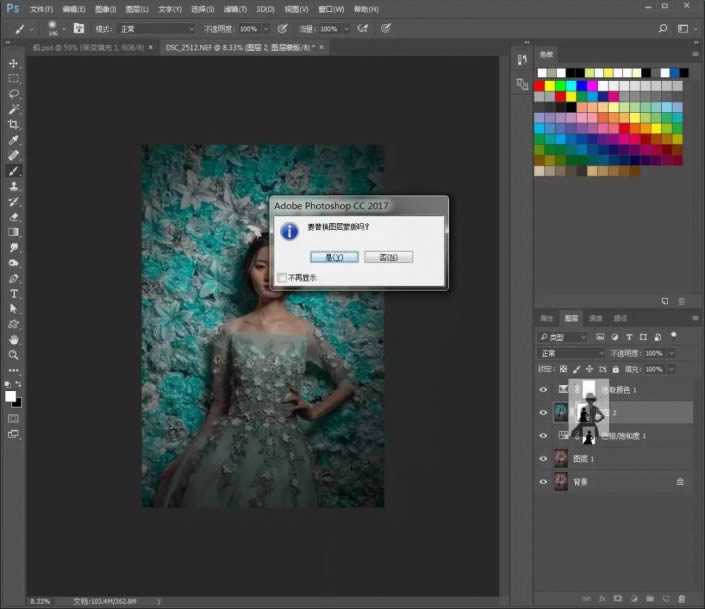
2.添加【色相/饱和度】,然后【ctrl+i】反向,把人物涂出来
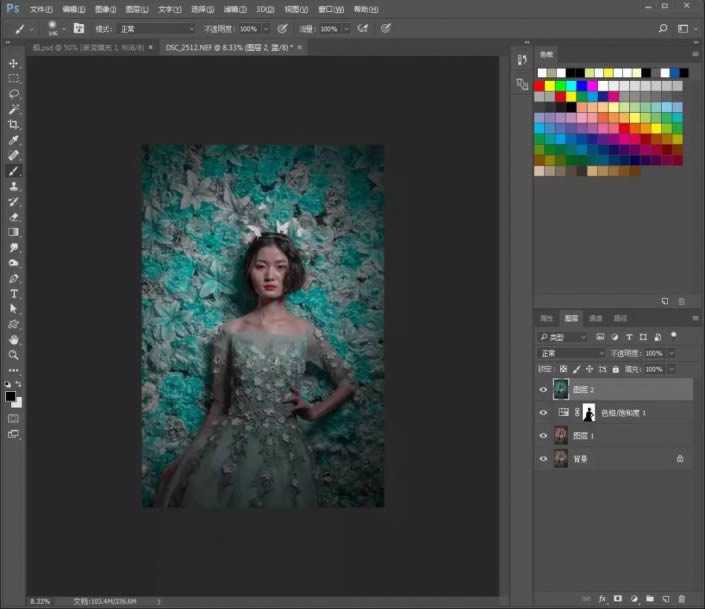
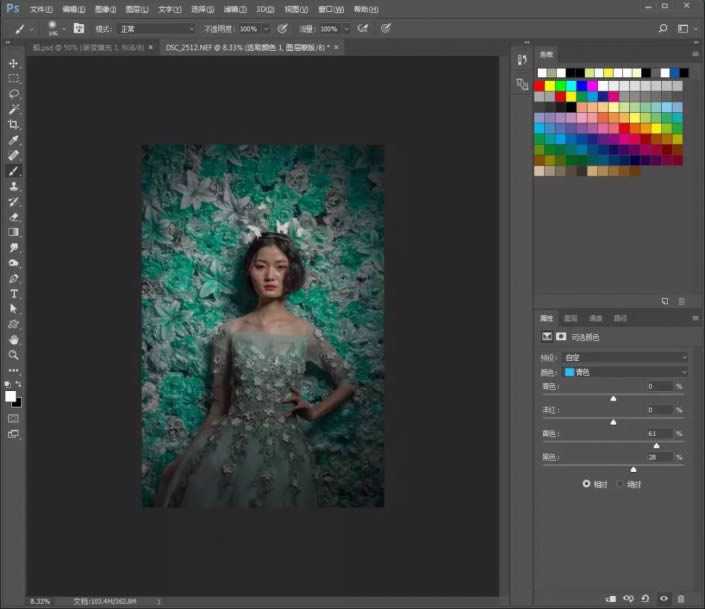
3.【ctrl+alt+shift+e】盖印图层。按住alt键把下方的蒙版复制到我们刚刚盖印的图层。添加【可选颜色】,再次按住alt键把下方的蒙版和刚刚我们添加的【可选颜色】蒙版替换
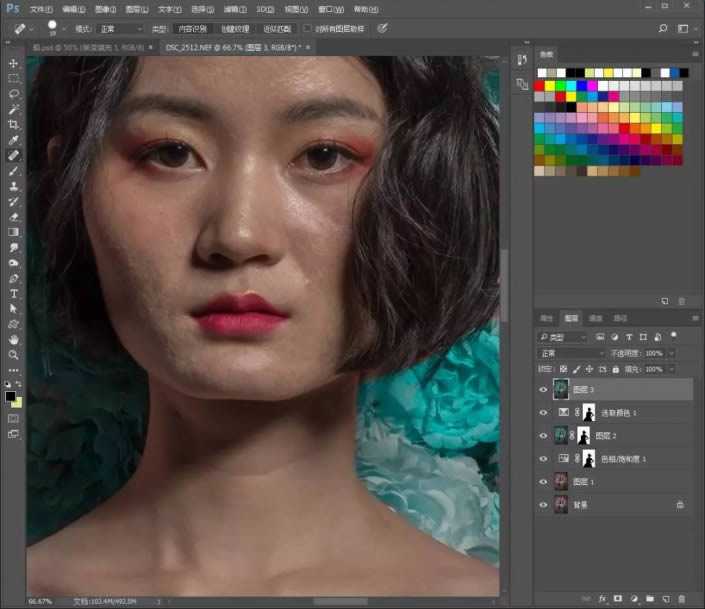
4.盖印图层。用【污点修复画笔工具】清楚脸上的痘痘,再用【仿制图章工具】进行磨皮。不透明度和流量为40,注意取样点,高光部分和阴影部分。
上一页12 3 下一页 阅读全文