Photoshop详解电商得力美工刀产品后期精修教程
平面设计 发布日期:2026/5/26 浏览次数:1
正在浏览:Photoshop详解电商得力美工刀产品后期精修教程
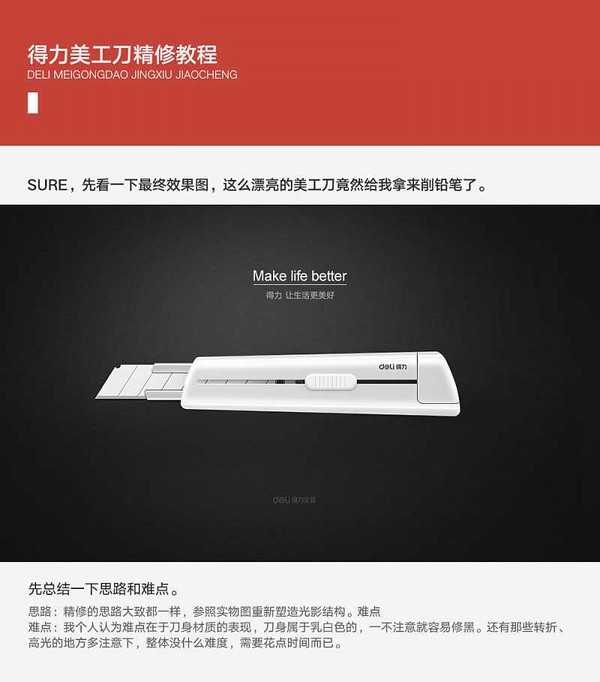
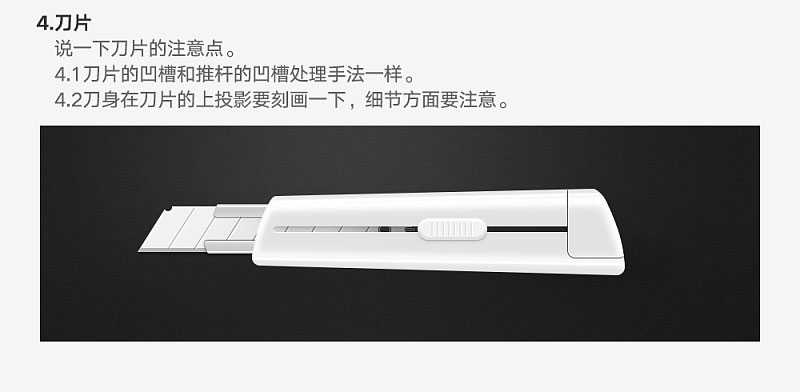
得力美工刀精修教程,精修的思路大致都一样,参照实物图重新塑造光影结构。我个人认为难点在于刀身材质的表现,刀身属于灰白色的,一不注意就容易修黑。还有那些转折、高光的地方多注意下,整体没什么难度,需要花点时间而已。好了,下面让我们一起去看看具体的精修过程吧!
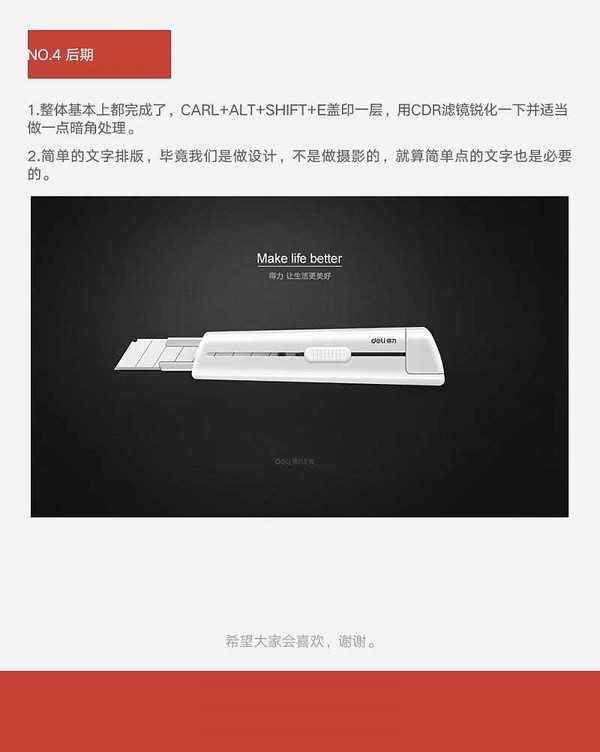
教程结束,以上就是关于Photoshop详解电商得力美工刀产品后期精修教程的全部,希望大家喜欢!原文来自站酷,感谢原文作者Henry唔该晒的分享!
相关教程推荐:
Photoshop电商化妆品的后期精修教程
Photoshop绘制超真实的立体效果美工刀教程
ps详细解析电商电器产品后期精修教程