Photoshop如何快速的给美女头像柔肤和磨皮
平面设计 发布日期:2026/7/11 浏览次数:1
正在浏览:Photoshop如何快速的给美女头像柔肤和磨皮
原图:

效果图:

主要过程:
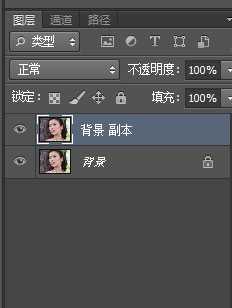
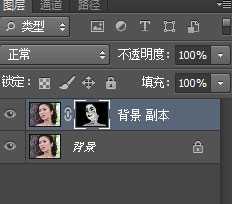
先复制一个图层
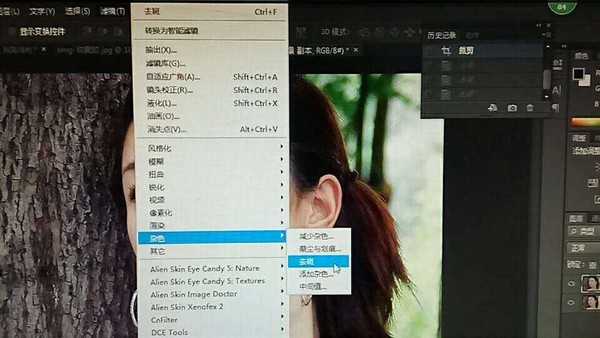
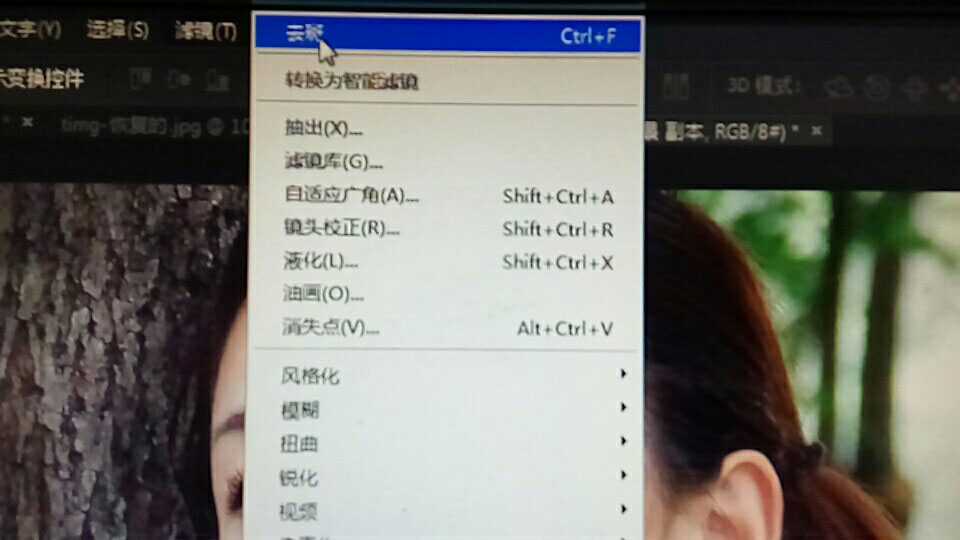
在复制图层,点击滤镜—杂色---去斑;重复三次
按住“ctrl”添加黑色蒙版,
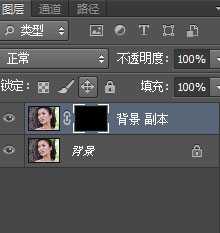
选择画笔

在需要磨皮的地方涂抹,
效果

稍加处理

这样一张图片的磨皮就完成了,是不是非常简单。不过不适用于难度大的图片。这是一种最简单快速的磨皮了吧。希望大家能喜欢。
教程结束,以上就是Photoshop如何快速的给美女头像柔肤和磨皮的方法,你学会了吗?
相关教程推荐:
Photoshop使用高反差保留给人像精细柔肤教程
入门:PS最简单的磨皮方法
PS人物脸部磨皮祛斑润肤处理技巧详解