如何轻松调出温暖系人像
平面设计 发布日期:2026/4/7 浏览次数:1
正在浏览:如何轻松调出温暖系人像


分析原片不足:
1.构图左边树叶有些多余,分散了注意力。
2.色彩有些灰,光感不够充分。
3.人物肤色偏焦黄
在camera raw剪裁成正方形更好的突出主体,阴影+16,清晰度-24,形成一种柔光效果。

用黑色柔角画笔擦拭最黑的部分让头发不至于没有细节。
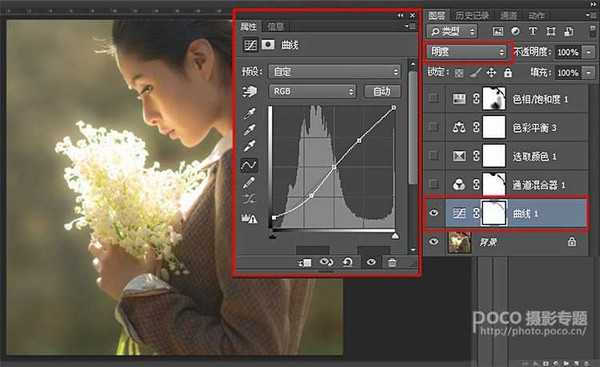
用黑色柔角画笔降低不透明度擦拭头发最黑的部分。
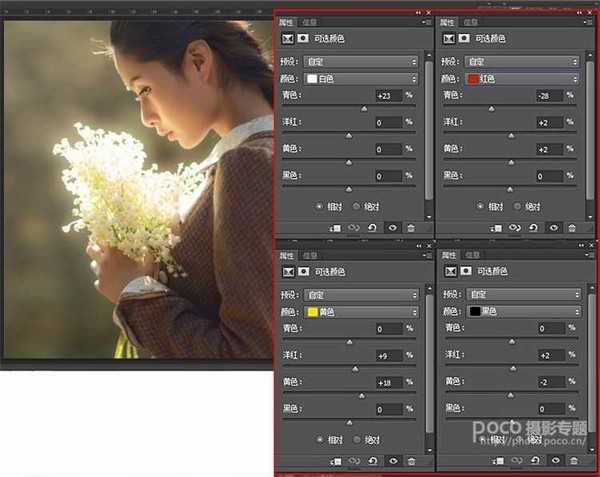
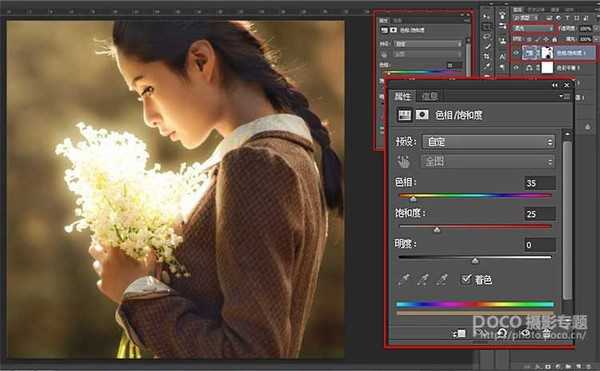
这一步主要是调整肤色。
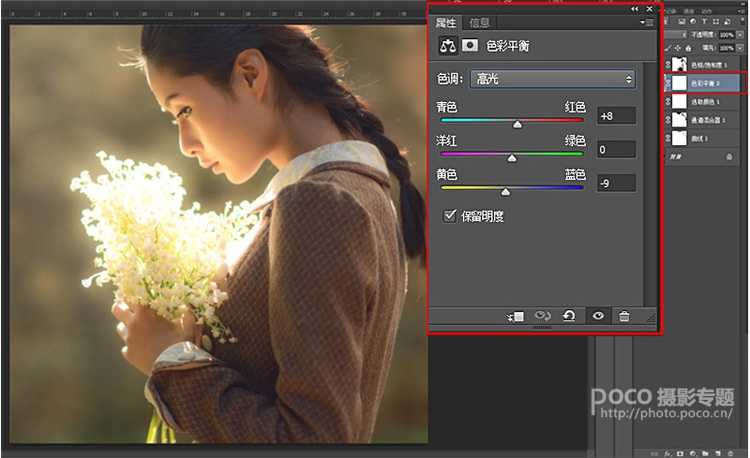
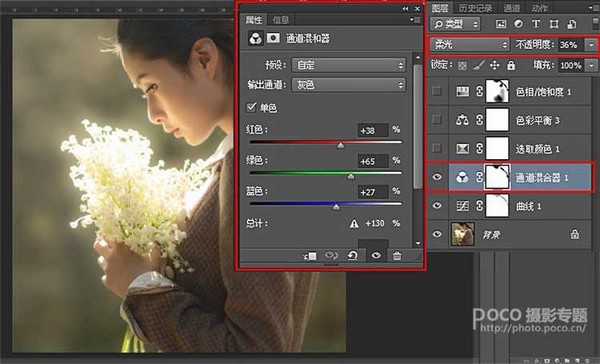
用黑色柔角画笔擦拭头发最黑的部分。最后这一步是让画面更通透。
分析原片不足:
1.构图左边树叶有些多余,分散了注意力。
2.色彩有些灰,光感不够充分。
3.人物肤色偏焦黄
在camera raw剪裁成正方形更好的突出主体,阴影+16,清晰度-24,形成一种柔光效果。
用黑色柔角画笔擦拭最黑的部分让头发不至于没有细节。
用黑色柔角画笔降低不透明度擦拭头发最黑的部分。
这一步主要是调整肤色。
用黑色柔角画笔擦拭头发最黑的部分。最后这一步是让画面更通透。