Photoshop为花丛中的美女图片打造柔美的中性淡青色
平面设计 发布日期:2025/12/31 浏览次数:1
正在浏览:Photoshop为花丛中的美女图片打造柔美的中性淡青色
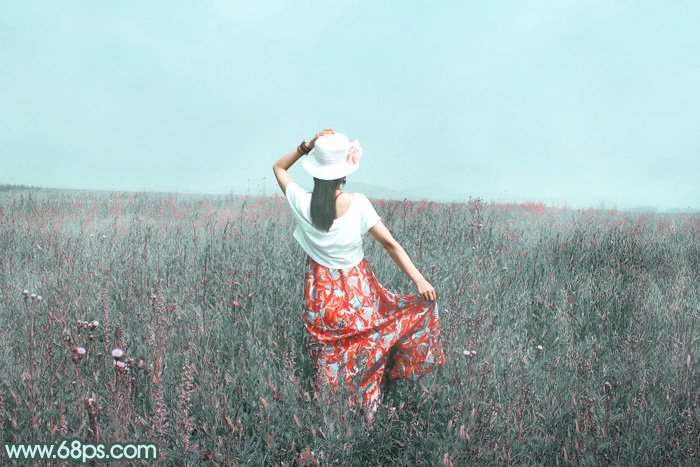
效果图调色非常简单,过程:先降低主色饱和度得到初步中性图片,局部可以保留一点暖色;然后给图片天空及高光部分增加淡青色,暗部增加一点青蓝色即可。
最终效果
最终效果
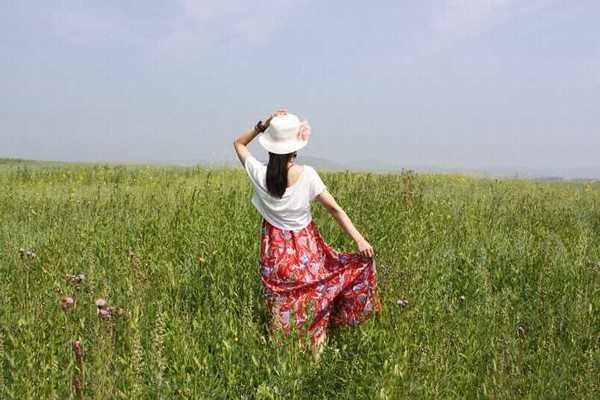
1、打开素材图片,创建可选颜色调整图层,对黄色进行调整,参数及效果如下图。这一步把图片中的黄色转为绿色。

<图1>

<图2>
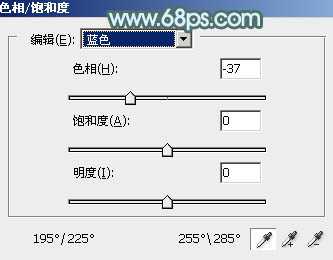
2、创建色相/饱和度调整图层,对黄、绿、青进行调整,参数设置如图3 - 5,效果如图6。这一步快速把图片中的黄绿色转为中性色,并把天空颜色转为淡青色。
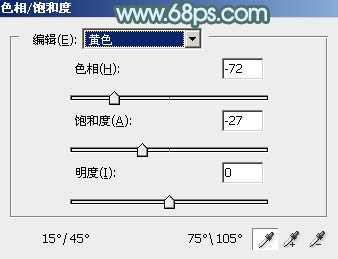
<图3>
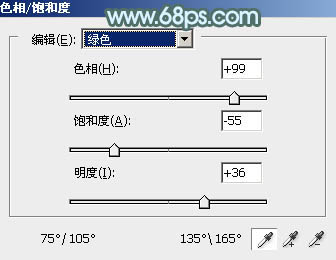
<图4>
<图5>

<图6>
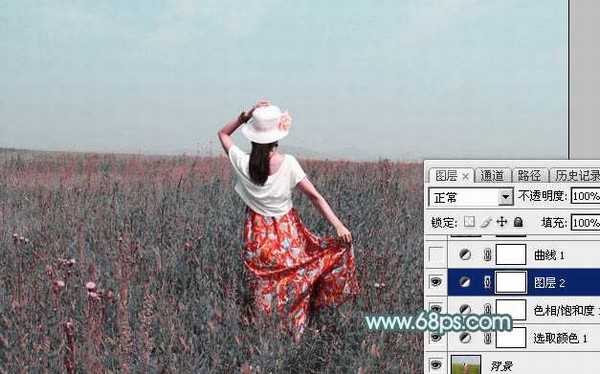
3、按Ctrl + J 把当前色相/饱和度调整图层复制一层,效果如下图。
<图7>
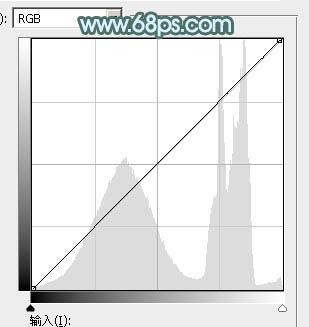
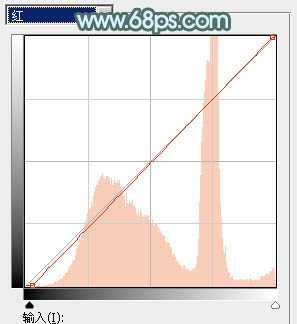
4、创建曲线调整图层,对RGB、红、绿、蓝通道进行调整,参数设置如图8 - 11,效果如图12。这一步主要给图片暗部增加蓝色。
<图8>
<图9>
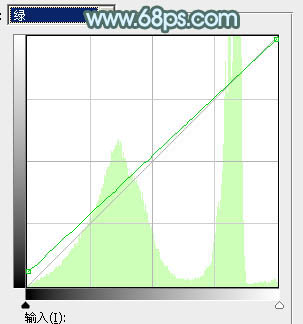
<图10>
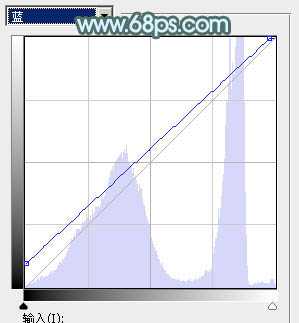
<图11>
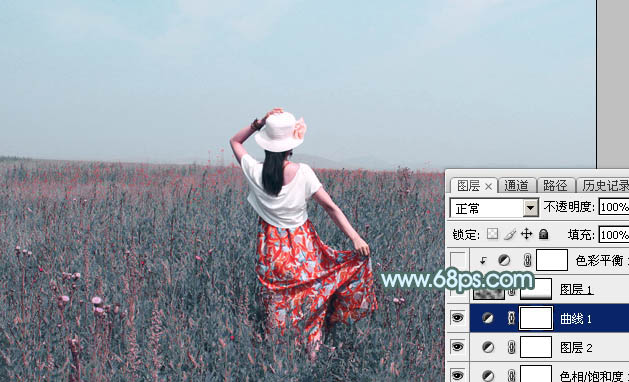
<图12>
5、新建一个图层,按字母键“D”把前,背景颜色恢复到默认的黑白,然后选择菜单:滤镜 > 渲染 > 云彩,确定后把混合模式改为“滤色”,不透明度改为:30%,添加图层蒙版,用黑色画笔把底部区域擦出来,如下图。
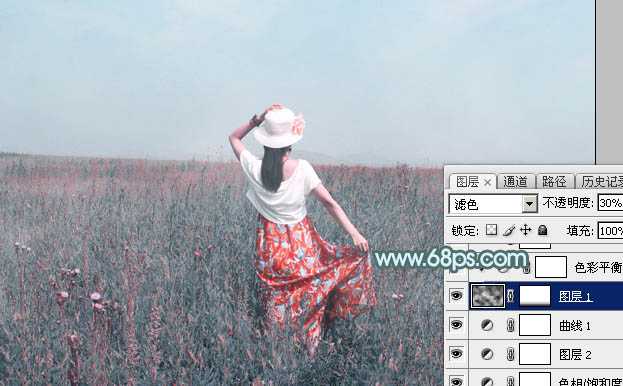
<图13>
6、创建色彩平衡调整图层,对阴影,高光进行调整,参数设置如图14,15,确定后按Ctrl + Alt + G 创建剪切蒙版,效果如图16。
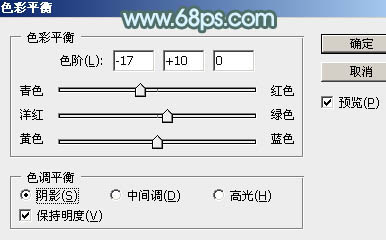
<图14>

<图15>

<图16>
7、创建可选颜色调整图层,对红、青、白进行调整,参数设置如图17 - 19,效果如图20。这一步给图片增加红色和淡青色。

<图17>

<图18>

<图19>

<图20>
8、按Ctrl + J 把当前可选颜色调整图层复制一层,效果如下图。
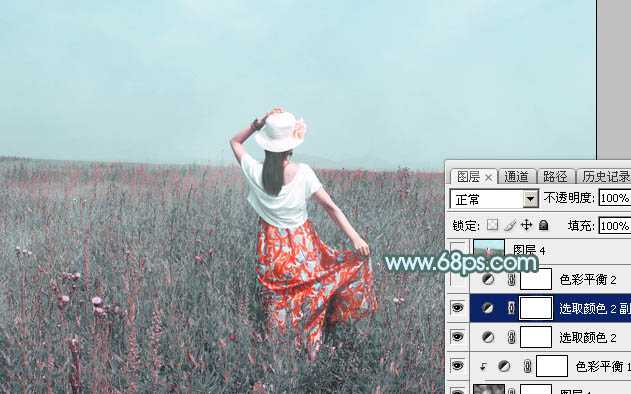
<图21>
9、创建色彩平衡调整图层,对阴影,高光进行调整,参数设置如图22,23,效果如图24。这一步给图片增加淡青色。
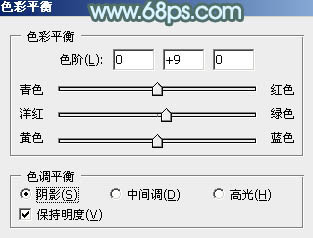
<图22>
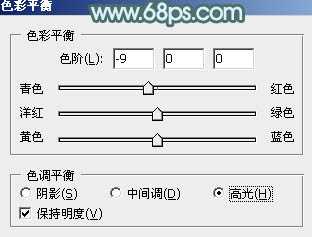
<图23>
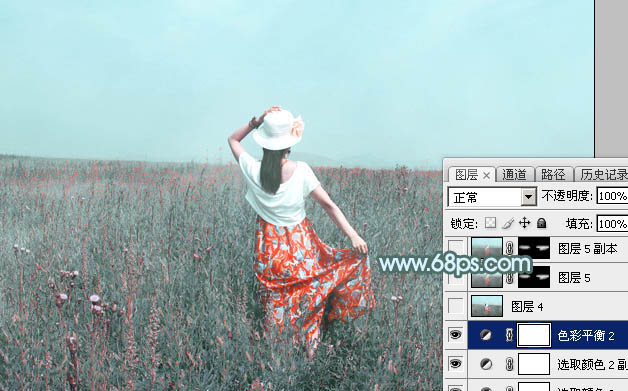
<图24>
10、新建一个图层,按Ctrl + Alt + Shift + E 盖印图层,选择菜单:滤镜 > 模糊 > 动感模糊,角度设置为45度,距离设置为180,确定后把混合模式改为“柔光”。
按住Alt键添加图层蒙版,用白色画笔把下图选区部分涂出来,如下图。
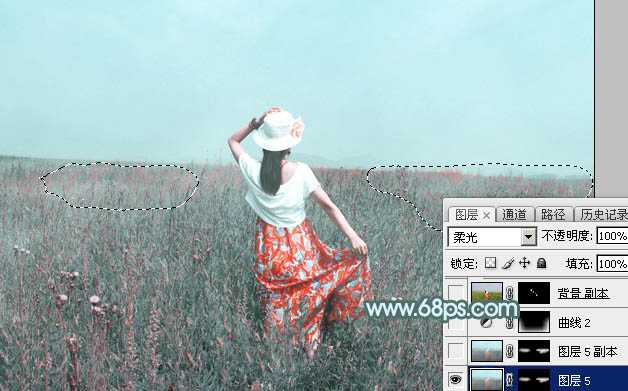
<图25>
11、按Ctrl + J 把当前图层复制一层,效果如下图。
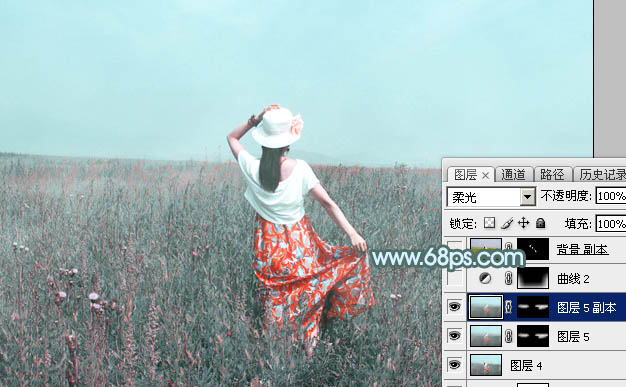
<图26>
12、用套索工具把底部选区选取出来,羽化60个像素后创建曲线调整图层,稍微压暗一点。
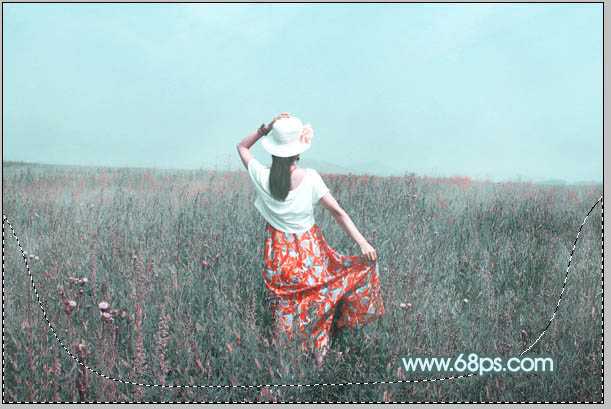
<图27>
13、微调一下人物肤色,效果如下图。
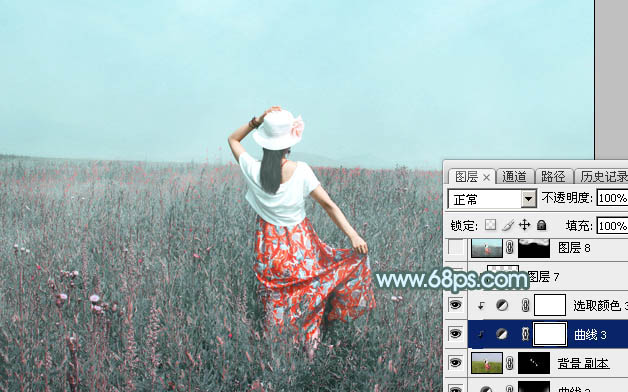
<图28>
14、创建可选颜色调整图层,对青色进行调整,参数及效果如下图。

<图29>
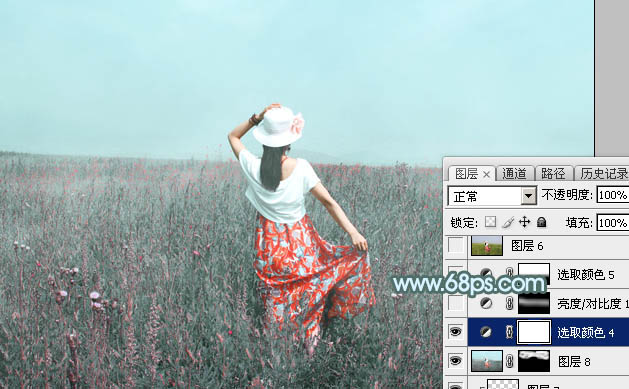
<图30>
最后微调一下颜色,完成最终效果。

最终效果

最终效果

1、打开素材图片,创建可选颜色调整图层,对黄色进行调整,参数及效果如下图。这一步把图片中的黄色转为绿色。

<图1>

<图2>
2、创建色相/饱和度调整图层,对黄、绿、青进行调整,参数设置如图3 - 5,效果如图6。这一步快速把图片中的黄绿色转为中性色,并把天空颜色转为淡青色。

<图3>

<图4>

<图5>

<图6>
3、按Ctrl + J 把当前色相/饱和度调整图层复制一层,效果如下图。

<图7>
4、创建曲线调整图层,对RGB、红、绿、蓝通道进行调整,参数设置如图8 - 11,效果如图12。这一步主要给图片暗部增加蓝色。

<图8>

<图9>

<图10>

<图11>

<图12>
5、新建一个图层,按字母键“D”把前,背景颜色恢复到默认的黑白,然后选择菜单:滤镜 > 渲染 > 云彩,确定后把混合模式改为“滤色”,不透明度改为:30%,添加图层蒙版,用黑色画笔把底部区域擦出来,如下图。

<图13>
6、创建色彩平衡调整图层,对阴影,高光进行调整,参数设置如图14,15,确定后按Ctrl + Alt + G 创建剪切蒙版,效果如图16。

<图14>

<图15>

<图16>
7、创建可选颜色调整图层,对红、青、白进行调整,参数设置如图17 - 19,效果如图20。这一步给图片增加红色和淡青色。

<图17>

<图18>

<图19>

<图20>
8、按Ctrl + J 把当前可选颜色调整图层复制一层,效果如下图。

<图21>
9、创建色彩平衡调整图层,对阴影,高光进行调整,参数设置如图22,23,效果如图24。这一步给图片增加淡青色。

<图22>

<图23>

<图24>
10、新建一个图层,按Ctrl + Alt + Shift + E 盖印图层,选择菜单:滤镜 > 模糊 > 动感模糊,角度设置为45度,距离设置为180,确定后把混合模式改为“柔光”。
按住Alt键添加图层蒙版,用白色画笔把下图选区部分涂出来,如下图。

<图25>
11、按Ctrl + J 把当前图层复制一层,效果如下图。

<图26>
12、用套索工具把底部选区选取出来,羽化60个像素后创建曲线调整图层,稍微压暗一点。

<图27>
13、微调一下人物肤色,效果如下图。

<图28>
14、创建可选颜色调整图层,对青色进行调整,参数及效果如下图。

<图29>

<图30>
最后微调一下颜色,完成最终效果。
