教你如何用Photoshop给照片制作细格子特效的抽丝纹理背景
平面设计 发布日期:2026/1/20 浏览次数:1
正在浏览:教你如何用Photoshop给照片制作细格子特效的抽丝纹理背景
这篇教程是向的朋友介绍如何利用Photoshop给照片制作细格子特效的抽丝纹理背景,教程主要PS把抽丝的团制作好,然后在平铺填充合成到照片中,教程实用性很强,推荐过来,喜欢的朋友让我们一起来学习吧。
先看一下显示的最终效果
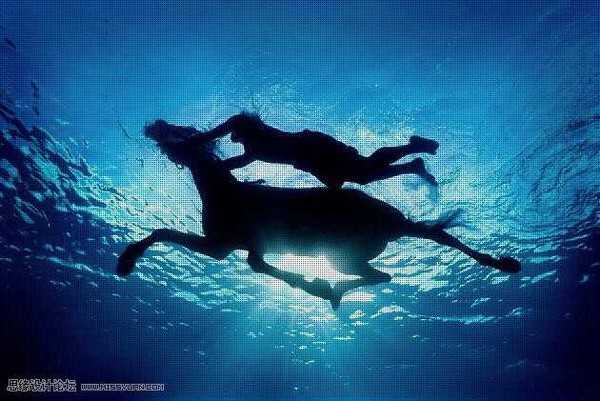
1、打开图片如图

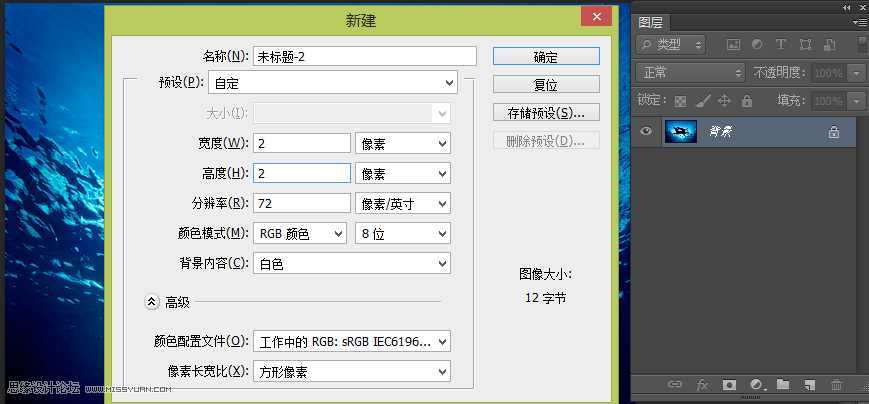
2、ctrl+n新建文件,宽高设为2像素,如图
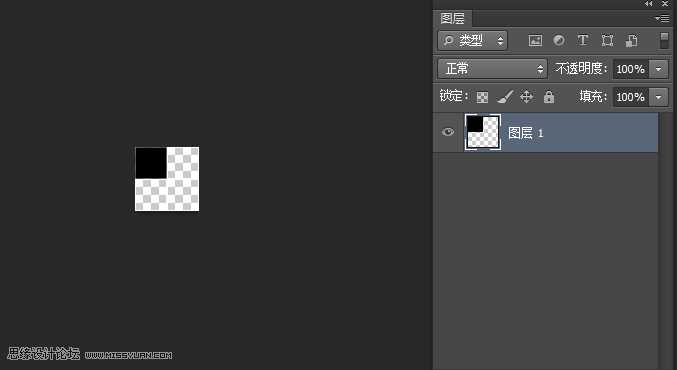
3、新建图层,删除背景。在右上角填充一像素的黑色,如图
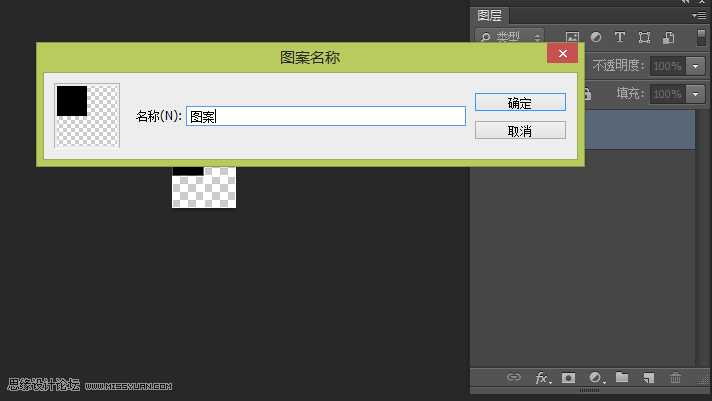
4、点击菜单--编辑--定义图案,如图
5、新建图层,选择油漆桶工具快捷键G。填充色换成图案如图

6、通过油漆桶填充就ok了
教程结束,以上就是用Photoshop给照片制作细格子特效的抽丝纹理背景教程,希望大家看完之后会有所帮助,谢谢阅读!