Photoshop制作时尚唯美的水下人像效果
平面设计 发布日期:2026/6/12 浏览次数:1
正在浏览:Photoshop制作时尚唯美的水下人像效果
本教程主要使用Photoshop制作时尚唯美的水下人像效果,主要用到了水底素材、Camera Raw、渐变工具、混合模式还有外挂滤镜Nik Software Color Efex Pro 4。最后的水底世界唯美梦幻,有童话般的感觉。喜欢这个颜色效果的人,不妨学习看看,加油吧。
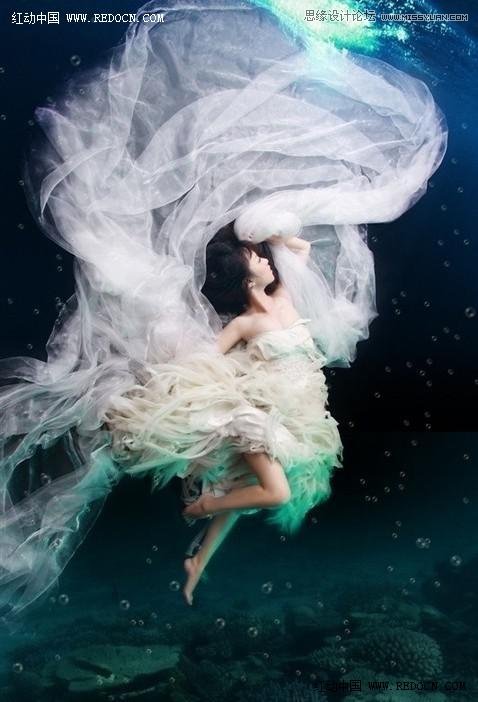
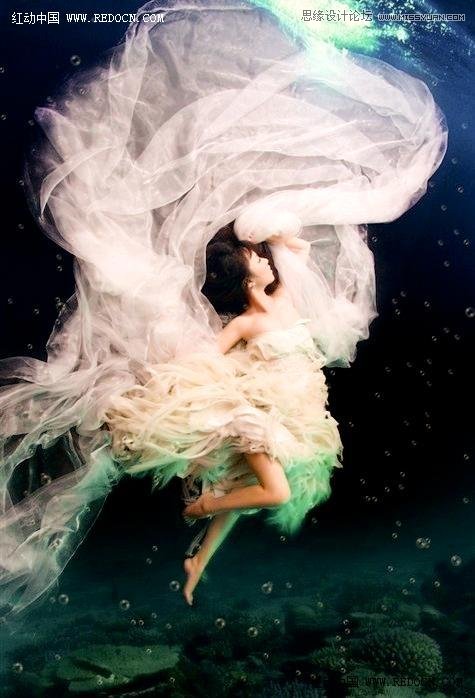
先看看效果图

原图
具体调色步骤如下:
步骤1
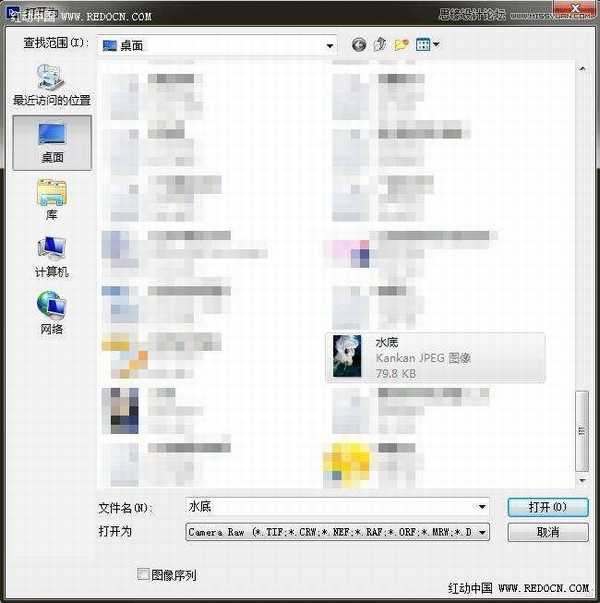
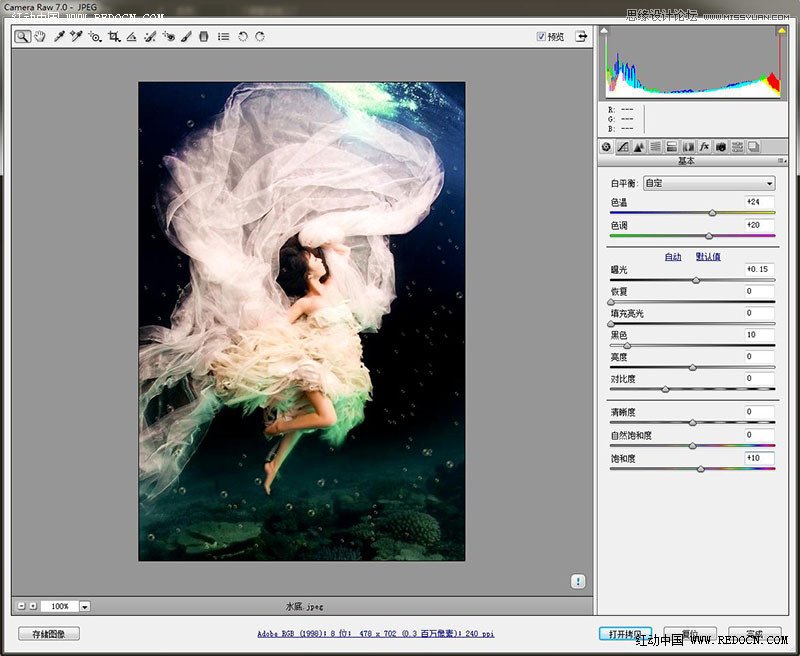
执行图像—打开为,找到水底素材,用Camera Raw格式打开。
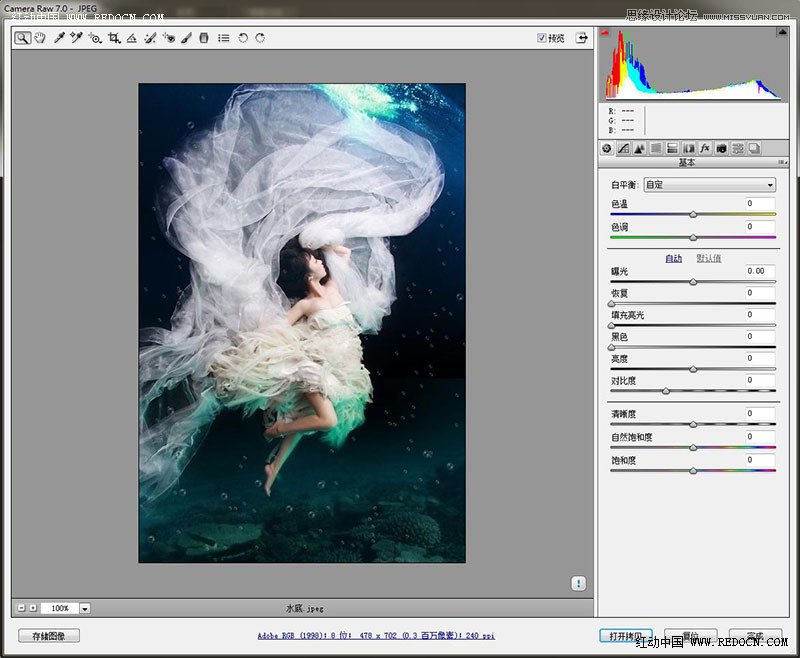
基本设置如下。
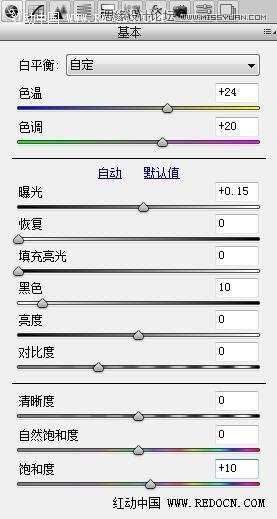
温暖的暖色调。
打开图像到ps里。

步骤2
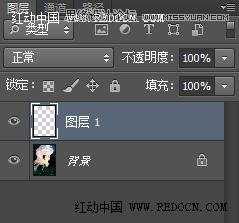
新建一个空白图层。
选择渐变工具,径向渐变。颜色设置可以随自己喜欢。

海水蓝色,女孩粉色,植物黄色。拉一个如图所示的径向渐变效果。
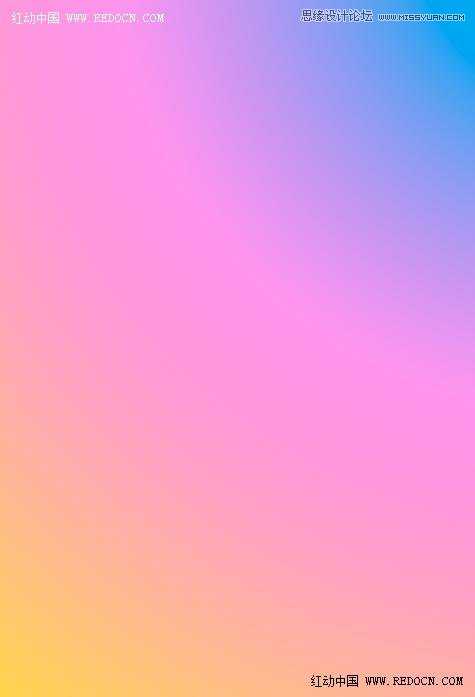
修改图层的混合模式为“柔光”。
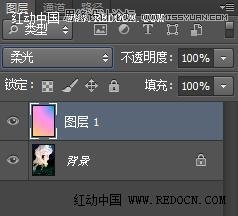
很唯美的色调。

步骤3
现在做一个朦胧美化的效果。
新建一个图层,按ctrl+alt+shift+E盖印图层。
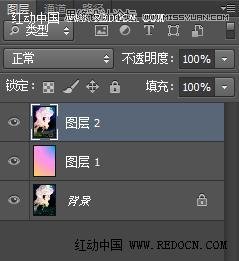
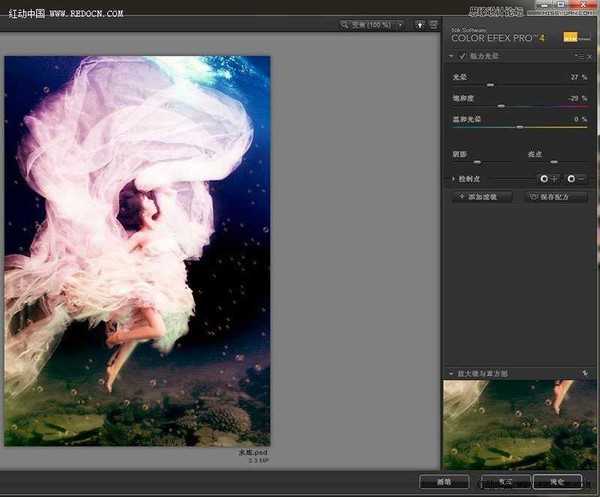
执行滤镜—Nik Software—Color Efex Pro 4。这是个强大的外挂滤镜,感兴趣的可以自己下载安装一下。
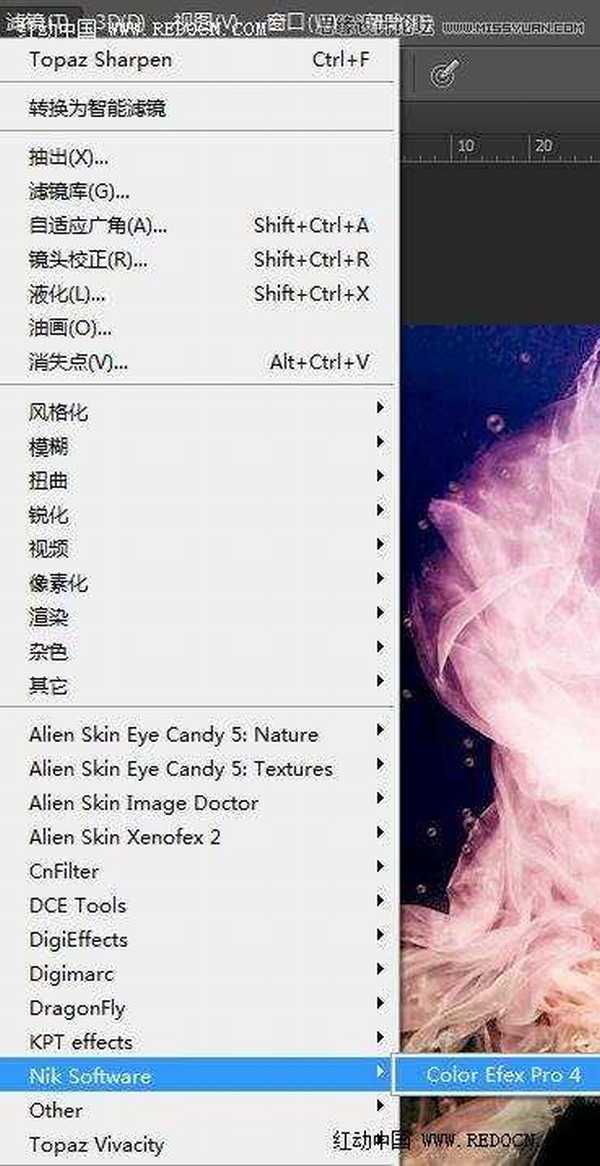
左边选项栏选择“魅力光晕”,默认设置。
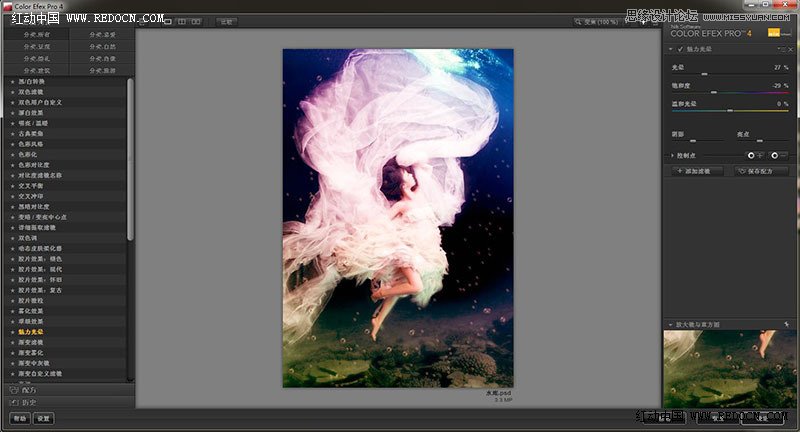
这样就添加了一个柔和朦胧的光晕效果。
大功告成

先看看效果图
原图
具体调色步骤如下:
步骤1
执行图像—打开为,找到水底素材,用Camera Raw格式打开。
基本设置如下。
温暖的暖色调。
打开图像到ps里。
步骤2
新建一个空白图层。
选择渐变工具,径向渐变。颜色设置可以随自己喜欢。
海水蓝色,女孩粉色,植物黄色。拉一个如图所示的径向渐变效果。
修改图层的混合模式为“柔光”。
很唯美的色调。
步骤3
现在做一个朦胧美化的效果。
新建一个图层,按ctrl+alt+shift+E盖印图层。
执行滤镜—Nik Software—Color Efex Pro 4。这是个强大的外挂滤镜,感兴趣的可以自己下载安装一下。
左边选项栏选择“魅力光晕”,默认设置。
这样就添加了一个柔和朦胧的光晕效果。
大功告成