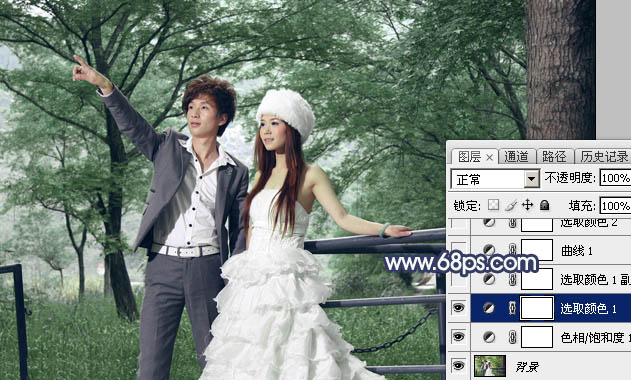
Photoshop为树林婚片打造梦幻的暗青色
平面设计 发布日期:2026/1/20 浏览次数:1
正在浏览:Photoshop为树林婚片打造梦幻的暗青色
素材图片颜色比较均匀,不过梦幻感不够。调色的时候可以先转为想要的颜色,然后用云彩滤镜给高光部分增加云雾效果,再用模糊滤镜等柔化即可得到不错的梦幻效果。
原图

最终效果

1、打开素材图片,创建色相/饱和度调整图层,对全图、黄色,绿色进行调整,参数设置如图1 - 3,效果如图4。这一步快速把图片中的黄绿色转为青绿色。

<图1>

<图2>

<图3>

<图4>
2、创建可选颜色调整图层,对绿色、青色,黑色进行调整,参数设置如图5 - 7,效果如图8。这一步把图片中的绿色稍微调暗一点。

<图5>

<图6>

<图7>

<图8>
3、按Ctrl + J 把当前可选颜色调整图层复制一层,效果如下图。

<图9>
4、创建曲线调整图层,对RGB、绿,蓝通道进行调整,参数设置如图10 - 12,效果如图13。这一步加大图片明暗对比,并给图片暗部增加蓝色。

<图10>

<图11>

<图12>

<图13>
5、创建可选颜色调整图层,对绿色,白色进行调整,参数及效果如下图。这一步主要给图片高光部分增加淡青色。

<图14>

<图15>
上一页12 下一页 阅读全文
原图

最终效果

1、打开素材图片,创建色相/饱和度调整图层,对全图、黄色,绿色进行调整,参数设置如图1 - 3,效果如图4。这一步快速把图片中的黄绿色转为青绿色。

<图1>

<图2>

<图3>

<图4>
2、创建可选颜色调整图层,对绿色、青色,黑色进行调整,参数设置如图5 - 7,效果如图8。这一步把图片中的绿色稍微调暗一点。

<图5>

<图6>

<图7>

<图8>
3、按Ctrl + J 把当前可选颜色调整图层复制一层,效果如下图。

<图9>
4、创建曲线调整图层,对RGB、绿,蓝通道进行调整,参数设置如图10 - 12,效果如图13。这一步加大图片明暗对比,并给图片暗部增加蓝色。

<图10>

<图11>

<图12>

<图13>
5、创建可选颜色调整图层,对绿色,白色进行调整,参数及效果如下图。这一步主要给图片高光部分增加淡青色。

<图14>

<图15>
上一页12 下一页 阅读全文