Photoshop为偏红的室内人像加上时尚中性色
平面设计 发布日期:2026/3/21 浏览次数:1
正在浏览:Photoshop为偏红的室内人像加上时尚中性色
作者调色方法非常特别,直接在Lab模式复制某一个通道,并在RGB模式下粘贴进来,适当降低不透明度得到中性图片,然后给人物磨皮并简单调色即可。
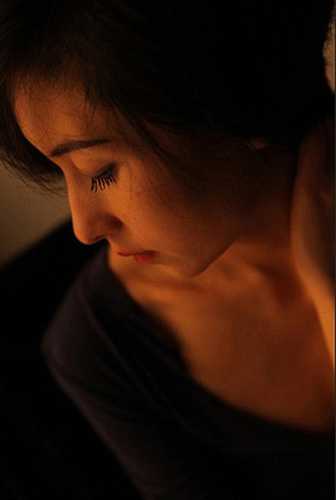
原图
最终效果

1、打开素材图片。
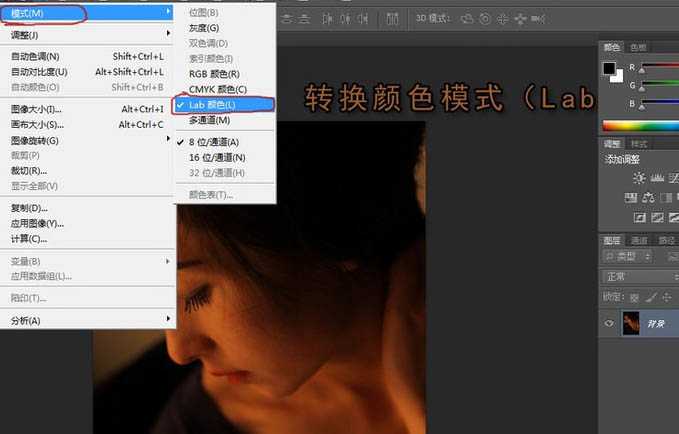
2、选择菜单:图像 > 模式 > Lab颜色。
3、在通道总选择“明度”通道,按Ctrl + A 全选画面,按Ctrl + C 复制。

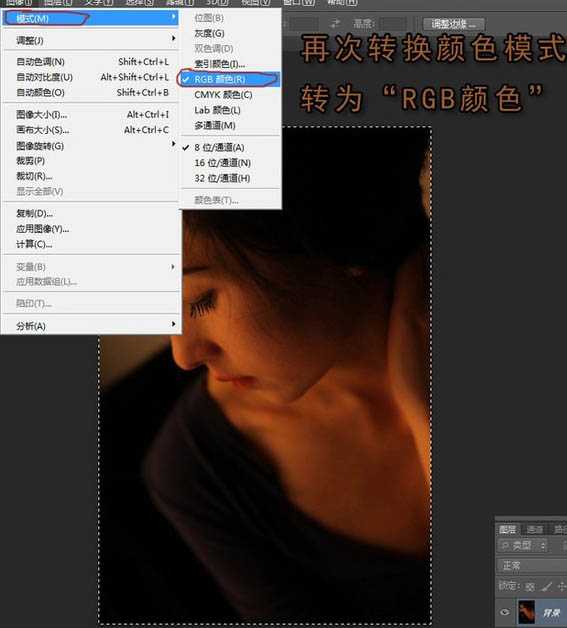
4、选择菜单:图像 > 模糊 > RGB颜色。
5、按Ctrl + V 粘贴图层。

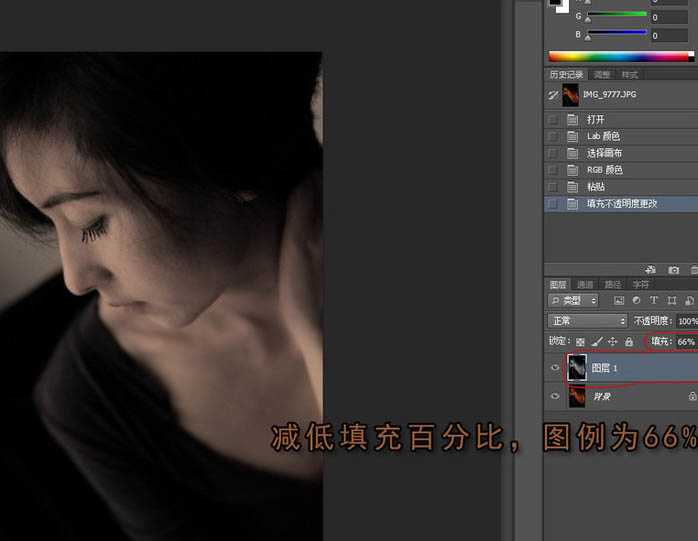
6、减低填充百分比,图例为66%。
7、按Ctrl + E 合并图层。

8、选择菜单:图像 > 调整 > 亮度/对比度。
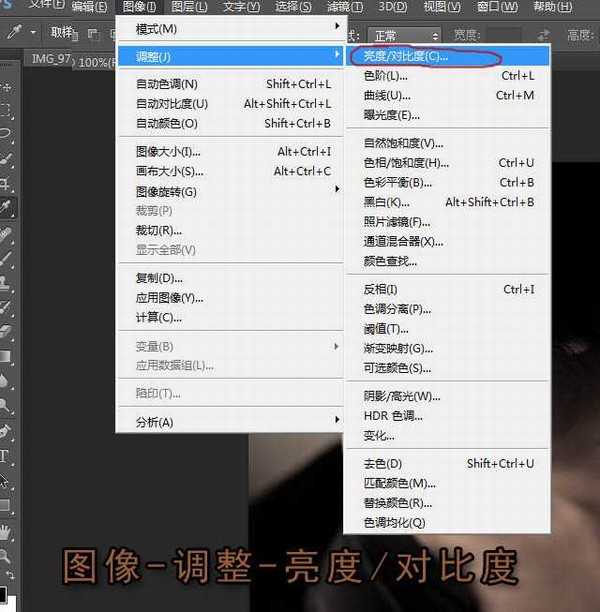
9、增加画面的亮度对比。

上一页12 下一页 阅读全文
原图
最终效果
1、打开素材图片。
2、选择菜单:图像 > 模式 > Lab颜色。
3、在通道总选择“明度”通道,按Ctrl + A 全选画面,按Ctrl + C 复制。
4、选择菜单:图像 > 模糊 > RGB颜色。
5、按Ctrl + V 粘贴图层。
6、减低填充百分比,图例为66%。
7、按Ctrl + E 合并图层。
8、选择菜单:图像 > 调整 > 亮度/对比度。
9、增加画面的亮度对比。
上一页12 下一页 阅读全文
下一篇:PS后期打造唯美中国风