Photoshop将美女图片打造纹理非主流效果
平面设计 发布日期:2026/5/22 浏览次数:1
正在浏览:Photoshop将美女图片打造纹理非主流效果
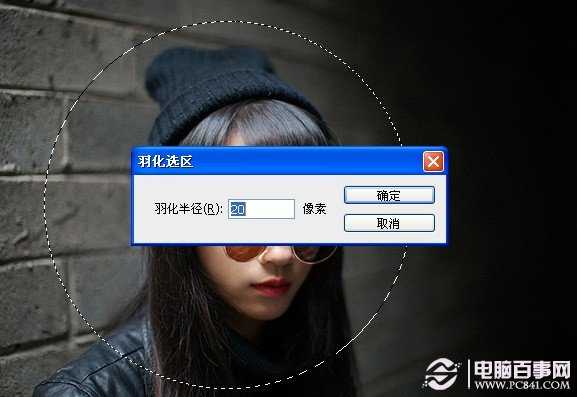
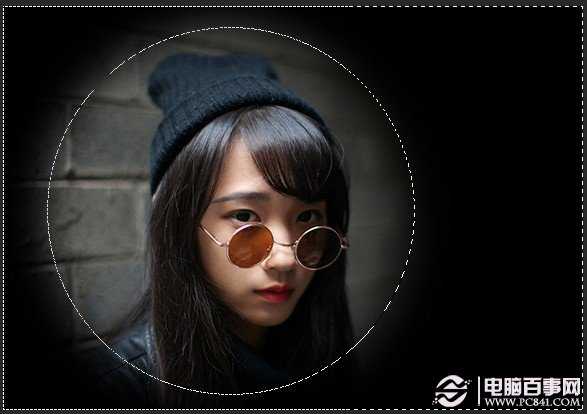
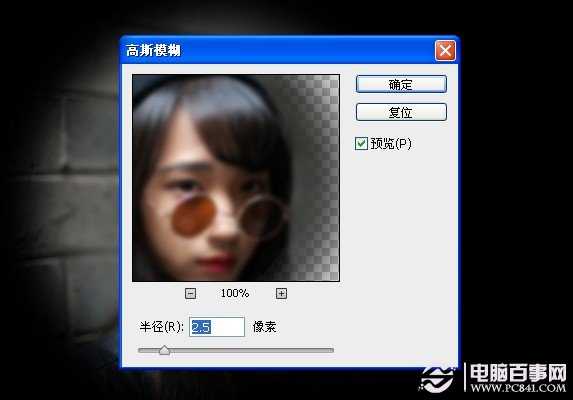
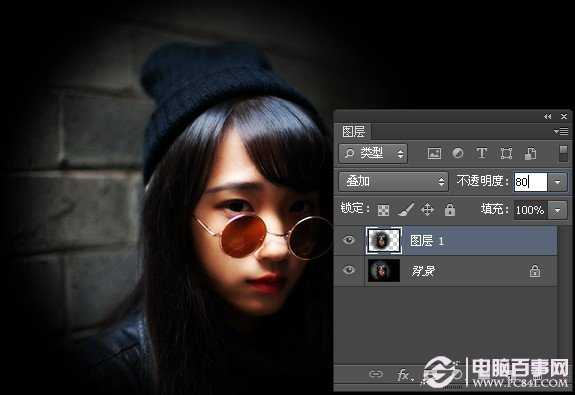
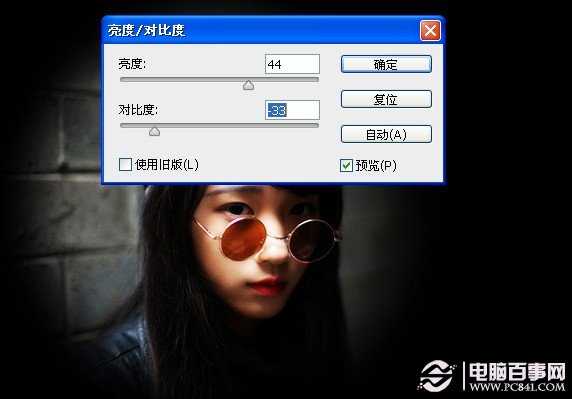
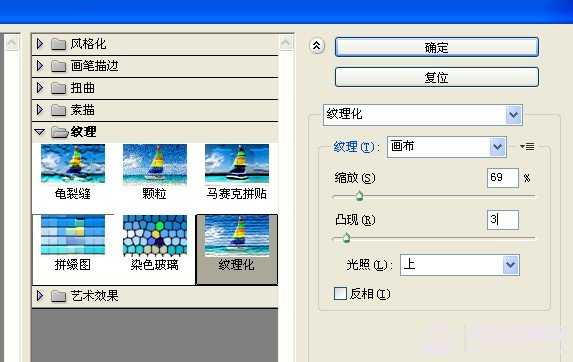
图片处理完以后是不是很非主流,其实操作很简单,主要是先复制图层后模糊,改变该图层的混合模式模式,最后使用滤镜纹理就可以了。一起看看吧!

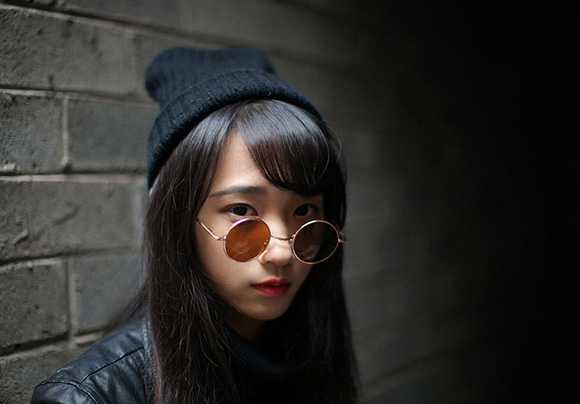
第一步:将准备好的图片在Photoshop中打开(如下图所示)
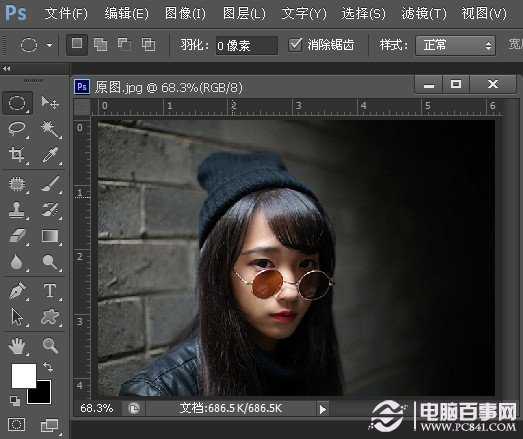
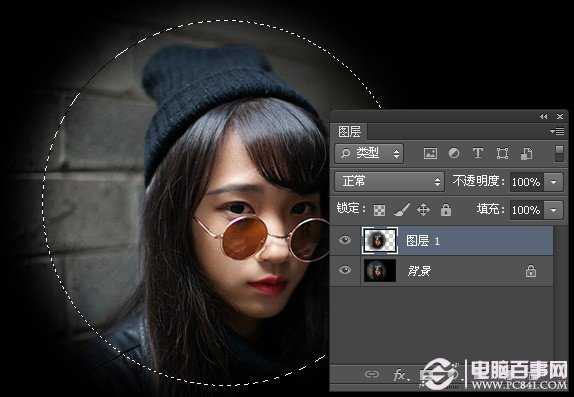
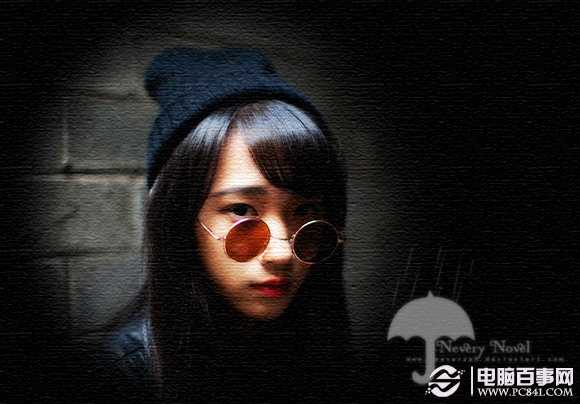
第一步:将准备好的图片在Photoshop中打开(如下图所示)