Photoshop分格化照片教程
平面设计 发布日期:2026/7/8 浏览次数:1
正在浏览:Photoshop分格化照片教程
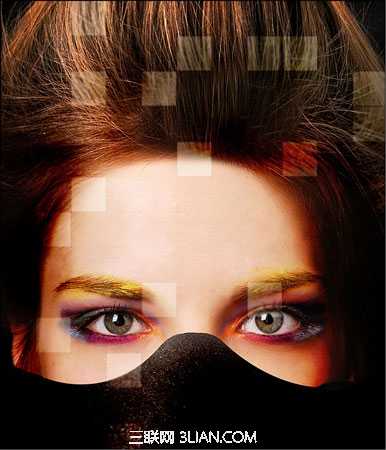
效果图

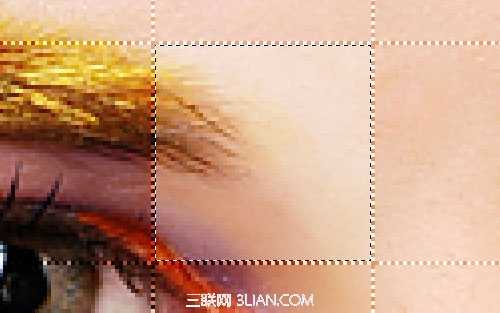
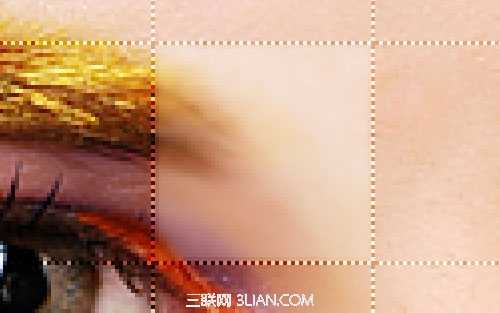
第1步在Photoshop中打开照片。 并调整其大小为600 × 750像素。

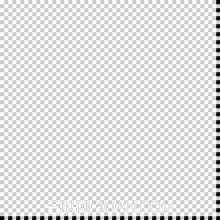
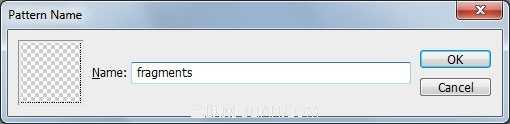
第2步创建一个55 × 55像素大小的新文件,并用铅笔画工具(大小:1像素)的黑与白点如图片所示。

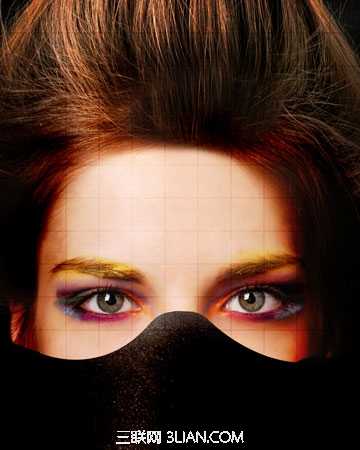

第1步在Photoshop中打开照片。 并调整其大小为600 × 750像素。
第2步创建一个55 × 55像素大小的新文件,并用铅笔画工具(大小:1像素)的黑与白点如图片所示。