PhotoShop将偏暗的海景打造出高清婚纱影楼效果教程
平面设计 发布日期:2026/6/22 浏览次数:1
正在浏览:PhotoShop将偏暗的海景打造出高清婚纱影楼效果教程
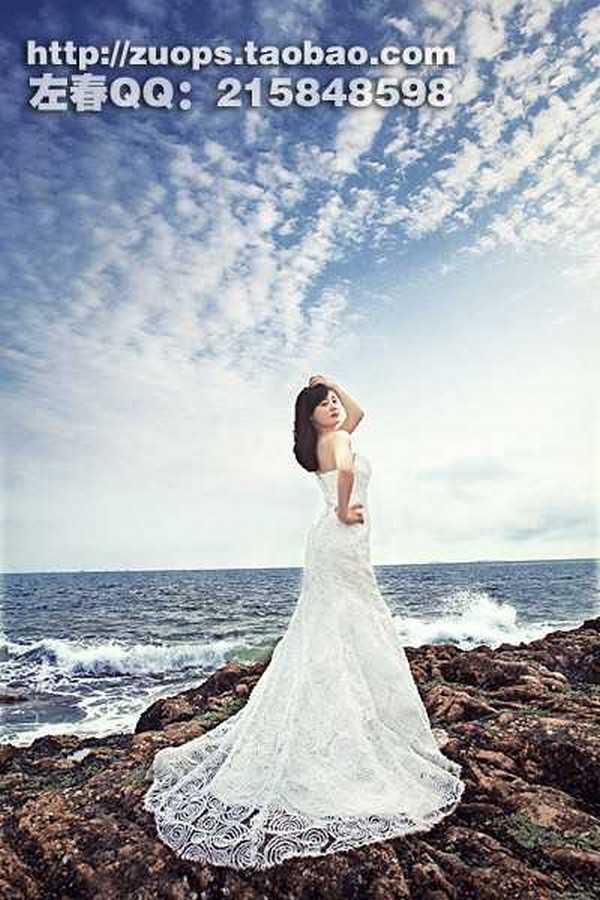
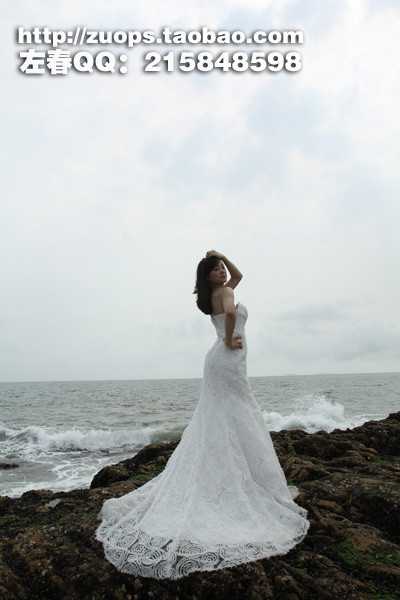
效果图:
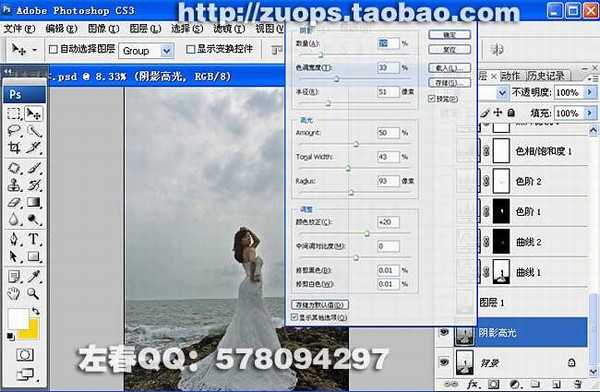
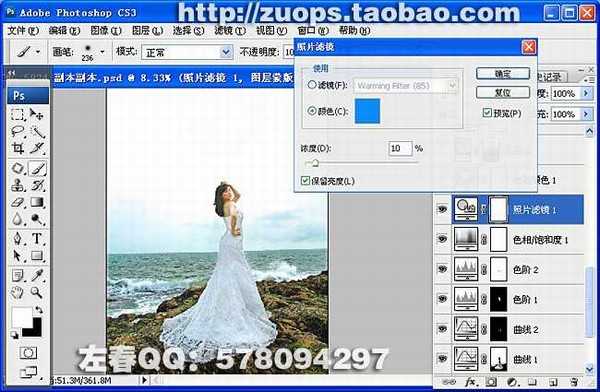
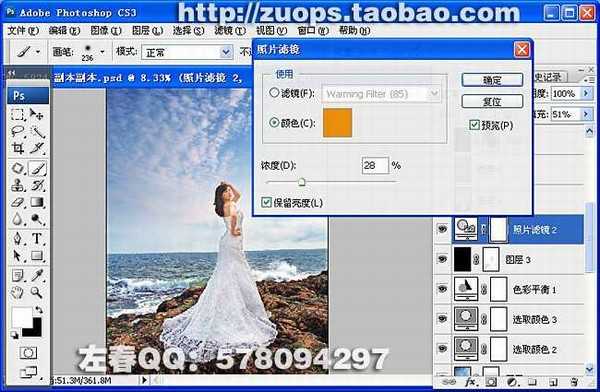
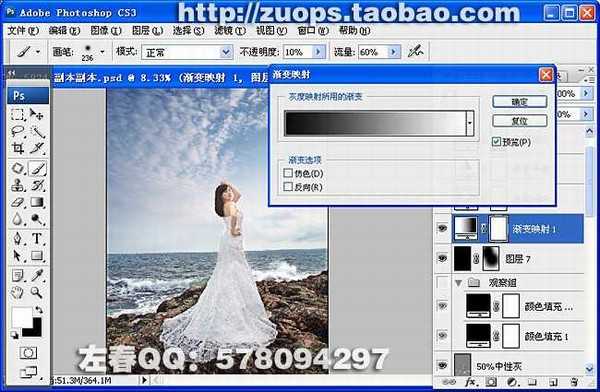
用曲线压暗(曲线参数如图)。
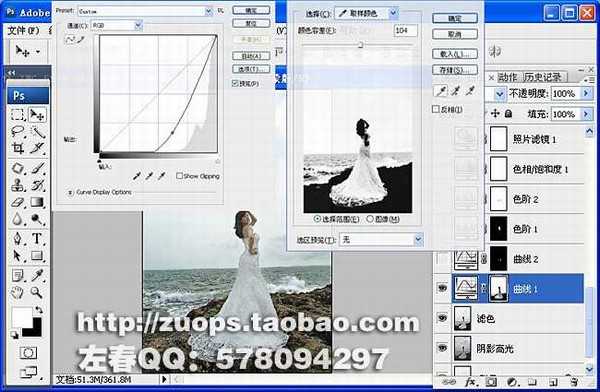
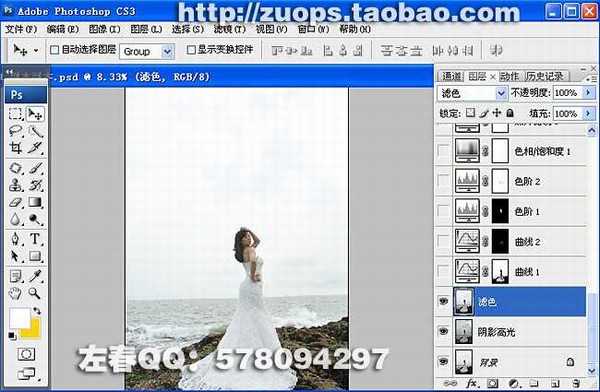
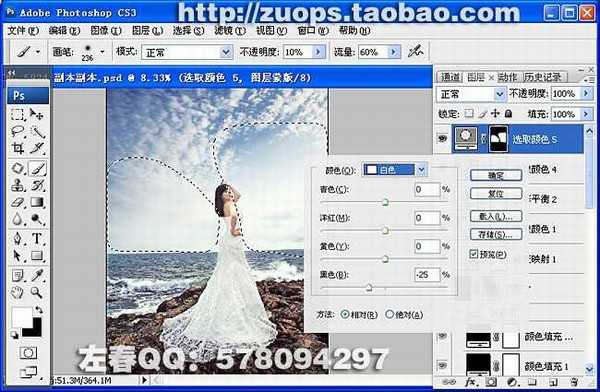
在把曲线蒙板填充成黑色(完全遮盖曲线操作数据)在用画笔工具(不透明度10% 流量60 ;前景色白色 ,背景色黑色)把衣服周围擦暗,让衣服和背景过度柔和。

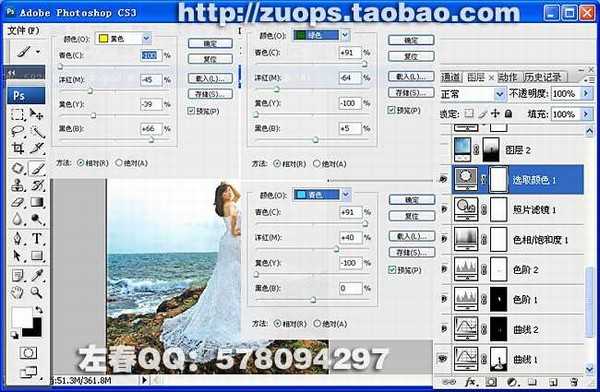
在用色相饱和度,吸管工具,吸取肤色得到:红色2(色相+6)让肤色偏黄!
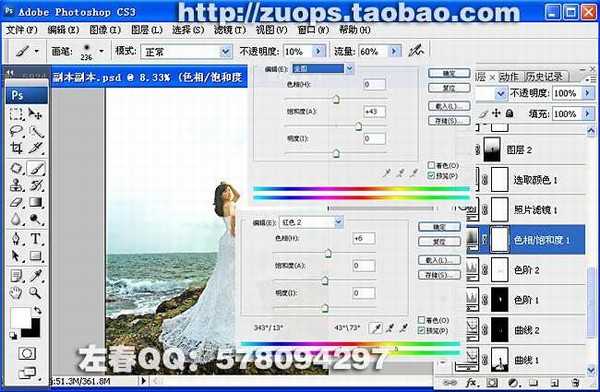
绿色(青色+91%;洋红-64%;黄色-100%;黑色+5%)
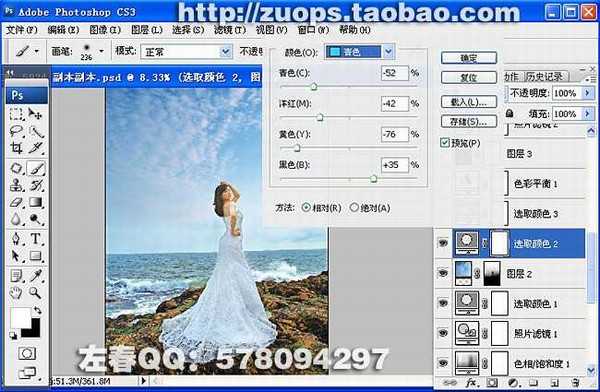
青色(青色+91%;洋红-40%;黄色-100%;)
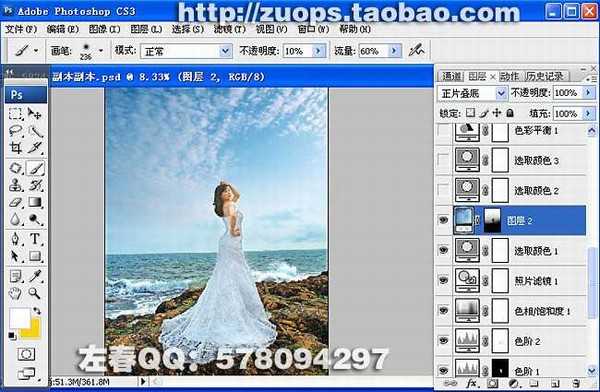
(可先用渐变工具把底部多余部分拉掉,在用画笔工具在蒙板上把人物头部擦出来)
黄色(青色-31%;洋红-40%;黄色-71%;黑色-2%)
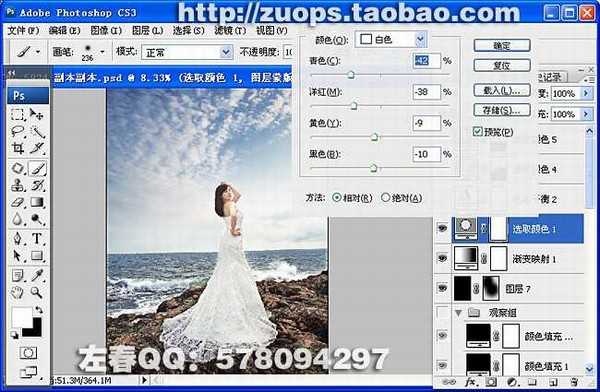
白色(青色-14%;洋红-17%;黄色+12%;黑色-27%)
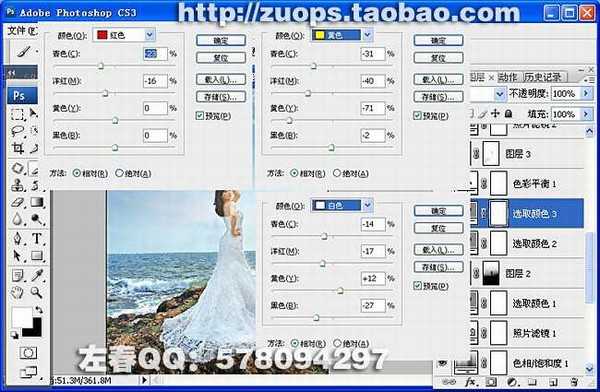
高光(红+3 绿-5 蓝-6)
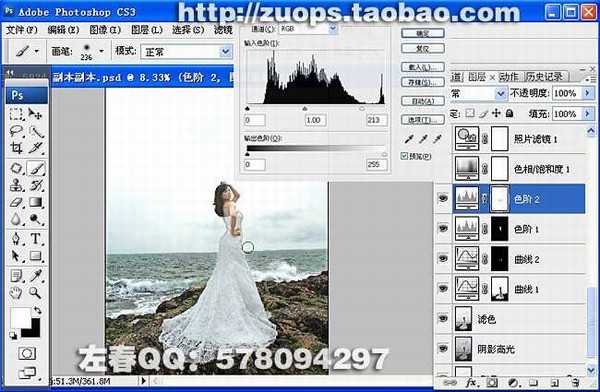
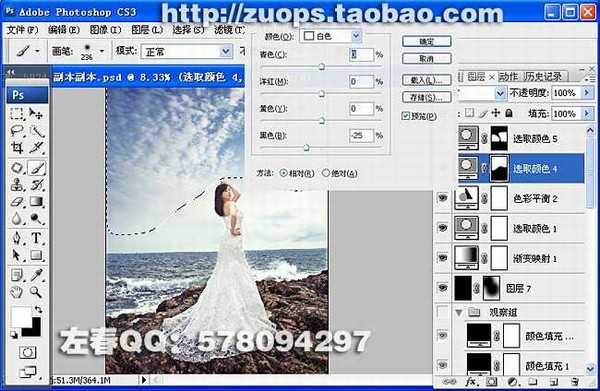
把较黑的地方擦出来。
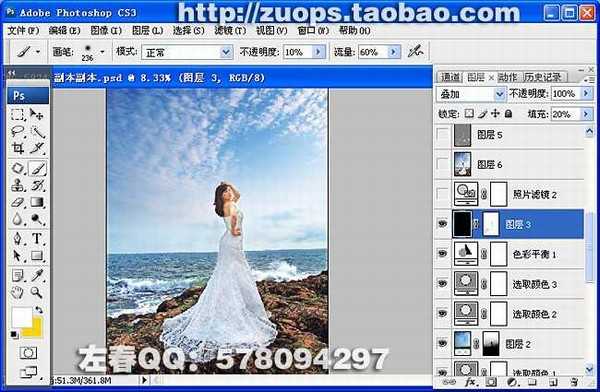
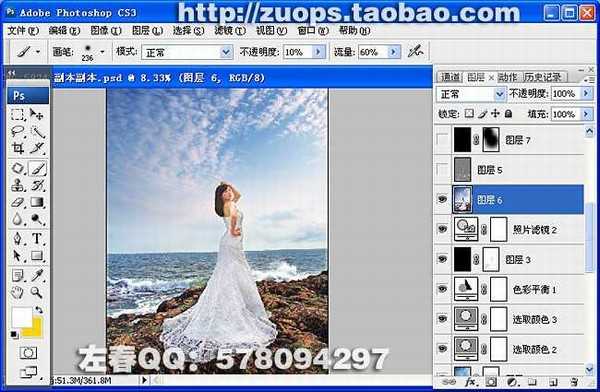
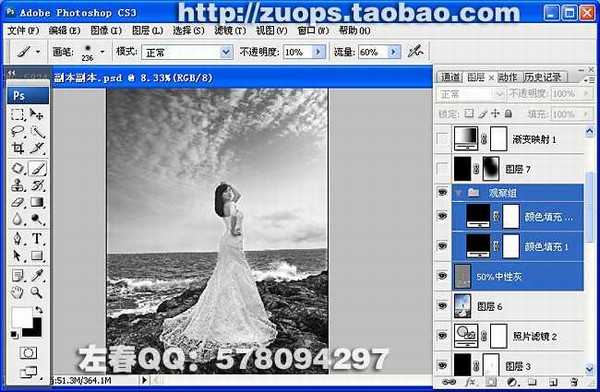
可用X建切换前景色和背景色)修饰光影,因为彩色图片颜色多,可以建个观察组,修完后把观察组眼镜点掉。
这个步骤简写了,要是不明白可以看《左春商业调修教程》有详细解说
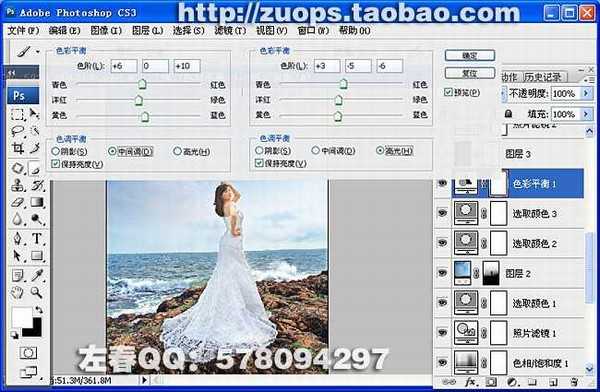
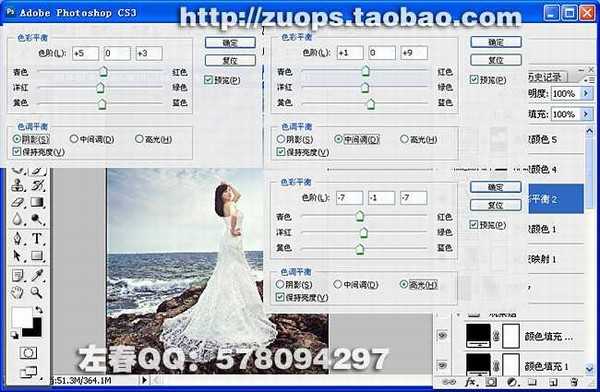
中间调(红+1 绿0 蓝+9)
高光(红-7 绿-1 蓝-7)
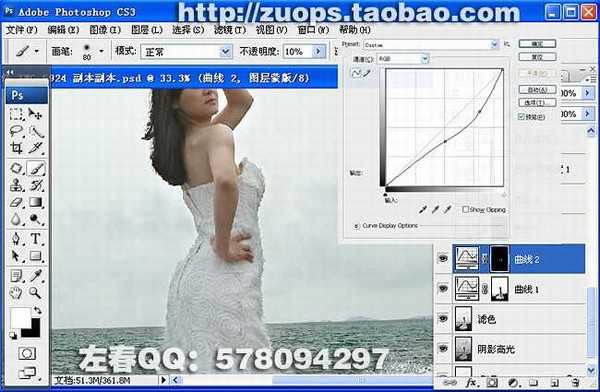
用曲线压暗(曲线参数如图)。
在把曲线蒙板填充成黑色(完全遮盖曲线操作数据)在用画笔工具(不透明度10% 流量60 ;前景色白色 ,背景色黑色)把衣服周围擦暗,让衣服和背景过度柔和。
在用色相饱和度,吸管工具,吸取肤色得到:红色2(色相+6)让肤色偏黄!
绿色(青色+91%;洋红-64%;黄色-100%;黑色+5%)
青色(青色+91%;洋红-40%;黄色-100%;)
(可先用渐变工具把底部多余部分拉掉,在用画笔工具在蒙板上把人物头部擦出来)
黄色(青色-31%;洋红-40%;黄色-71%;黑色-2%)
白色(青色-14%;洋红-17%;黄色+12%;黑色-27%)
高光(红+3 绿-5 蓝-6)
把较黑的地方擦出来。
可用X建切换前景色和背景色)修饰光影,因为彩色图片颜色多,可以建个观察组,修完后把观察组眼镜点掉。
这个步骤简写了,要是不明白可以看《左春商业调修教程》有详细解说
中间调(红+1 绿0 蓝+9)
高光(红-7 绿-1 蓝-7)
下一篇:PS合成雨夜中科幻的超级战士