photoshop利用滤镜及图层混合把郁金香图片转为水彩画效果
平面设计 发布日期:2026/5/16 浏览次数:1
正在浏览:photoshop利用滤镜及图层混合把郁金香图片转为水彩画效果
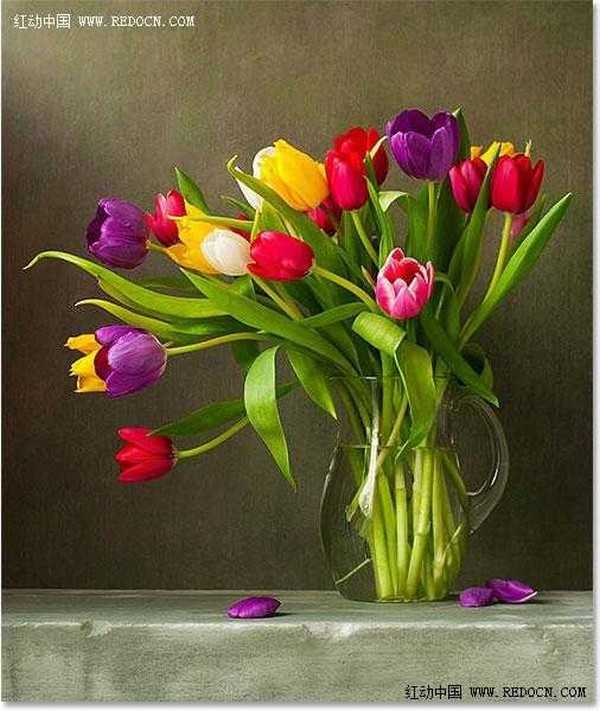
原图
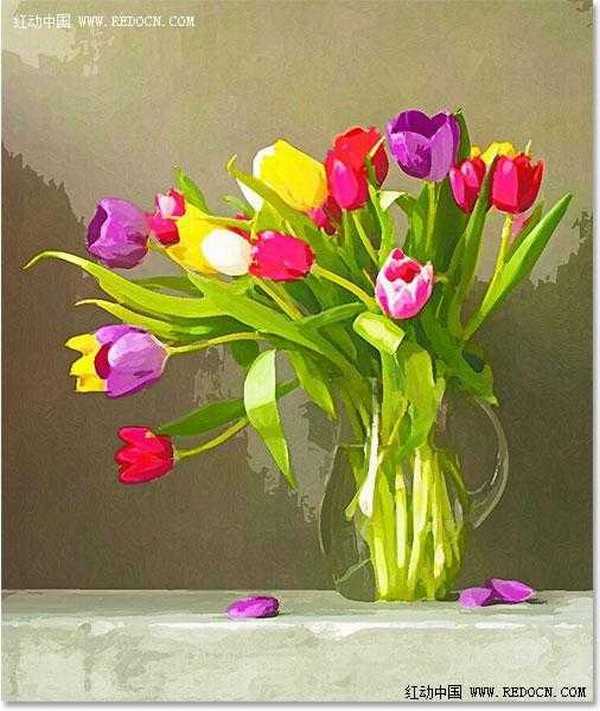
最终效果

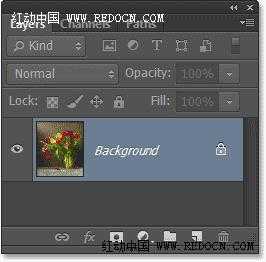
1、首先,打开“郁金香”照片,显示在背景层。
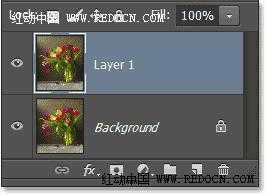
2、按Ctrl + J复制“郁金香”层,或者去图层>新建>通过拷贝的图层。

3、现在显示复制图层为“图层1”。
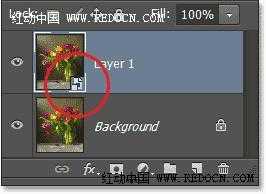
4、右键“图层1”,选择“转换为智能对象”。或者去图层>智能对象>转换为智能对象。

5、现在你可以看到智能对象图标显示在预览窗口上。
6、按两次Ctrl + J复制智能对象图层。如图所示。

7、原智能图层命名为“cutout”,复制的第一层“dry brush”,复制的第二层“median”。
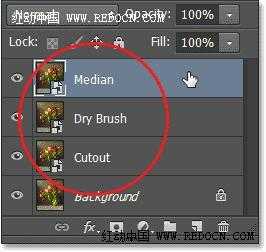
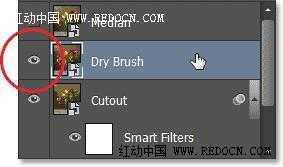
8、点前面的眼睛图标,将最上方的“median”层和“dry brush”层先隐藏起来。

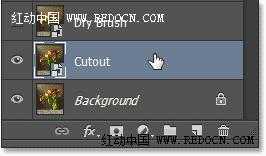
9、点击选中“cutout”图层。
10、去“滤镜”>“滤镜库”。

11、选择“艺术效果”>“木刻”。
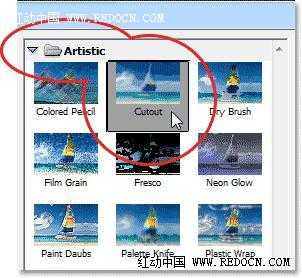
12、设置色阶数4,边缘简化度4,边缘逼真度2,然后点击“确定”。

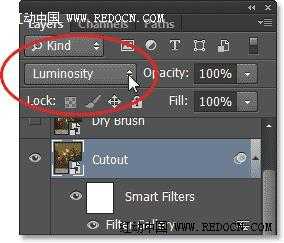
13、改变“cutout”图层的混合模式为“明度”,位置在最下方。

14、点击选中“dry brush”层,点眼睛图标让其可见。
15、再次打开滤镜库。

16、“艺术效果”>“干画笔”。设置画笔大小10,画笔细节10,纹理3。

17、改变混合模式为“滤色”。

18、点击选中“median”层,点眼睛图标让其可见。

19、去“滤镜”>“杂色”>“中间值”。
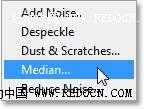
20、设置半径为12像素,点击确定应用效果。

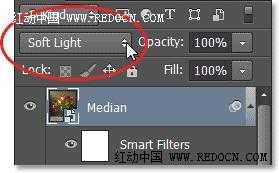
21、最后,选择“median”层,改变其混合模式为柔光。
最终效果:
最终效果
1、首先,打开“郁金香”照片,显示在背景层。
2、按Ctrl + J复制“郁金香”层,或者去图层>新建>通过拷贝的图层。
3、现在显示复制图层为“图层1”。
4、右键“图层1”,选择“转换为智能对象”。或者去图层>智能对象>转换为智能对象。
5、现在你可以看到智能对象图标显示在预览窗口上。
6、按两次Ctrl + J复制智能对象图层。如图所示。
7、原智能图层命名为“cutout”,复制的第一层“dry brush”,复制的第二层“median”。
8、点前面的眼睛图标,将最上方的“median”层和“dry brush”层先隐藏起来。
9、点击选中“cutout”图层。
10、去“滤镜”>“滤镜库”。
11、选择“艺术效果”>“木刻”。
12、设置色阶数4,边缘简化度4,边缘逼真度2,然后点击“确定”。
13、改变“cutout”图层的混合模式为“明度”,位置在最下方。
14、点击选中“dry brush”层,点眼睛图标让其可见。
15、再次打开滤镜库。
16、“艺术效果”>“干画笔”。设置画笔大小10,画笔细节10,纹理3。
17、改变混合模式为“滤色”。
18、点击选中“median”层,点眼睛图标让其可见。
19、去“滤镜”>“杂色”>“中间值”。
20、设置半径为12像素,点击确定应用效果。
21、最后,选择“median”层,改变其混合模式为柔光。
最终效果: