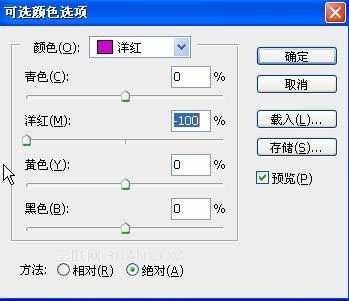
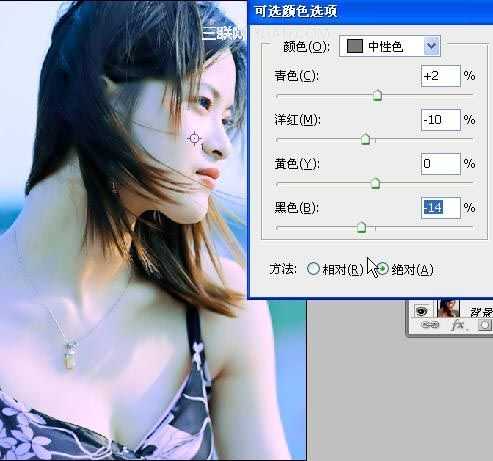
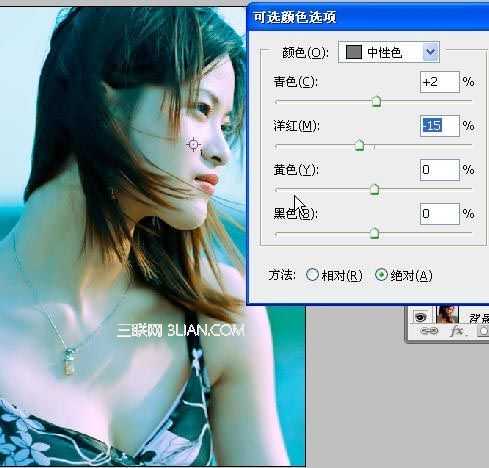
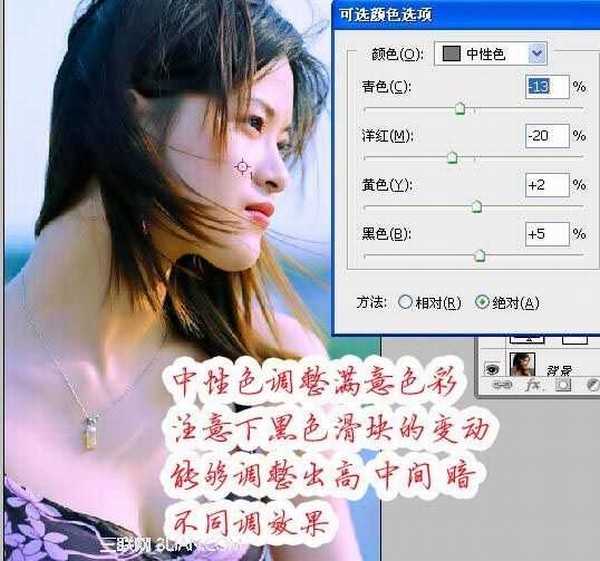
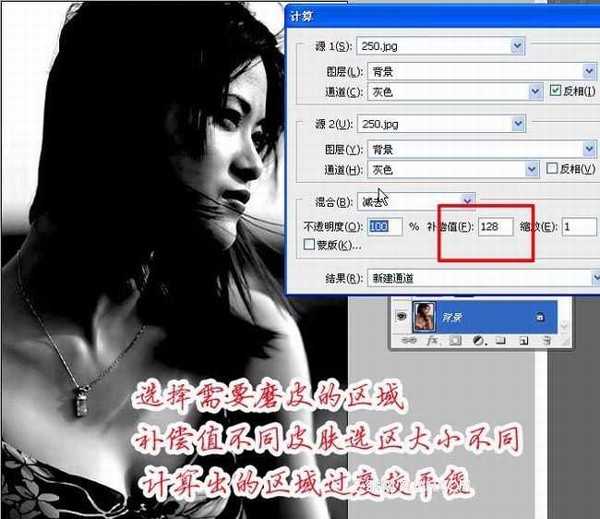
Photoshop将偏黄偏暗MM打造细腻光滑的肤色
平面设计 发布日期:2026/3/29 浏览次数:1
正在浏览:Photoshop将偏黄偏暗MM打造细腻光滑的肤色
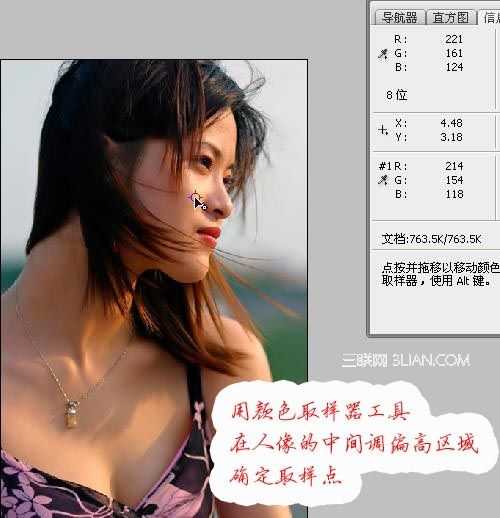
原图