photoshop利用液化工具将帅哥头像转为爆笑的漫画效果
平面设计 发布日期:2026/4/1 浏览次数:1
正在浏览:photoshop利用液化工具将帅哥头像转为爆笑的漫画效果
液化工具功能非常强大,里面包含了一组非常有特色的工具,可以把图像按特定要求变形处理。灵活运用这组工具,可以轻易把人像处理成搞笑的漫画效果。
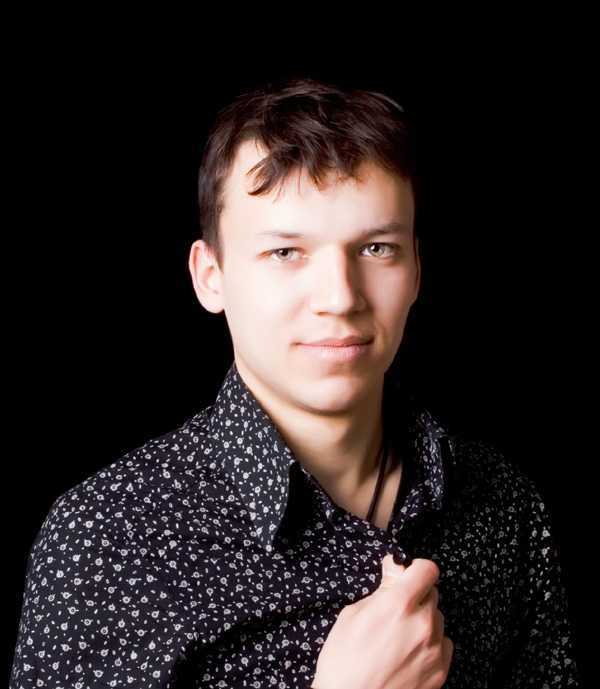
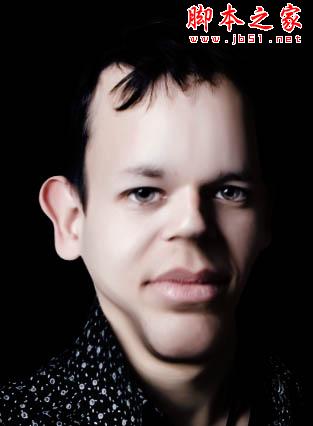
原图
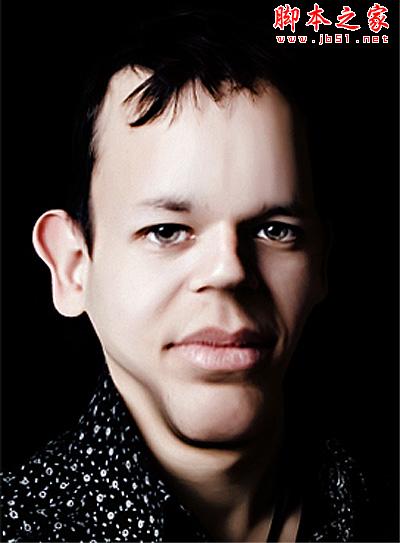
最终效果
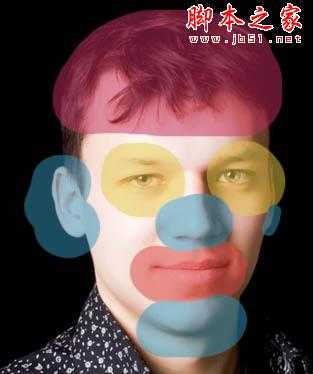
1、打开你想要扭曲的图片,着色部分就是要注意的区域。
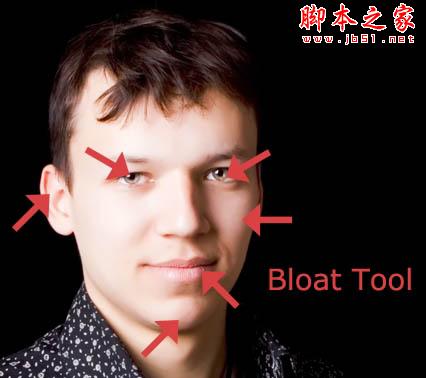
2、打开滤镜-液化,使用膨胀工具(用笔刷大小试试)。
3、现在用皱褶工具。
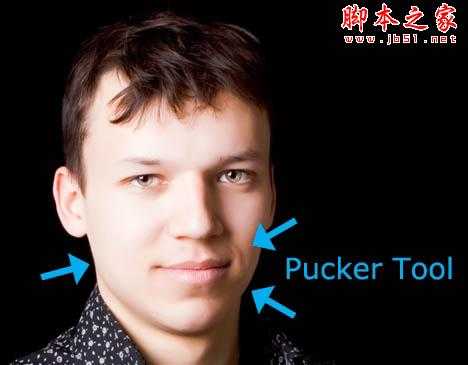
4、最后用向前变形工具做一些调整。
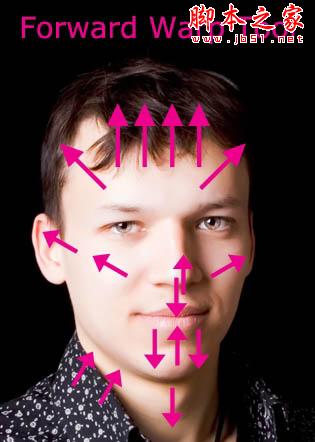
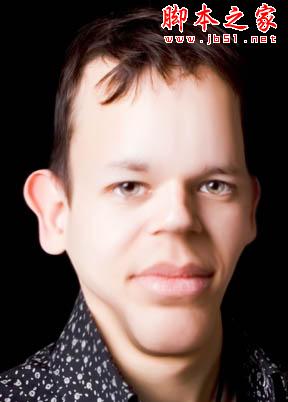
5、如果你跟着一步步做了,你的图片应该会是这样。注意:如果你使用的是自己的照片,特别小心不要把图片背景也扭曲了。

6、复制图层,选择原图。去色(图像 >调整>色调和饱和度: 饱和度 -100),选择复制图层,把混合模式改为正片叠底。
7、新建一个图层,选择渐变工具 (G)。选择径向渐变 (颜色过渡到透明) 然后选择 #7bb5de 作为你的前景色. 像下图这样拉一条渐变,把混合模式选为颜色加深,填充改为 40%。
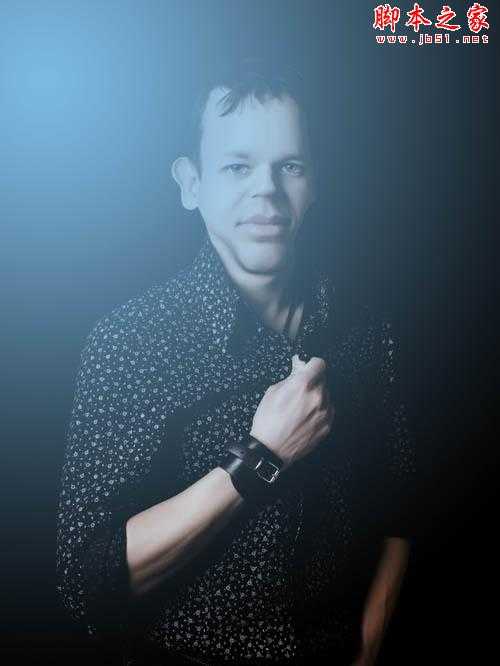
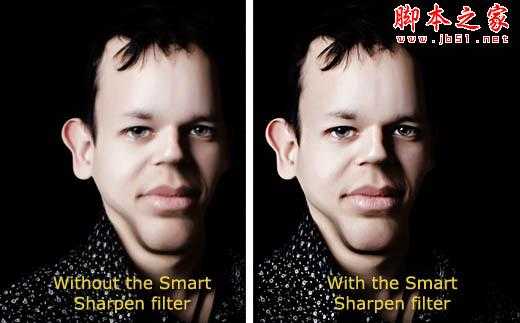
8、合并所有图层,选择滤镜>锐化>智能锐化。用你觉得合适的参数尝试调整。 (本教程我用的参数是数量:56%,半径:1px ,移除: 高斯模糊)。
最终效果:
原图
最终效果
1、打开你想要扭曲的图片,着色部分就是要注意的区域。
2、打开滤镜-液化,使用膨胀工具(用笔刷大小试试)。
3、现在用皱褶工具。
4、最后用向前变形工具做一些调整。
5、如果你跟着一步步做了,你的图片应该会是这样。注意:如果你使用的是自己的照片,特别小心不要把图片背景也扭曲了。
6、复制图层,选择原图。去色(图像 >调整>色调和饱和度: 饱和度 -100),选择复制图层,把混合模式改为正片叠底。
7、新建一个图层,选择渐变工具 (G)。选择径向渐变 (颜色过渡到透明) 然后选择 #7bb5de 作为你的前景色. 像下图这样拉一条渐变,把混合模式选为颜色加深,填充改为 40%。
8、合并所有图层,选择滤镜>锐化>智能锐化。用你觉得合适的参数尝试调整。 (本教程我用的参数是数量:56%,半径:1px ,移除: 高斯模糊)。
最终效果: