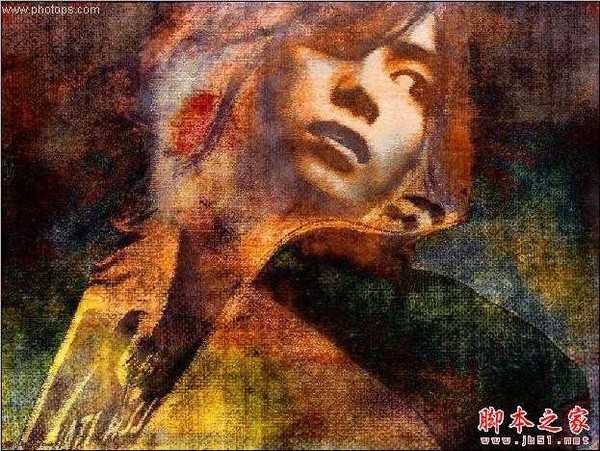
Photoshop将人像图片打造出颓废的油画纹理效果
平面设计 发布日期:2026/6/11 浏览次数:1
正在浏览:Photoshop将人像图片打造出颓废的油画纹理效果
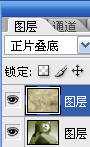
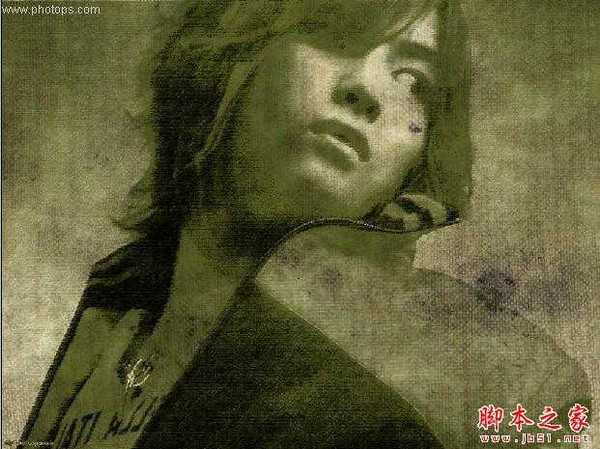
教程介绍类似油画效果的处理方法。大致过程:先把图片去色后,用滤镜加上一些类似油画纹理,然后再用纹理素材及高光素材叠加做出自己喜好的颜色即可。
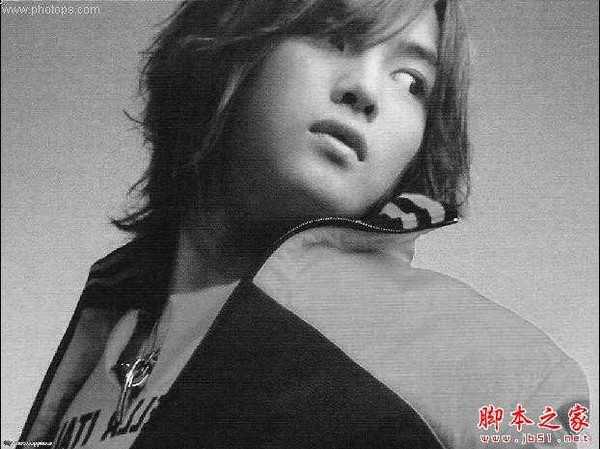
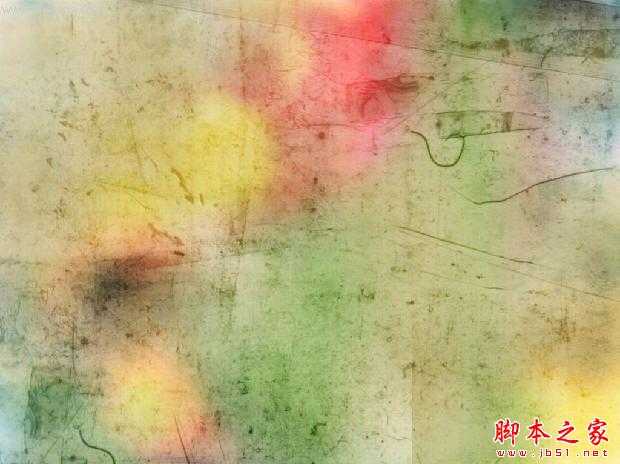
原图

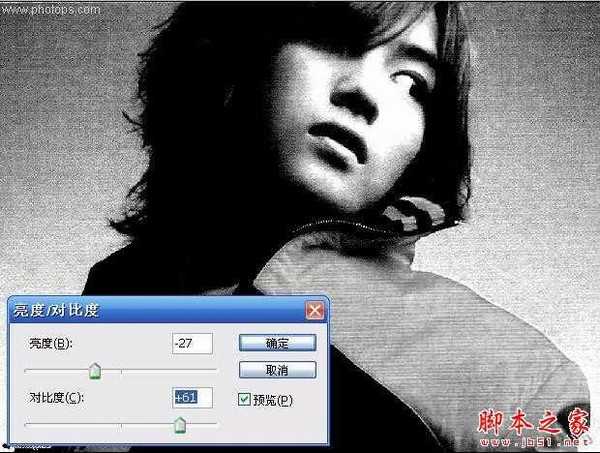
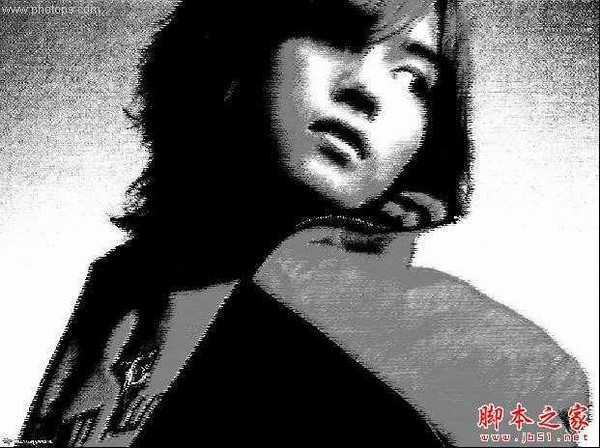
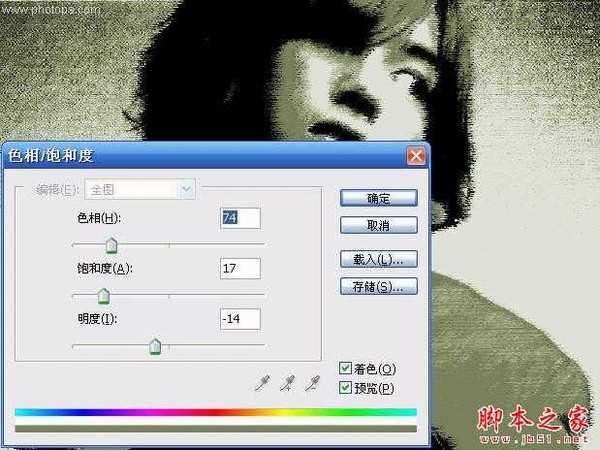
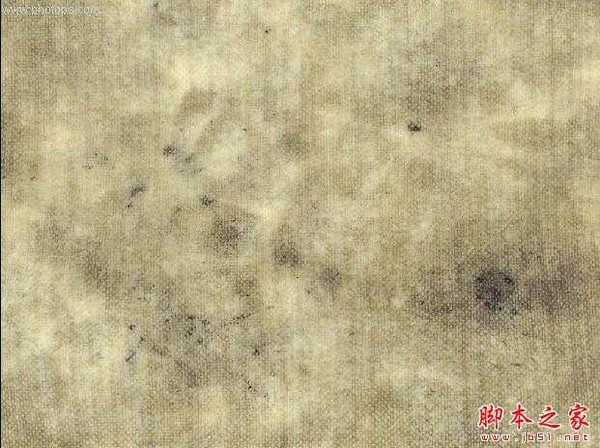
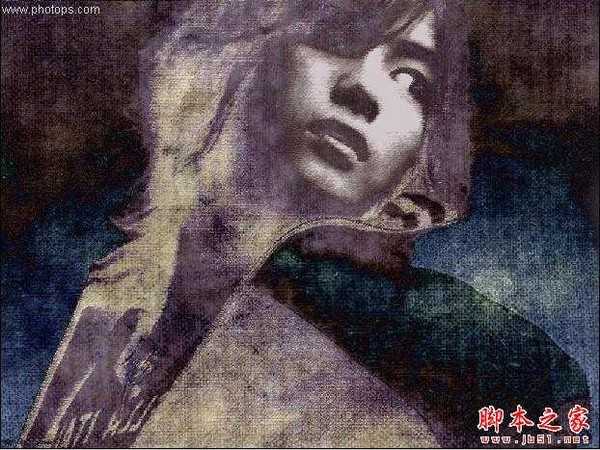
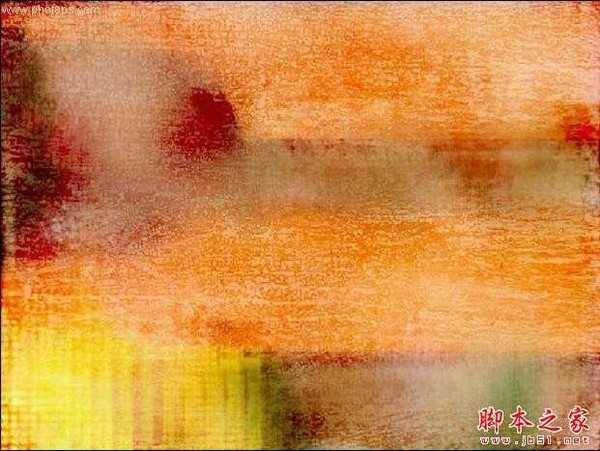
然后注意,因为主体是人物,所以影响到主体的地方一定要擦掉。利用图层蒙版,随时调节比刷大小和透明度。下面提供几张图片练手。
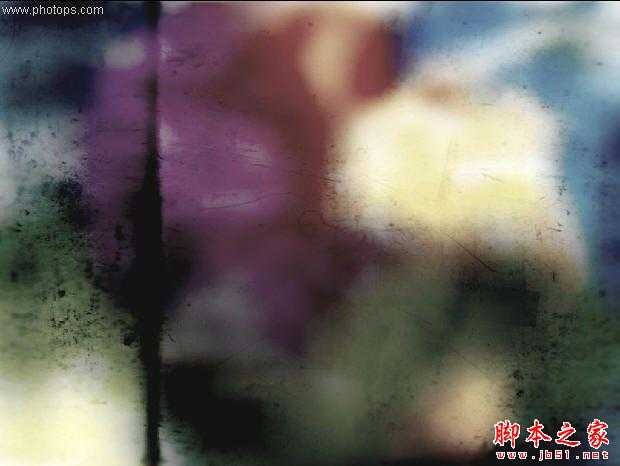
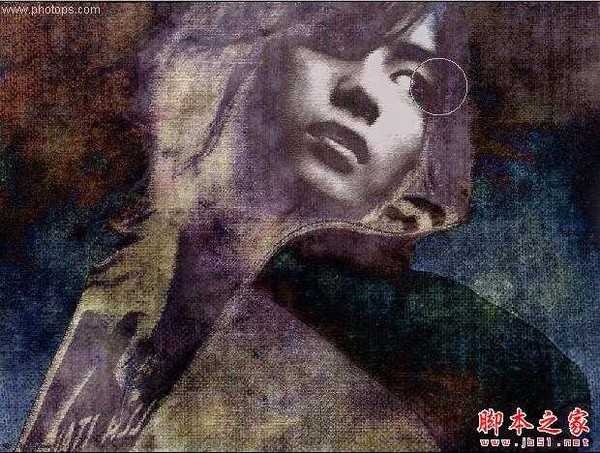
原图
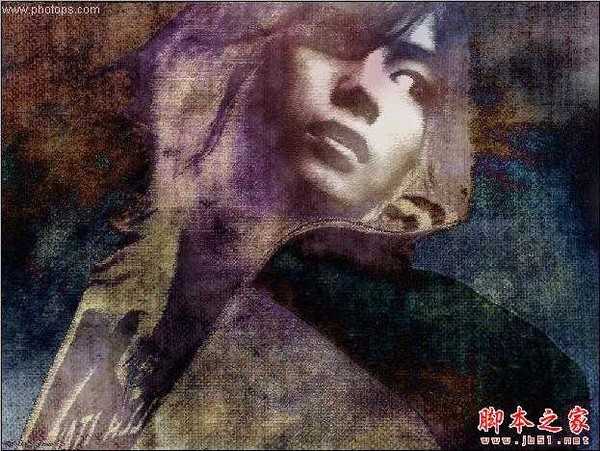
然后注意,因为主体是人物,所以影响到主体的地方一定要擦掉。利用图层蒙版,随时调节比刷大小和透明度。下面提供几张图片练手。