Photoshop为粉装美女添加上朦胧的古典仿手绘效果
平面设计 发布日期:2026/5/15 浏览次数:1
正在浏览:Photoshop为粉装美女添加上朦胧的古典仿手绘效果
仿手绘过程并不复杂,关键是自己要掌握一套有效的方法,从磨皮,五官处理到发丝绘制等。每一个环节都需要多加练习,直到运用自如为止,这样才可以做出非常惊艳的效果。
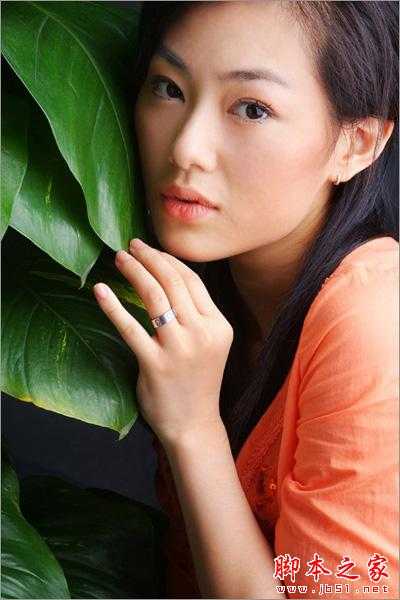
原图
最终效果

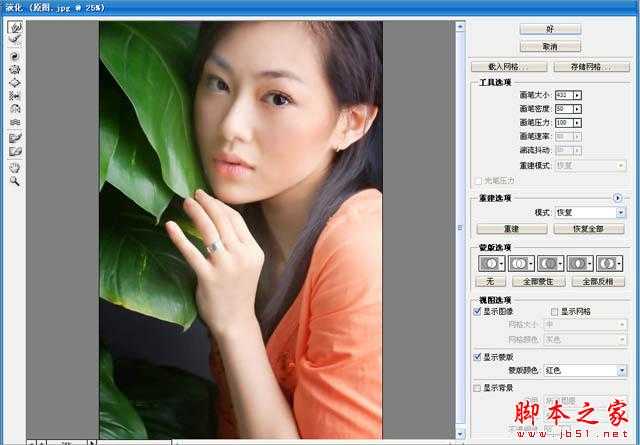
1、执行载入的降噪插件选择一个皮肤不好的地方进行降噪处理,为了更接近鼠绘我们多执行几次降噪,注意四周轮廓还是要保持清晰。

2、选择减淡工具把人物皮肤颜色不匀称的地方整体调整和谐减淡的时候注意暗的地方不要弄出死角。

3、打开液化整体脸型胳膊手,整体修瘦,密度50压力100。
4、修补工具把人物原有的眉毛修补掉,在用图章简单修饰眉毛附近局部光影。

5、图章不透明度(%30)流量(%100)把人物面部整体修饰干净。

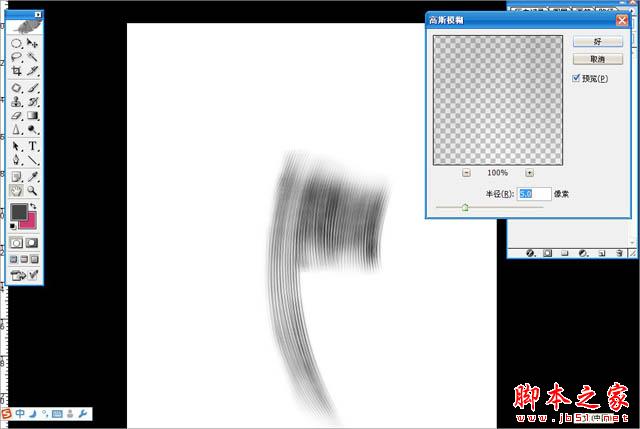
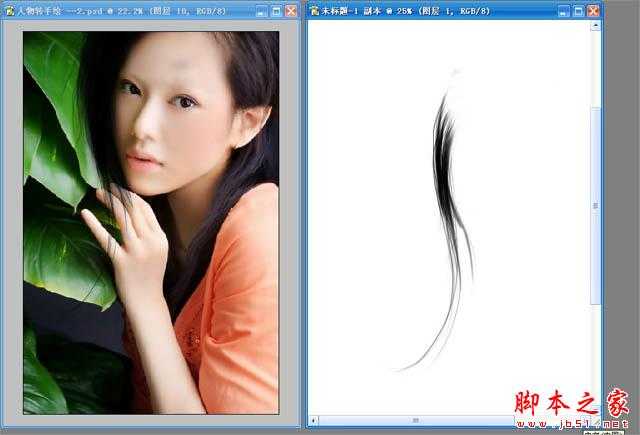
6、用钢笔勾出头发路径流畅是关键,建立一个空图层选择用画笔描边路径,注意勾画头发路时候一定要细比例协调调整到完美。

7、将描边完的路径用橡皮,把边缘擦掉一些让效果更柔和一些。

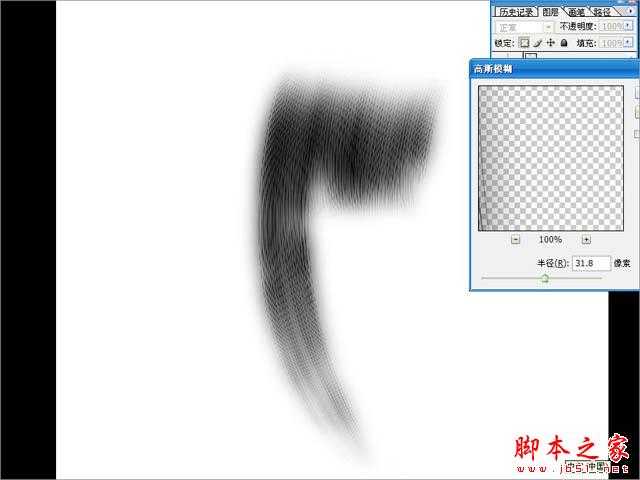
8、重复复制图层重叠出头发的效果在复制相同的图层执行高斯模糊,注意要多执行几次才能出来自己想要的效果。
9、再次复制图层,再次执行高斯。
10、用钢笔勾出发丝路径,建立一个空图层选择用画笔描边路径。

11、和前一个执行头发的步骤一样,执行一次,最后略微加一些动感模糊把两个做完的 头发拖入人物图层里面调整好角度。
12、同样的方法制作出来,放进去人物图层调整好。

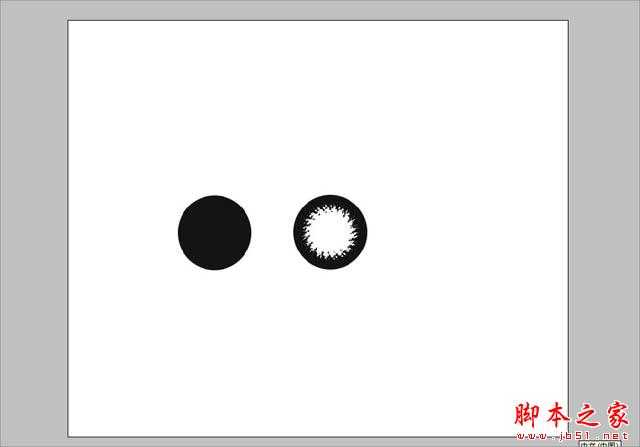
13、画一个圆的黑圆圈,用钢笔扣掉不需要的部分。
上一页12 下一页 阅读全文
原图
最终效果
1、执行载入的降噪插件选择一个皮肤不好的地方进行降噪处理,为了更接近鼠绘我们多执行几次降噪,注意四周轮廓还是要保持清晰。
2、选择减淡工具把人物皮肤颜色不匀称的地方整体调整和谐减淡的时候注意暗的地方不要弄出死角。
3、打开液化整体脸型胳膊手,整体修瘦,密度50压力100。
4、修补工具把人物原有的眉毛修补掉,在用图章简单修饰眉毛附近局部光影。
5、图章不透明度(%30)流量(%100)把人物面部整体修饰干净。
6、用钢笔勾出头发路径流畅是关键,建立一个空图层选择用画笔描边路径,注意勾画头发路时候一定要细比例协调调整到完美。
7、将描边完的路径用橡皮,把边缘擦掉一些让效果更柔和一些。
8、重复复制图层重叠出头发的效果在复制相同的图层执行高斯模糊,注意要多执行几次才能出来自己想要的效果。
9、再次复制图层,再次执行高斯。
10、用钢笔勾出发丝路径,建立一个空图层选择用画笔描边路径。
11、和前一个执行头发的步骤一样,执行一次,最后略微加一些动感模糊把两个做完的 头发拖入人物图层里面调整好角度。
12、同样的方法制作出来,放进去人物图层调整好。
13、画一个圆的黑圆圈,用钢笔扣掉不需要的部分。
上一页12 下一页 阅读全文