Photoshop将室内人像图片打造出怀旧黄绿色
平面设计 发布日期:2026/6/24 浏览次数:1
正在浏览:Photoshop将室内人像图片打造出怀旧黄绿色
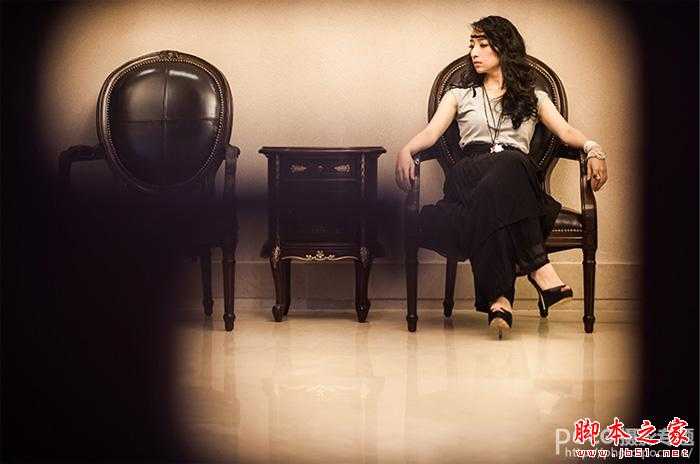
原图
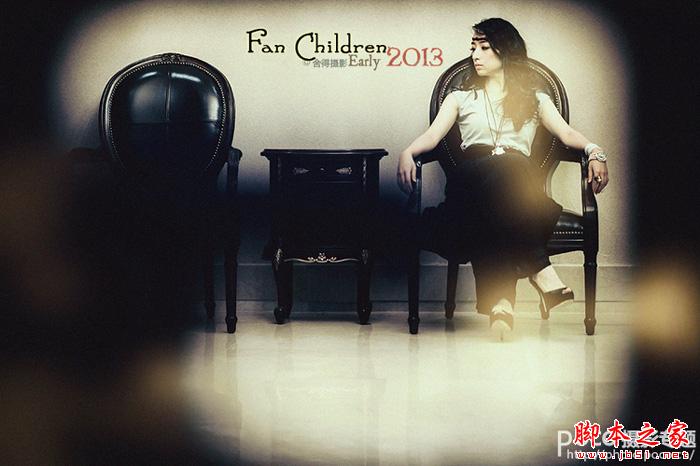
最终效果
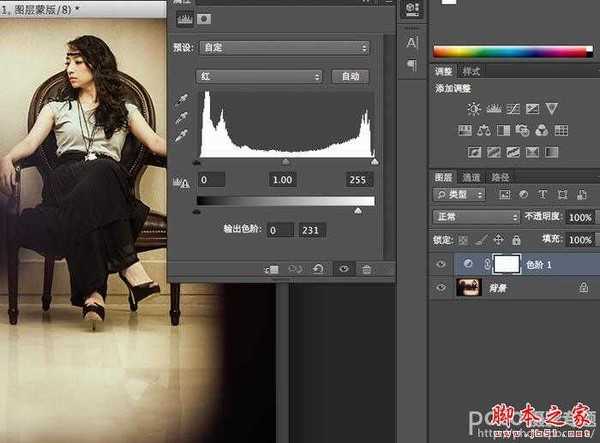
1、我们看到原片偏红,画面过实,还可以虚幻一点,色阶-红,数值如图。
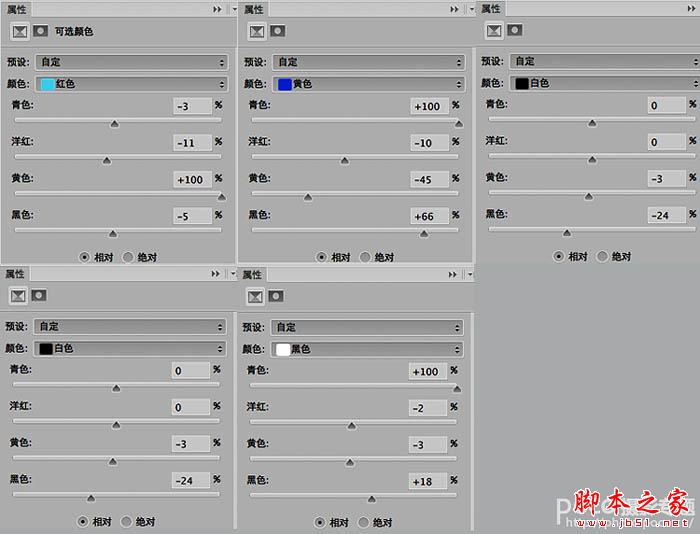
2、可选颜色,不透明度为65%,其他数值如下图。
3、渐变映射-柔光(不透明度为30%)。
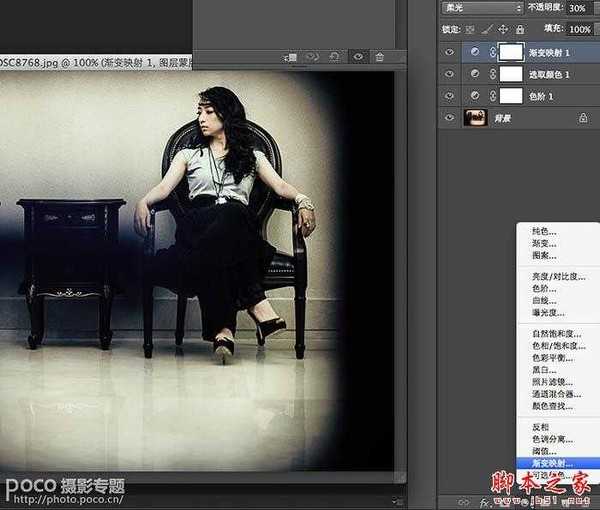
4、这个步骤很重要,目的是让人物看起来更优雅、更柔美、更虚幻。
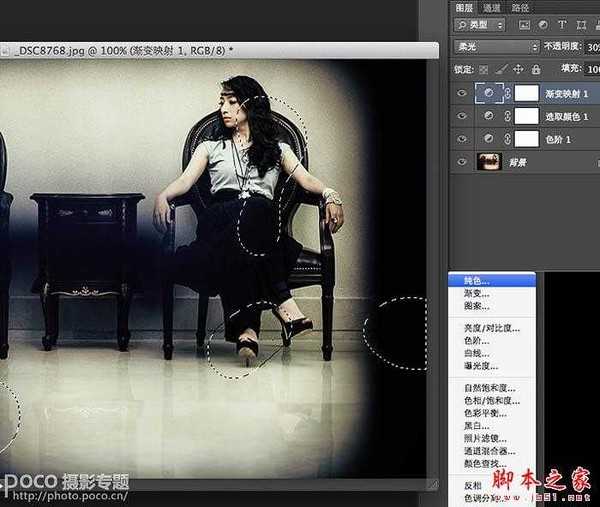
在前期拍摄中利用遮挡给图片四周加上暗角,打造出这种类似前景的效果,先圈出想要叠加色彩的区域,这个类似画画,没有美术功底的要多练习。
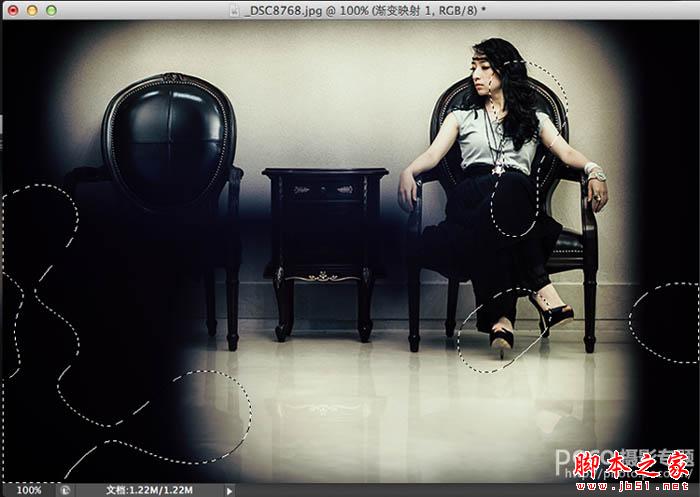
5、我们这里选的羽化值随图片大小不定,这里设定羽化值为33%。然后叠加色彩:纯色-滤色。
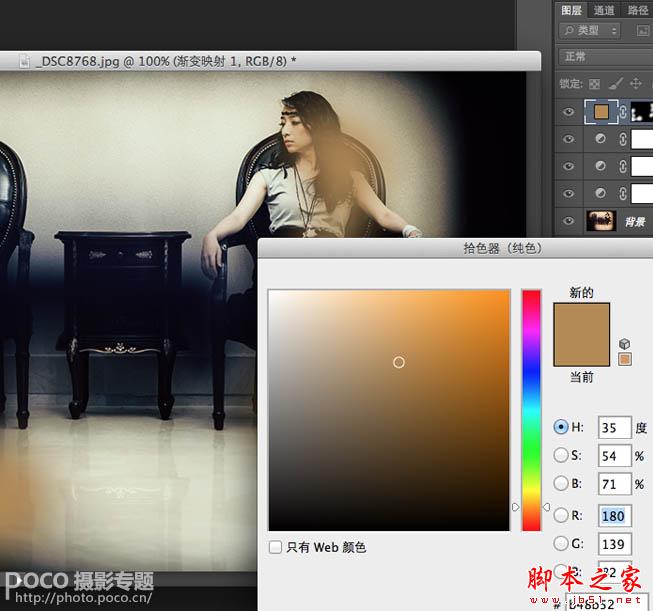
6、给圈出的区域填充颜色,在拾色器里选择合适的颜色,如下图所示。
7、最后添加字体。
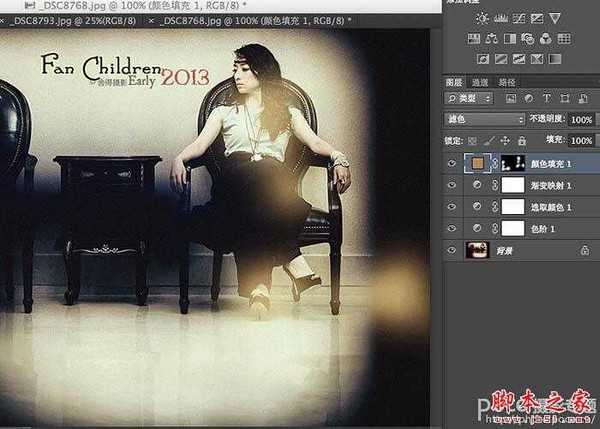
最终效果:
最终效果
1、我们看到原片偏红,画面过实,还可以虚幻一点,色阶-红,数值如图。
2、可选颜色,不透明度为65%,其他数值如下图。
3、渐变映射-柔光(不透明度为30%)。
4、这个步骤很重要,目的是让人物看起来更优雅、更柔美、更虚幻。
在前期拍摄中利用遮挡给图片四周加上暗角,打造出这种类似前景的效果,先圈出想要叠加色彩的区域,这个类似画画,没有美术功底的要多练习。
5、我们这里选的羽化值随图片大小不定,这里设定羽化值为33%。然后叠加色彩:纯色-滤色。
6、给圈出的区域填充颜色,在拾色器里选择合适的颜色,如下图所示。
7、最后添加字体。
最终效果: