photoshop使用仿制图章工具精确消除人物背景部分的杂物
平面设计 发布日期:2026/3/28 浏览次数:1
正在浏览:photoshop使用仿制图章工具精确消除人物背景部分的杂物
原图

最终效果

1、打开素材图片,先简单分析一些需要处理的部分,主要有两大块:牌子和柱子。按Ctrl + J 把背景图层复制一层。

<图1>
2、新建一个组,命名为“柱子”,在组里新建一个图层,先从柱子开始处理。

<图2>
3、用钢笔勾出地面部分的路径,如图3,按Ctrl + 回车转为选区。
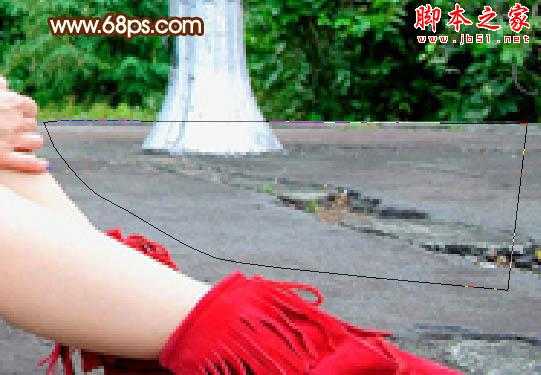
<图3>
4、在工具箱选择“仿制图章工具”,属性栏的设置都选择100%,样本选择“所有图层”,如下图。

<图4>
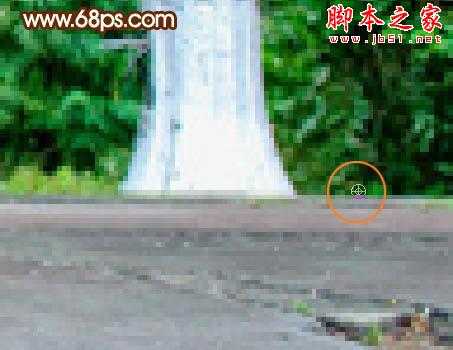
5、按住Alt键在底部马路位置取样,松开Alt键后再由右侧往左涂抹,笔刷的大小可以按需要调整。
<图5>
<图6>
6、可以多次取样,底部大致修好的效果如下图。

<图7>
7、新建一个图层,开始修复柱子顶部位置。
<图8>
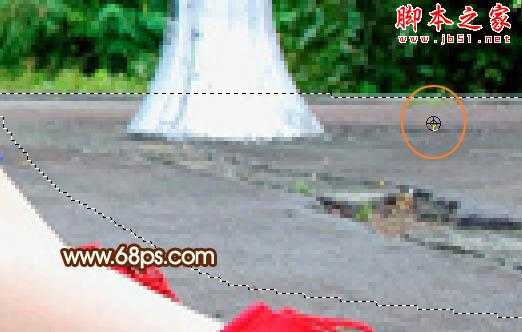
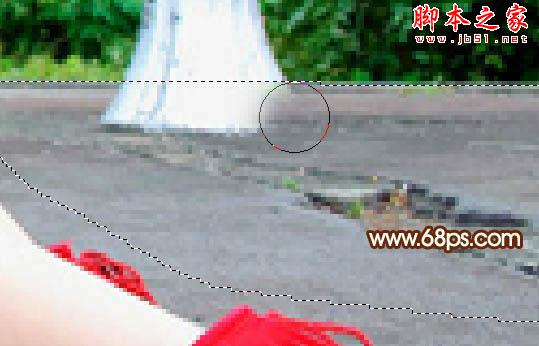
8、选择“仿制图章工具”,按住Alt键先从底部取样,涂抹底部位置,过程如图9,10。
<图9>
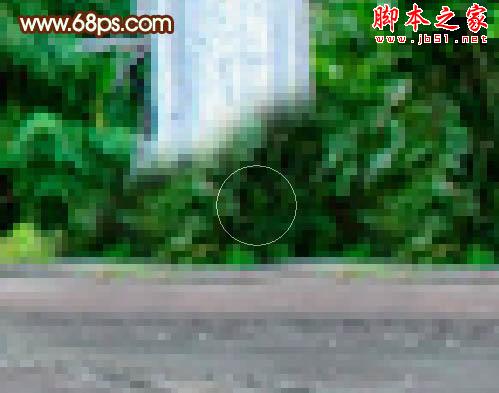
<图10>
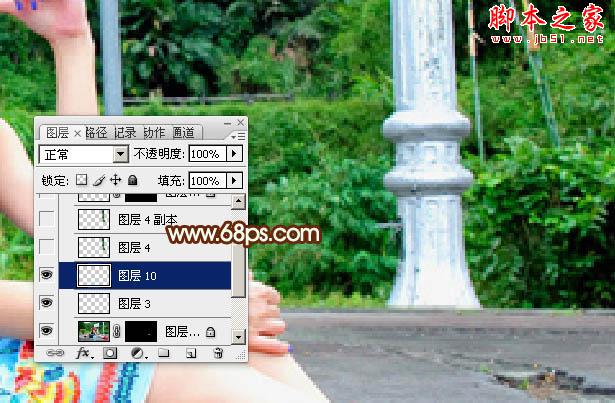
9、不断的取样,由下至上慢慢修复,柱子涂掉后的效果如下图。

<图11>
10、新建一个组,命名为“牌子”,如下图。

<图12>
11、在组里新建一个图层,用钢笔勾出需要修复的区域,这一步非常重要,因为牌子紧贴人物,没有选区约束的话很容易影响人物。

<图13>
12、同样旋转“仿制图章工具”,由底部开始,新建图层 > 取样 > 修复,过程如图14 - 16。
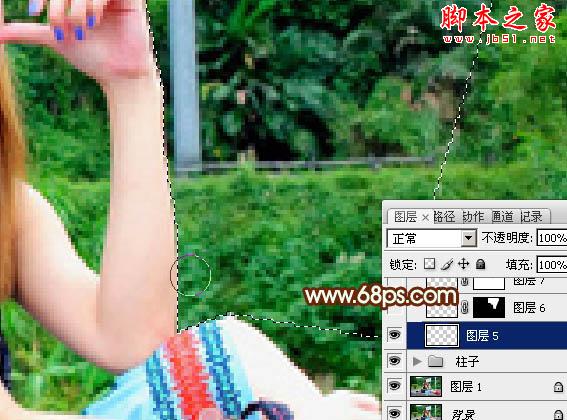
<图14>

<图15>
<图16>
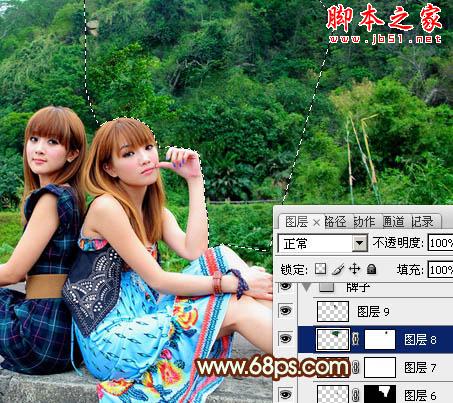
最后增加一些细节,完成最终效果。

最终效果
1、打开素材图片,先简单分析一些需要处理的部分,主要有两大块:牌子和柱子。按Ctrl + J 把背景图层复制一层。
<图1>
2、新建一个组,命名为“柱子”,在组里新建一个图层,先从柱子开始处理。
<图2>
3、用钢笔勾出地面部分的路径,如图3,按Ctrl + 回车转为选区。
<图3>
4、在工具箱选择“仿制图章工具”,属性栏的设置都选择100%,样本选择“所有图层”,如下图。
<图4>
5、按住Alt键在底部马路位置取样,松开Alt键后再由右侧往左涂抹,笔刷的大小可以按需要调整。
<图5>
<图6>
6、可以多次取样,底部大致修好的效果如下图。
<图7>
7、新建一个图层,开始修复柱子顶部位置。
<图8>
8、选择“仿制图章工具”,按住Alt键先从底部取样,涂抹底部位置,过程如图9,10。
<图9>
<图10>
9、不断的取样,由下至上慢慢修复,柱子涂掉后的效果如下图。
<图11>
10、新建一个组,命名为“牌子”,如下图。
<图12>
11、在组里新建一个图层,用钢笔勾出需要修复的区域,这一步非常重要,因为牌子紧贴人物,没有选区约束的话很容易影响人物。
<图13>
12、同样旋转“仿制图章工具”,由底部开始,新建图层 > 取样 > 修复,过程如图14 - 16。
<图14>
<图15>
<图16>
最后增加一些细节,完成最终效果。