photoshop为美女图片调制出漂亮擦拭水雾玻璃效果
平面设计 发布日期:2026/5/10 浏览次数:1
正在浏览:photoshop为美女图片调制出漂亮擦拭水雾玻璃效果
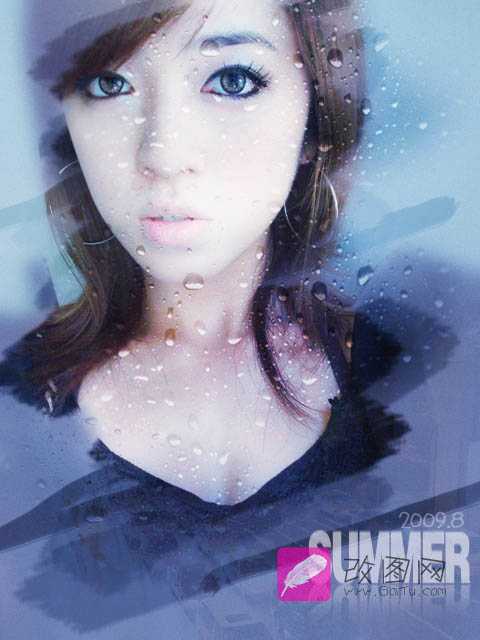
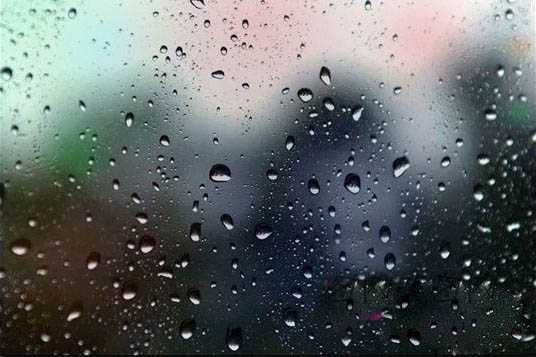
效果图:

具体的制作步骤如下:
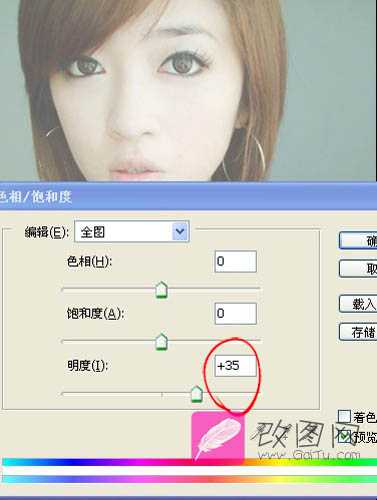
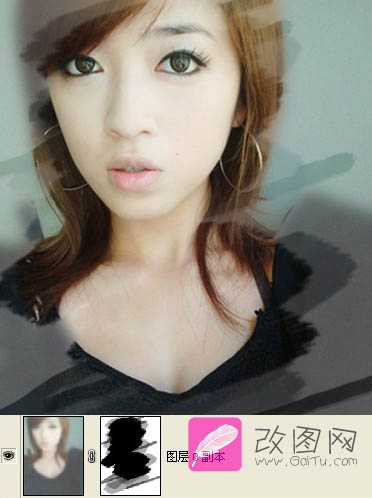
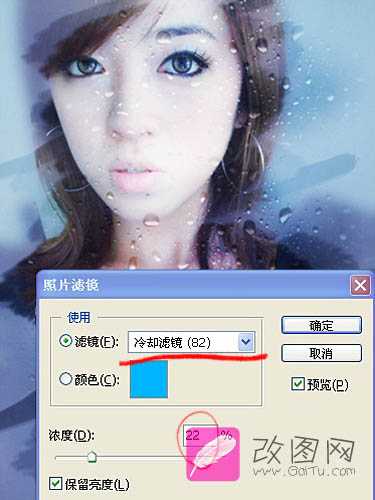
1、打开原图,把背景图层复制一层,按Ctrl + U 调整色相/饱和度(0,0,35)。

具体的制作步骤如下:
1、打开原图,把背景图层复制一层,按Ctrl + U 调整色相/饱和度(0,0,35)。