photoshop将新照片处理成旧照片教程
平面设计 发布日期:2026/4/5 浏览次数:1
正在浏览:photoshop将新照片处理成旧照片教程
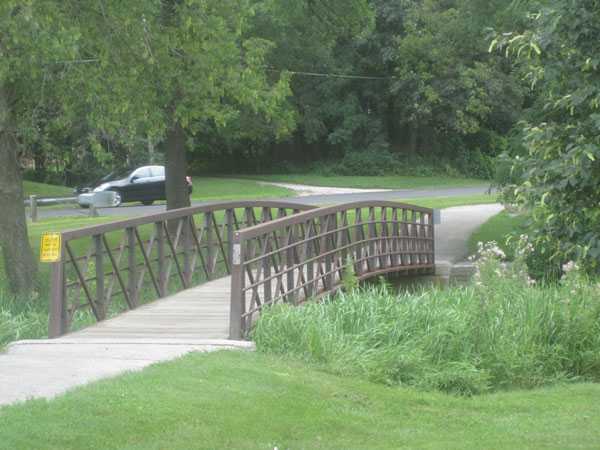
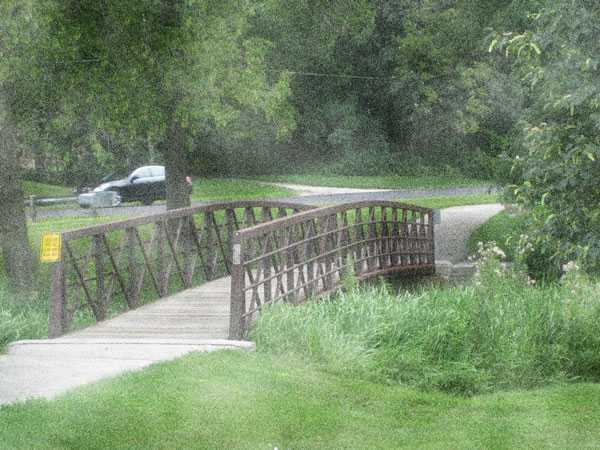
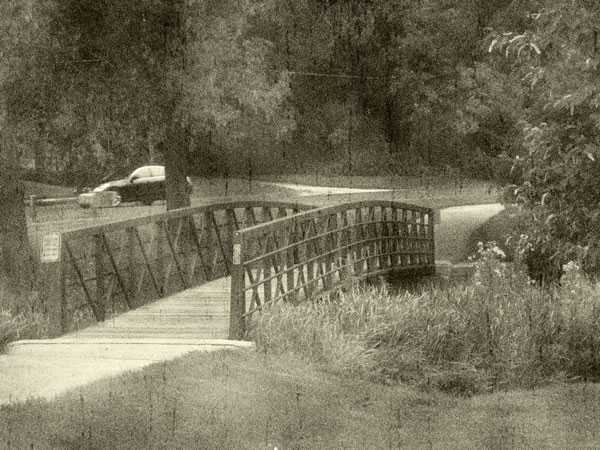
最终效果图:

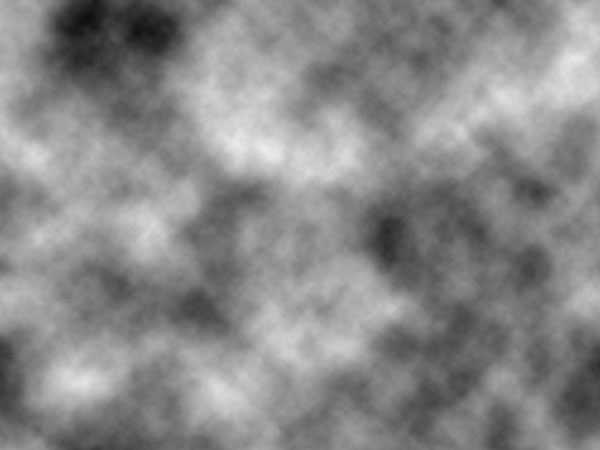
新建一个图层,然后按D,变换前景色和背景色。然后到滤镜>渲染>云彩。
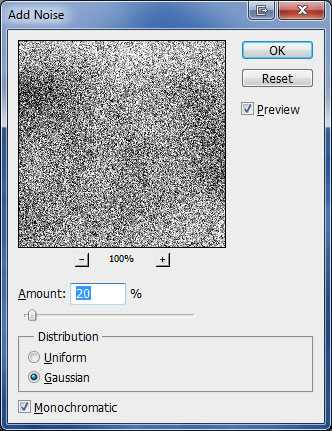
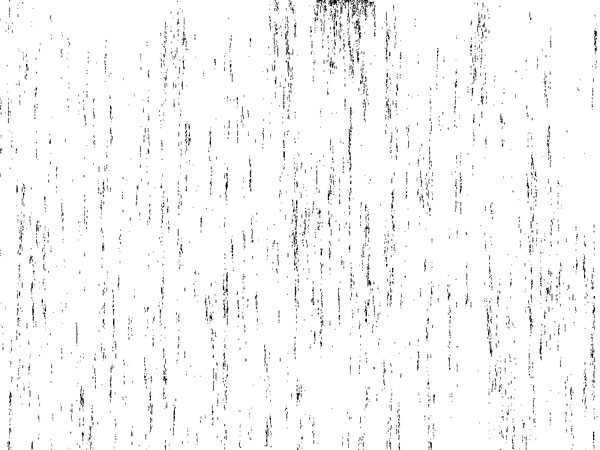
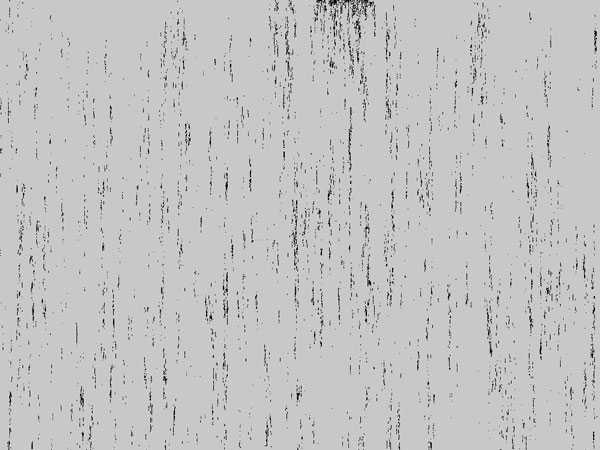
添加噪音.

新建一个图层。添加颜色为棕褐色。色码为:#e6e1cc。然后混合选项改为:颜色。

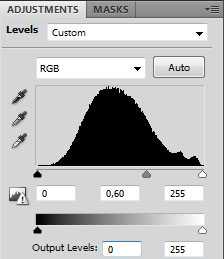
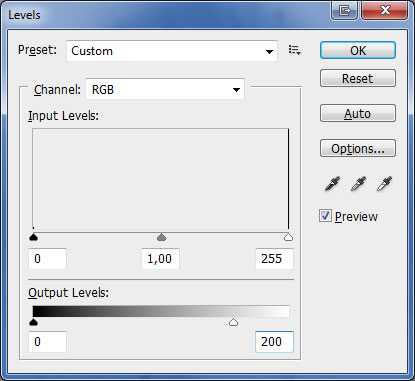
鼠标移到图层>新建调整图层>色阶。

再次新建一个图层,在渲染一个云彩出来。


现在我们在新建一个图层。我们这里要拉一个渐变。颜色为#e5e5e5和#000000.把混合选项改为:叠加。
新建一个图层,然后按D,变换前景色和背景色。然后到滤镜>渲染>云彩。
添加噪音.
新建一个图层。添加颜色为棕褐色。色码为:#e6e1cc。然后混合选项改为:颜色。
鼠标移到图层>新建调整图层>色阶。
再次新建一个图层,在渲染一个云彩出来。
现在我们在新建一个图层。我们这里要拉一个渐变。颜色为#e5e5e5和#000000.把混合选项改为:叠加。