PhotoShop将人像照片打造出时尚色片灯光效果
平面设计 发布日期:2026/5/19 浏览次数:1
正在浏览:PhotoShop将人像照片打造出时尚色片灯光效果
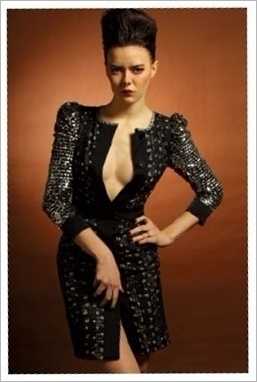
面部修饰
1、复制图层并对人物进行基础修饰。
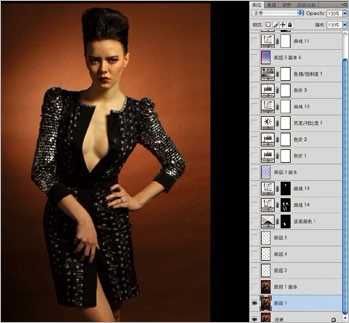
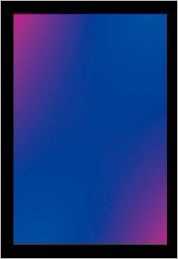
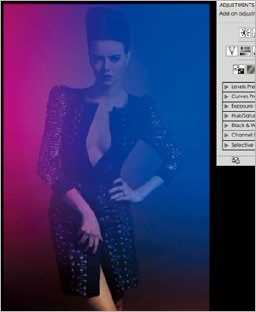
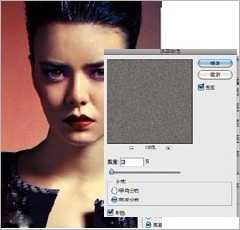
添加渐变
2、新建一个渐变色彩的图层,对图片的混合模式,以及图层的透明度进行适当修改,效果看图片的要求而定。
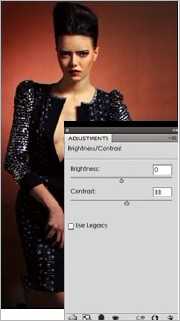
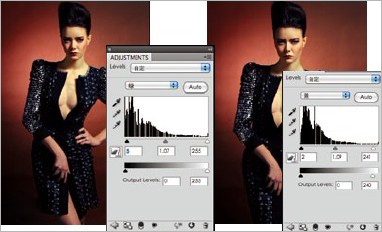
然后再看图片的感觉,适当的进行整体的反差以及色调调整。
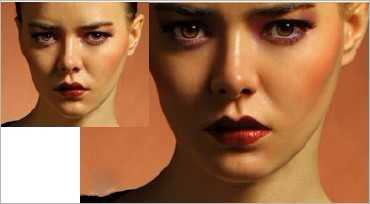
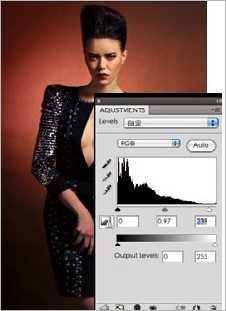
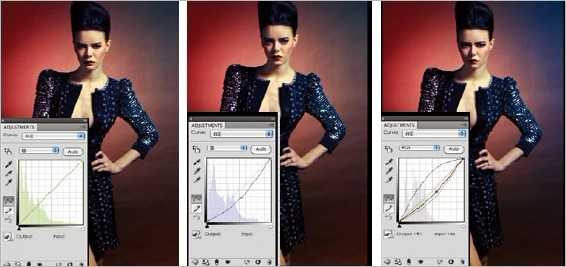
调整肤色
3、对人物的肤色进行调整。
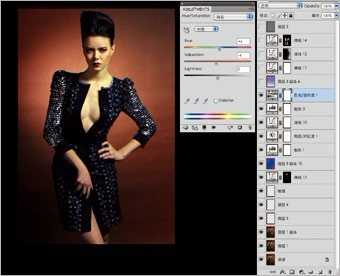
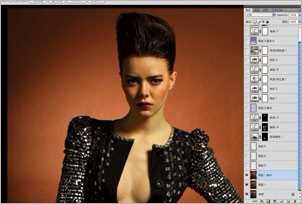
调整渐变色
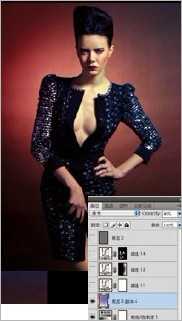
4、现在基本的色调已经出现,我们可以进行大范围调整色彩,直接用紫色和蓝色渐变的图层,改变混合模式和透明度,让背景的色彩统一。
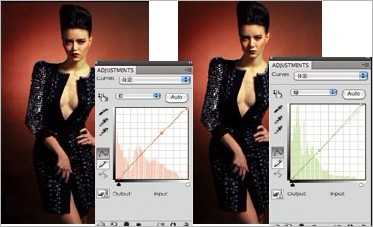
细节调整
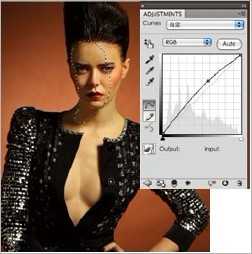
5、现在感觉颜色还稍微差一点,我们可以通过曲线工具直接调整。

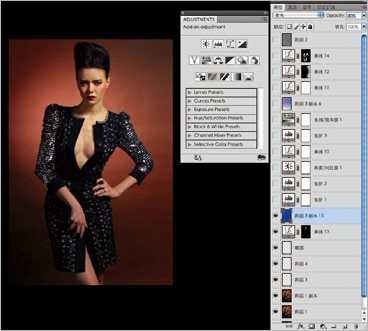
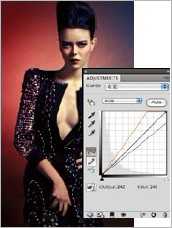
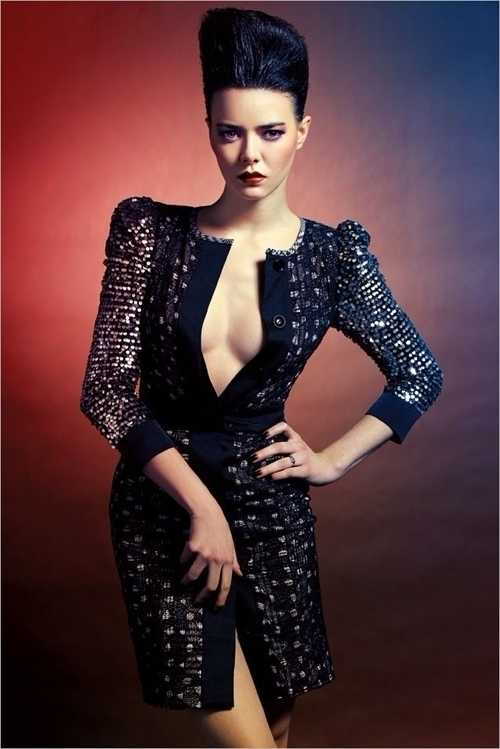
最后润饰
6、对画面的高光部分进行色彩的调整,让服装亮片的颜色变暖色。
面部修饰
1、复制图层并对人物进行基础修饰。
添加渐变
2、新建一个渐变色彩的图层,对图片的混合模式,以及图层的透明度进行适当修改,效果看图片的要求而定。
然后再看图片的感觉,适当的进行整体的反差以及色调调整。
调整肤色
3、对人物的肤色进行调整。
调整渐变色
4、现在基本的色调已经出现,我们可以进行大范围调整色彩,直接用紫色和蓝色渐变的图层,改变混合模式和透明度,让背景的色彩统一。
细节调整
5、现在感觉颜色还稍微差一点,我们可以通过曲线工具直接调整。
最后润饰
6、对画面的高光部分进行色彩的调整,让服装亮片的颜色变暖色。