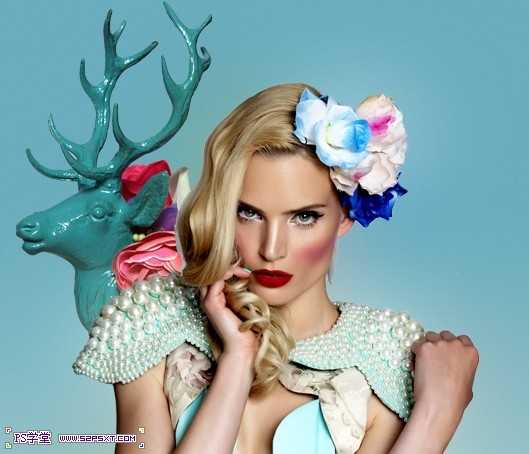
photoshop合成制作出圣诞元素时尚女郎海报(国外翻译教程)
平面设计 发布日期:2026/4/5 浏览次数:1
正在浏览:photoshop合成制作出圣诞元素时尚女郎海报(国外翻译教程)
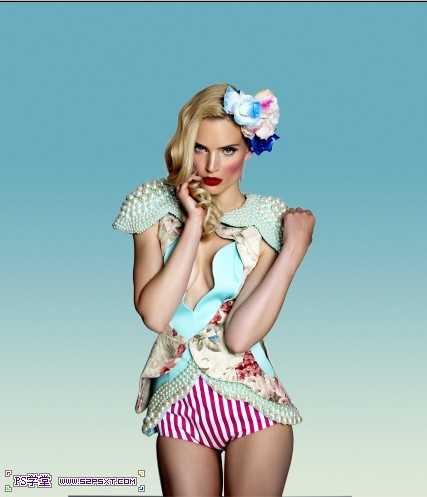
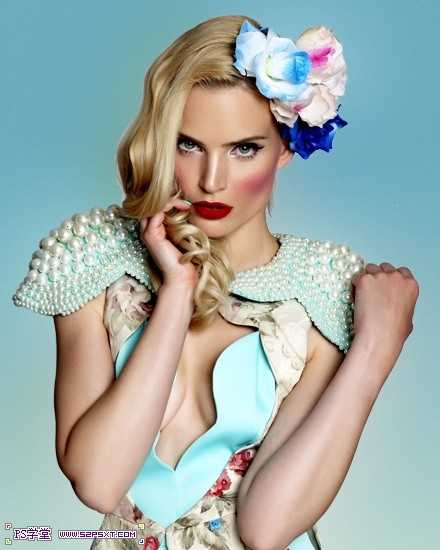
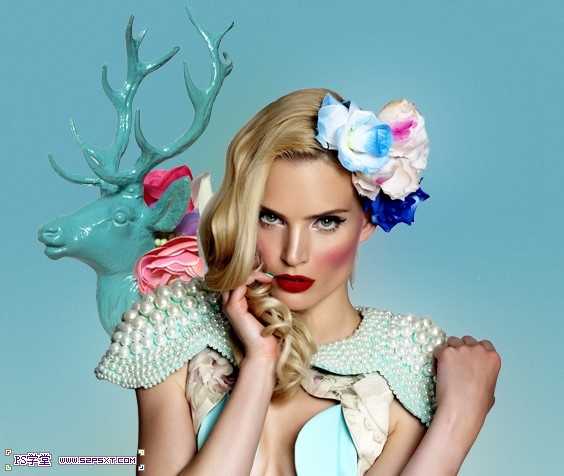
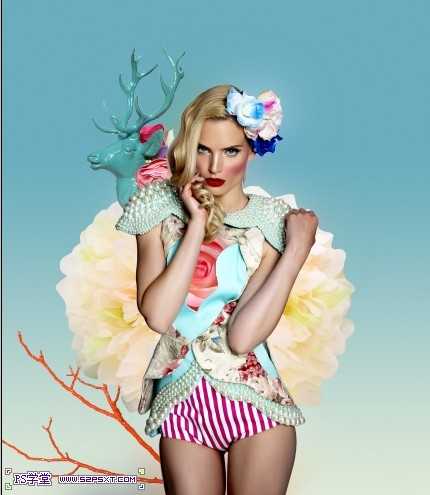
最终效果图:

photoshop教程教程:
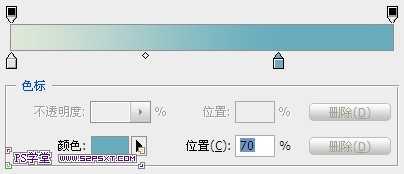
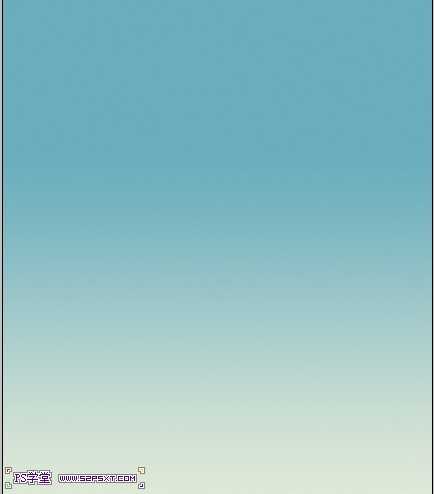
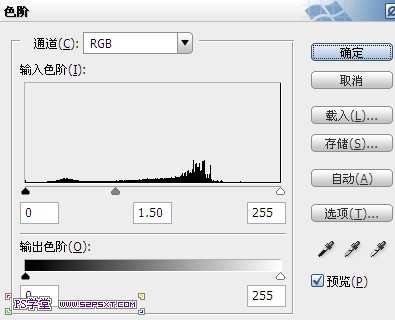
1.新建850*1000PX文档,设置前景色为#68acbd,背景色为#dfe8d7,拉一个蓝色背景渐变,如下图
上一页12 下一页 阅读全文
photoshop教程教程:
1.新建850*1000PX文档,设置前景色为#68acbd,背景色为#dfe8d7,拉一个蓝色背景渐变,如下图
上一页12 下一页 阅读全文