PhotoShop将普通美女人像调制出清爽自然的效果教程
平面设计 发布日期:2026/4/3 浏览次数:1
正在浏览:PhotoShop将普通美女人像调制出清爽自然的效果教程
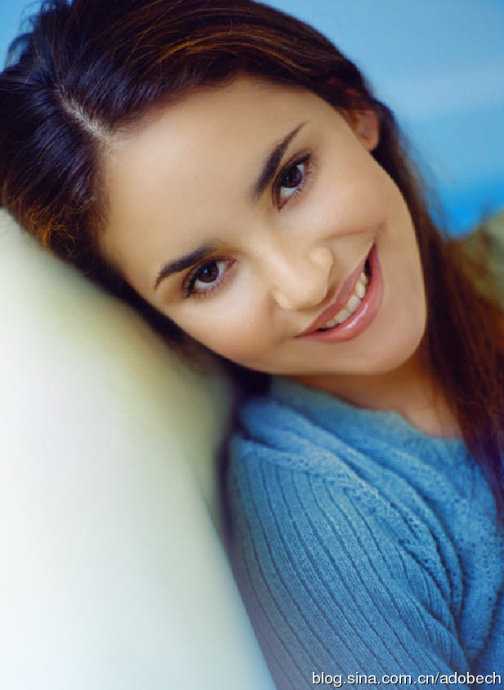
效果图:
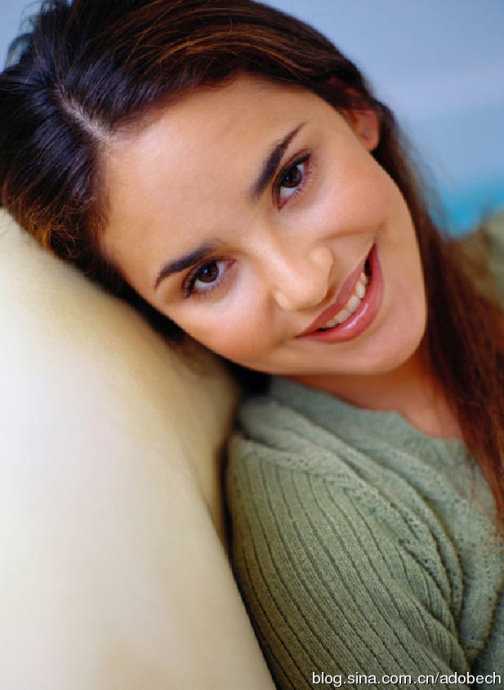

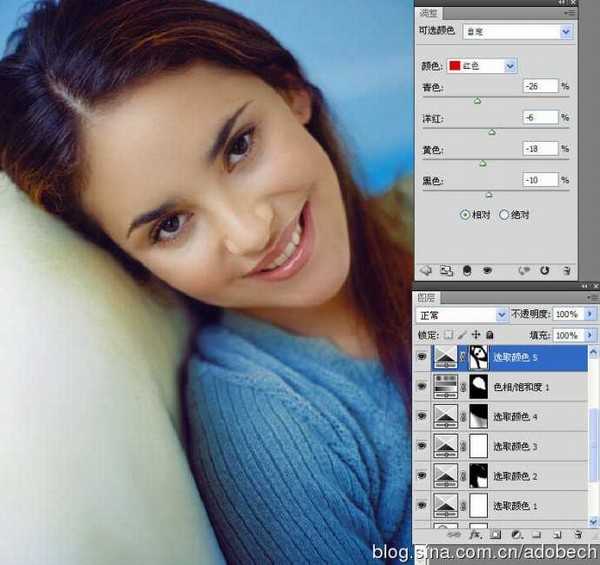
如下图:
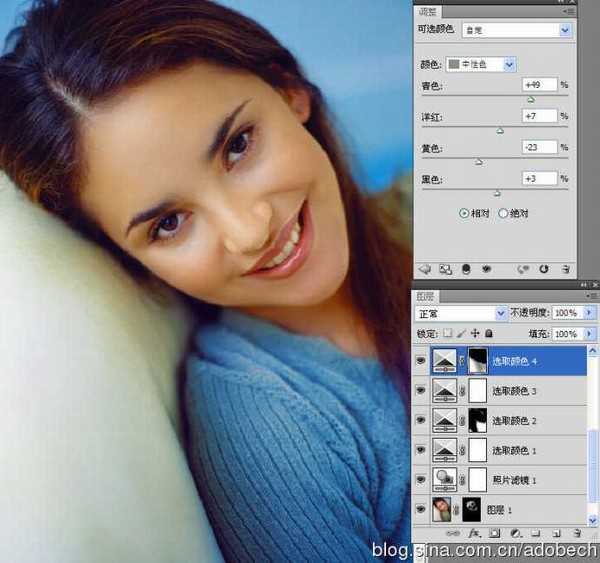

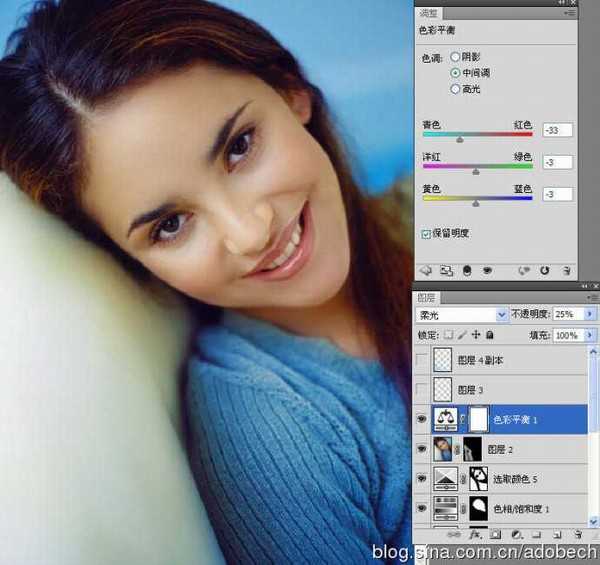
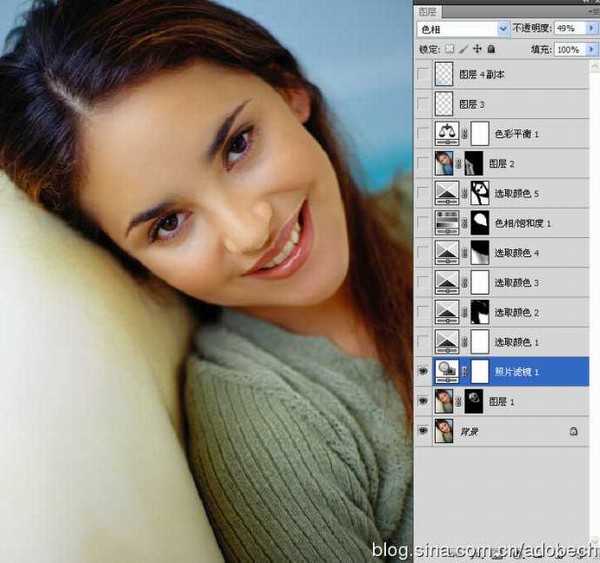
如下图: