Photoshop为偏暗的室内人像图片打造出梦幻的紫色
平面设计 发布日期:2026/4/4 浏览次数:1
正在浏览:Photoshop为偏暗的室内人像图片打造出梦幻的紫色
原图

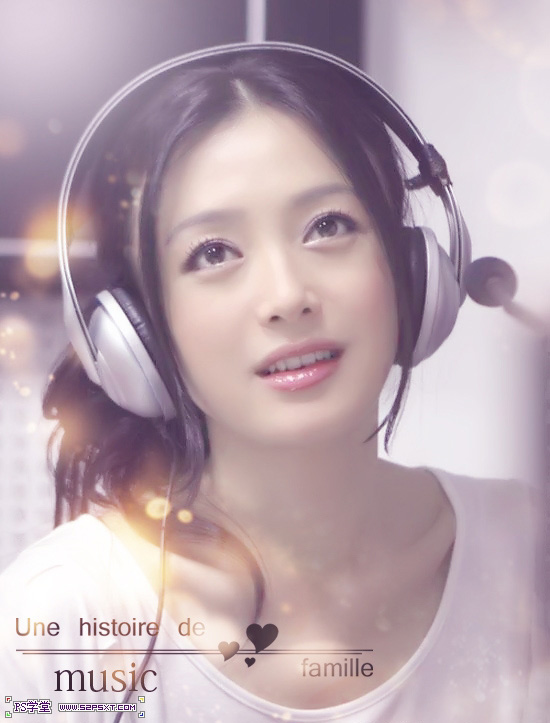
最终效果
1、打开原图:复制一层。
2、用Portraiture滤镜简单磨一下皮。
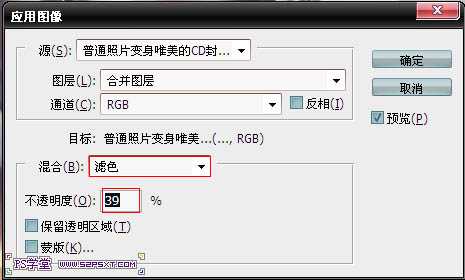
3、图像-应用图像-由于画面人物偏暗,我们适当调亮些 ,不透明度在40左右,我也忘记当时给的是多少了,,看你个人喜爱调吧。
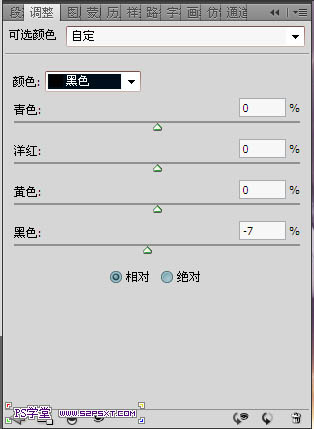
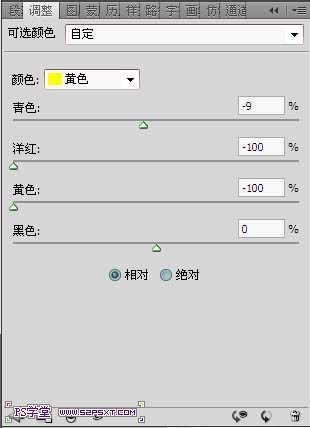
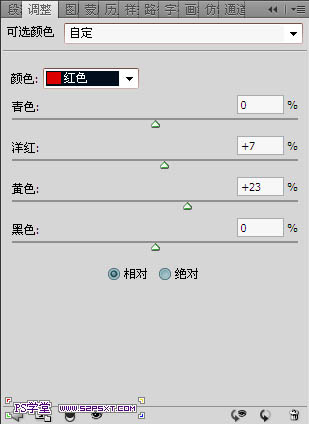
4、调色,创建可选颜色调整图层,数值如下图。
5、新建一个图层,填充:e7b8f6-图层模式:柔光-不透明度75%,柔美的紫色梦幻就出来。
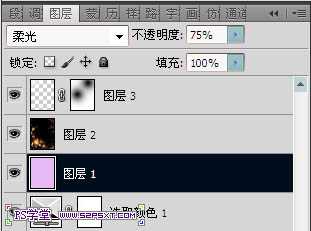
6、效果已经完成了,看起来还素比较平凡,把高光素材拉进来吧,混合模式改为“滤色”,梦幻度瞬间提高了很多有没有?这张素材很不错哦, 记得收藏起来。

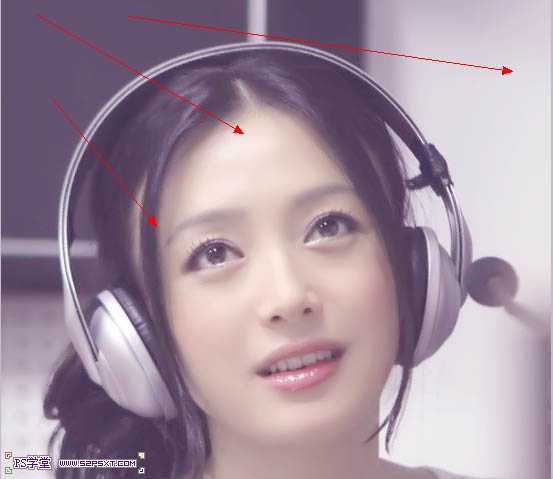
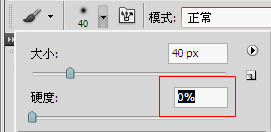
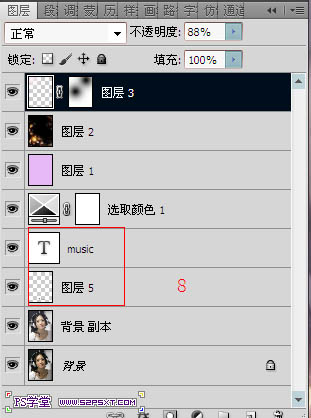
7、给图片加个光源: 看图有没有:光是从左上角过来的,新建一个图层:选择柔角画笔这时候,新学习的同学肯定要问了:什么是柔角画笔?别急,慢慢看:柔角画笔指的是硬度为0的画笔,看截图吧。

8、加上装饰文字。

最终效果:
最终效果
1、打开原图:复制一层。
2、用Portraiture滤镜简单磨一下皮。
3、图像-应用图像-由于画面人物偏暗,我们适当调亮些 ,不透明度在40左右,我也忘记当时给的是多少了,,看你个人喜爱调吧。
4、调色,创建可选颜色调整图层,数值如下图。
5、新建一个图层,填充:e7b8f6-图层模式:柔光-不透明度75%,柔美的紫色梦幻就出来。
6、效果已经完成了,看起来还素比较平凡,把高光素材拉进来吧,混合模式改为“滤色”,梦幻度瞬间提高了很多有没有?这张素材很不错哦, 记得收藏起来。
7、给图片加个光源: 看图有没有:光是从左上角过来的,新建一个图层:选择柔角画笔这时候,新学习的同学肯定要问了:什么是柔角画笔?别急,慢慢看:柔角画笔指的是硬度为0的画笔,看截图吧。
8、加上装饰文字。
最终效果: