Photoshop设计打造出一朵创意的水玫瑰
平面设计 发布日期:2026/6/12 浏览次数:1
正在浏览:Photoshop设计打造出一朵创意的水玫瑰
原图

最终效果

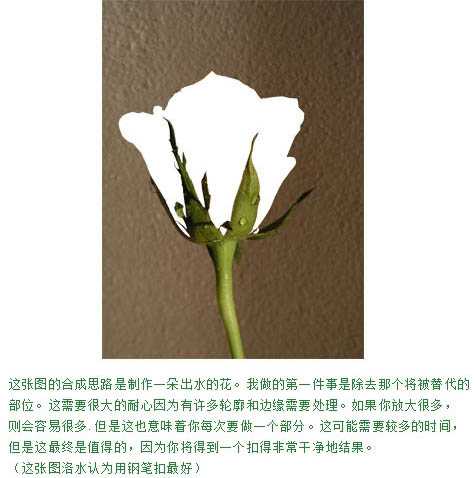
1、打开素材,这张图的合成思路是制作一朵出水的花。我做的第一件事是除去那个将被替代的部分。这需要很大的耐心,因为有许多轮廓和边缘需要处理。
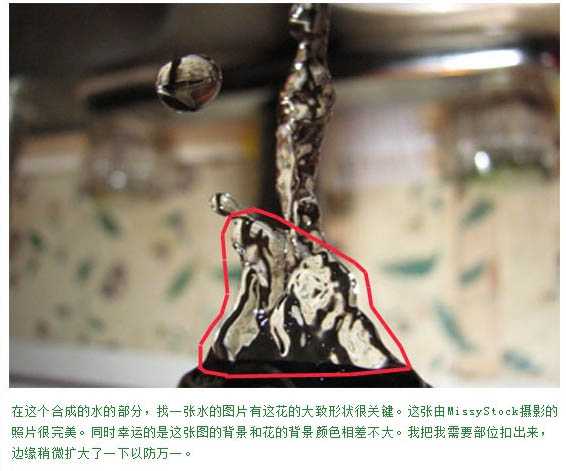
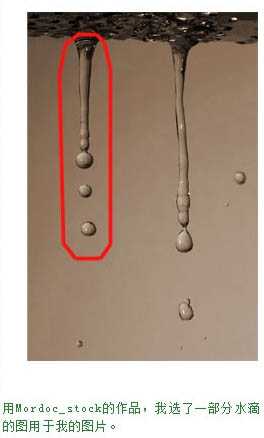
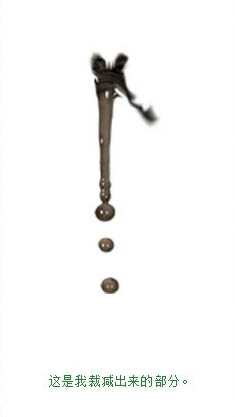
2、在这个合成的水的部分,找一张水滴素材。把需要的部分抠出来,边缘稍微扩大一下。

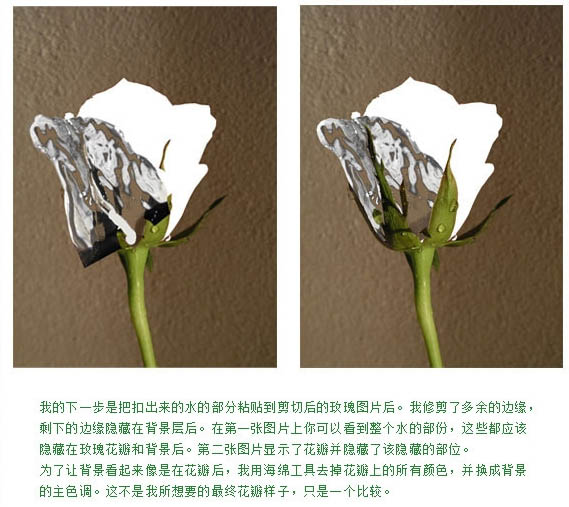
3、这一步是把抠出来的水的部分粘贴到剪切后的玫瑰图片后。我修剪了多余的边缘,剩下的边缘影藏在背景层后。
4、在为每片花瓣找到正确角度后,我制作了这个玫瑰花瓣的基本形状。

5、这是花瓣排列好后的样子。

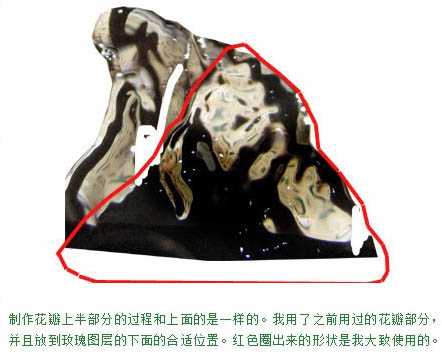
6、制作花瓣上半部分的过程和上面的是一样的。我用了之前用过的水珠部分,放到玫瑰图层的下面的合适位置。
7、上半部分及下半部分对比图。

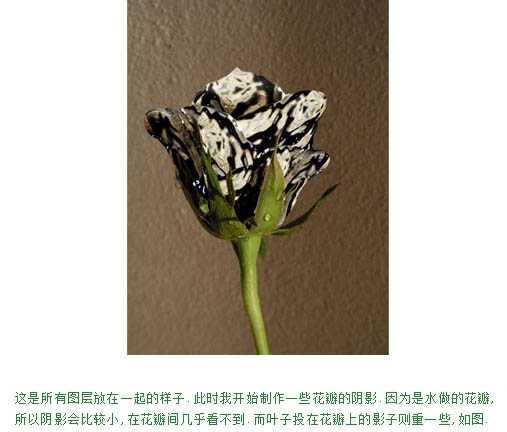
8、这是所有图层放在一起的样子。此时我开始制作一些花瓣的阴影,以往内是水做的花瓣,所以阴影会比较小。在花瓣间几乎看不到,而叶子投在花瓣上的影子则重一些,如下图。
9、现在开始做的工具就是让水做的花瓣和背景融合。

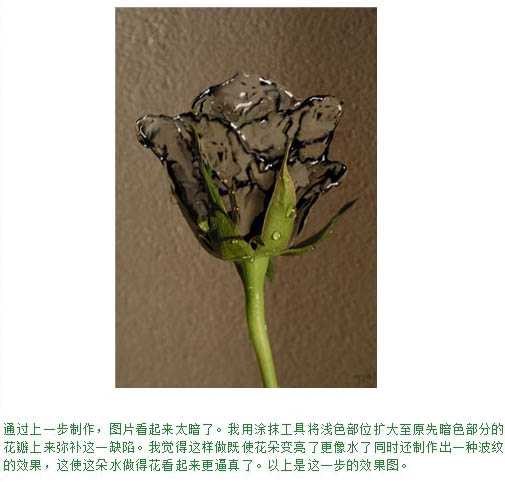
10、通过上一步制作,图片看起来太暗了。我用涂抹工具将浅色部分扩大至原先暗色部分的花瓣上来弥补这一缺陷。
11、我选了一部分水滴的图用于花瓣部分。

12、这是将水滴图加入合成图后的样子。
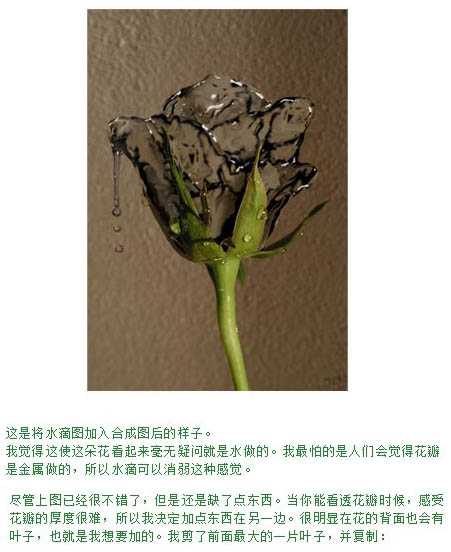
13、叶子部分也需要处理一下,过程如下图。

最终效果:
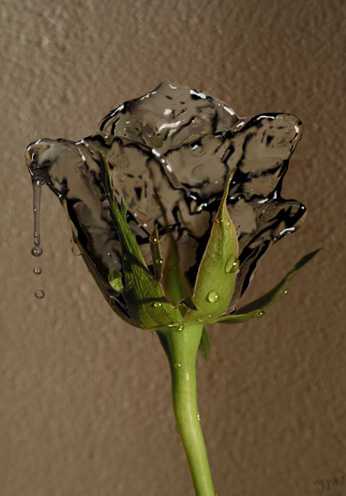
最终效果
1、打开素材,这张图的合成思路是制作一朵出水的花。我做的第一件事是除去那个将被替代的部分。这需要很大的耐心,因为有许多轮廓和边缘需要处理。
2、在这个合成的水的部分,找一张水滴素材。把需要的部分抠出来,边缘稍微扩大一下。
3、这一步是把抠出来的水的部分粘贴到剪切后的玫瑰图片后。我修剪了多余的边缘,剩下的边缘影藏在背景层后。
4、在为每片花瓣找到正确角度后,我制作了这个玫瑰花瓣的基本形状。
5、这是花瓣排列好后的样子。
6、制作花瓣上半部分的过程和上面的是一样的。我用了之前用过的水珠部分,放到玫瑰图层的下面的合适位置。
7、上半部分及下半部分对比图。
8、这是所有图层放在一起的样子。此时我开始制作一些花瓣的阴影,以往内是水做的花瓣,所以阴影会比较小。在花瓣间几乎看不到,而叶子投在花瓣上的影子则重一些,如下图。
9、现在开始做的工具就是让水做的花瓣和背景融合。
10、通过上一步制作,图片看起来太暗了。我用涂抹工具将浅色部分扩大至原先暗色部分的花瓣上来弥补这一缺陷。
11、我选了一部分水滴的图用于花瓣部分。
12、这是将水滴图加入合成图后的样子。
13、叶子部分也需要处理一下,过程如下图。
最终效果: