Photoshop为偏暗模糊的人像图片快速打造出高清低饱和效果
平面设计 发布日期:2026/1/1 浏览次数:1
正在浏览:Photoshop为偏暗模糊的人像图片快速打造出高清低饱和效果
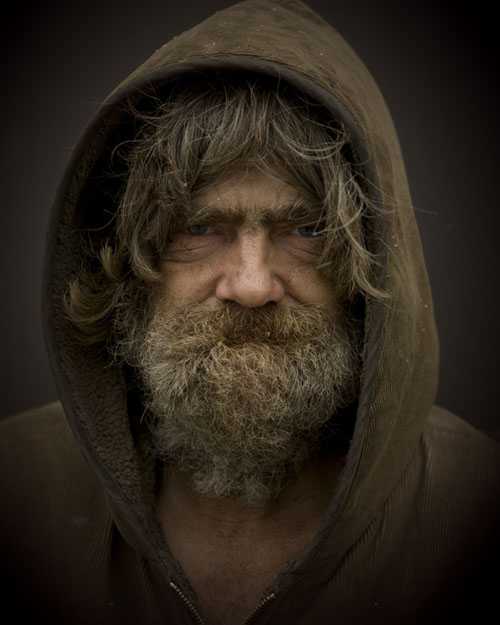
原图
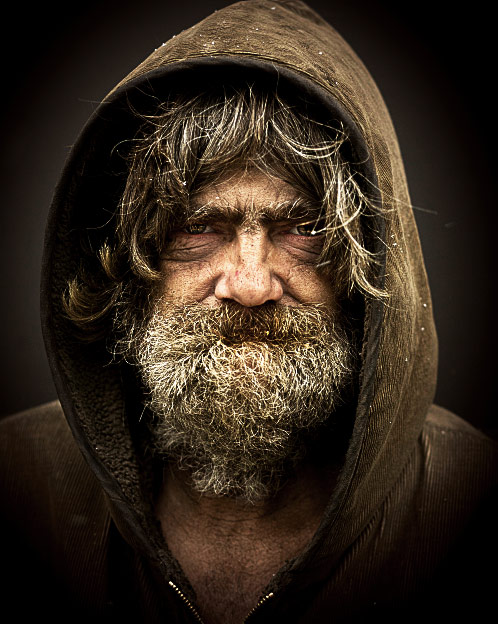
最终效果
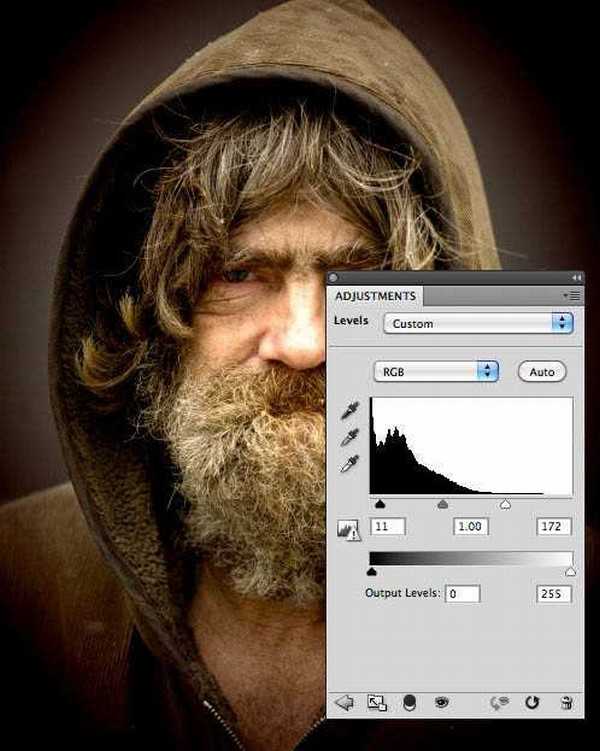
1、首先,让我们添加一个色阶调整层,加强整体的对比度,数值如下图。
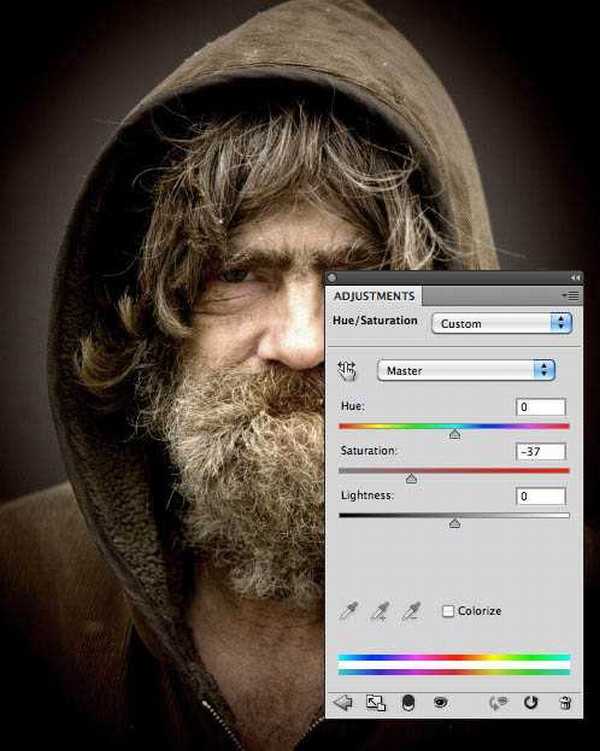
2、现在让我们添加一个色相/饱和度调整层,减少饱和度。如果你喜欢,你也可以在此步骤使用色相滑块调整色调。
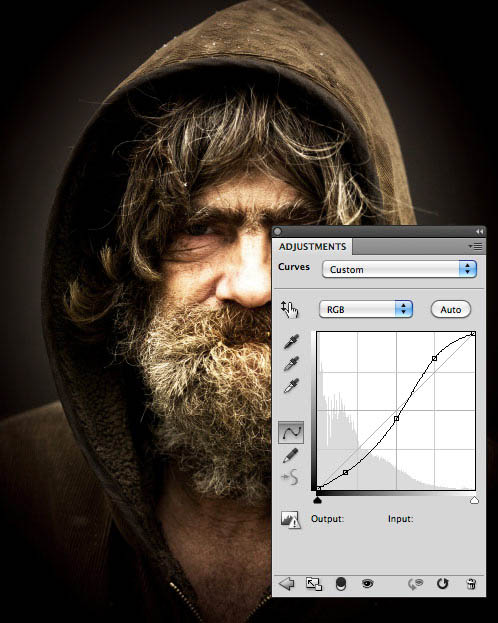
3、现在让我们添加一个曲线调整层,以进一步调整对比度和亮度。你需要添加三个节点调整,如下图。
4、现在,我们要增加清晰度。复制背景图层,按Ctrl + Shift + ] 置顶。然后执行:滤镜 > 其它 > 高反差保留,数值至少10。
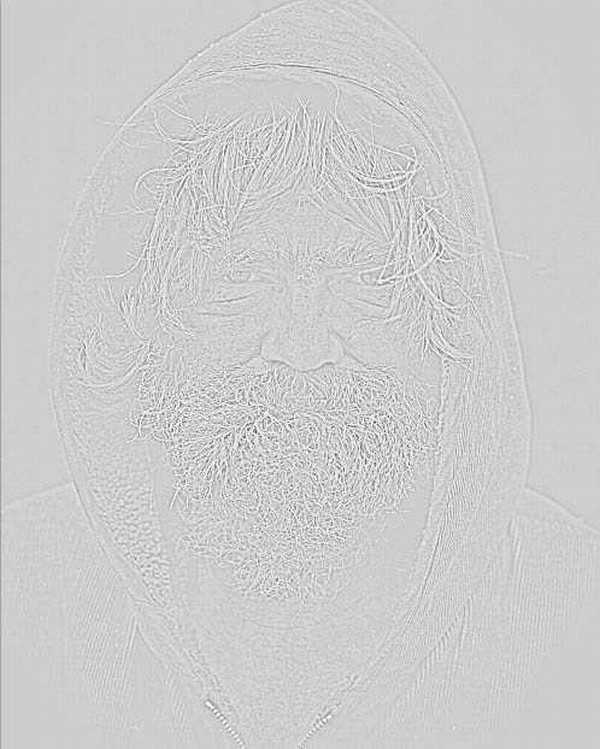
5、设置这一层的混合模式为“叠加”。
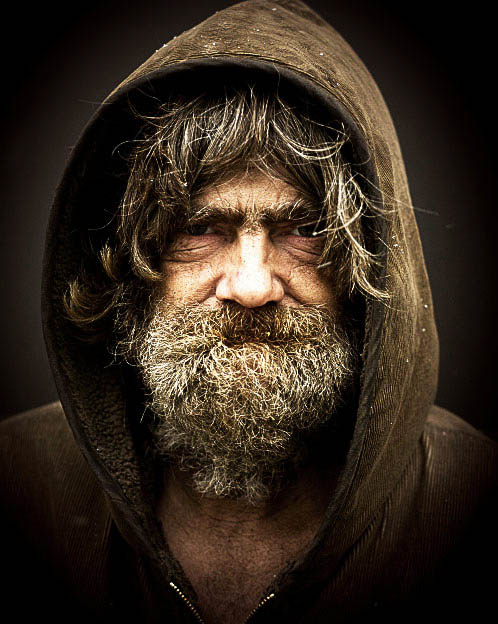
6、脸部有点过曝,需要简单用加深工具修复。
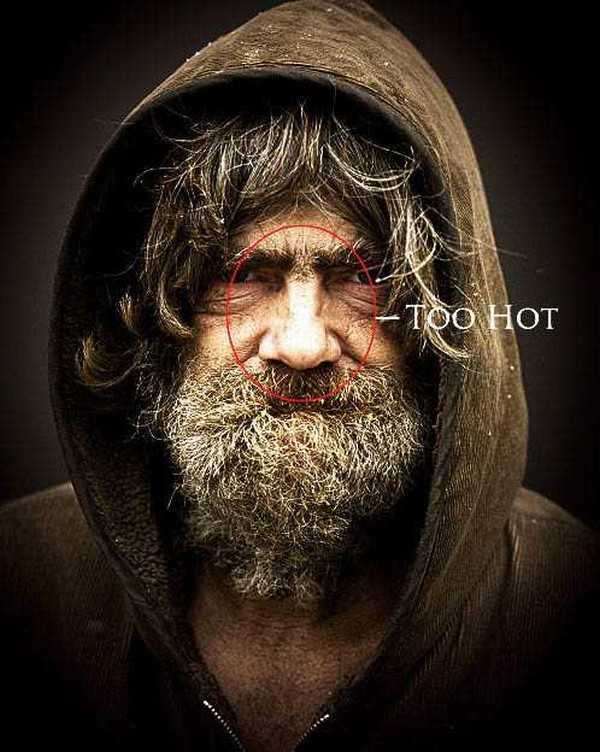
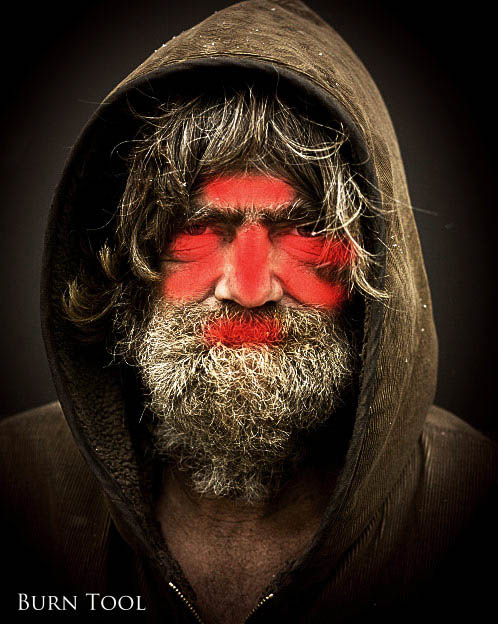
7、新建一个图层,按Ctrl + Alt + Shift + E 盖印图层。选择加深工具,曝光设置为:50%,把下图红色区域稍微涂暗一点。
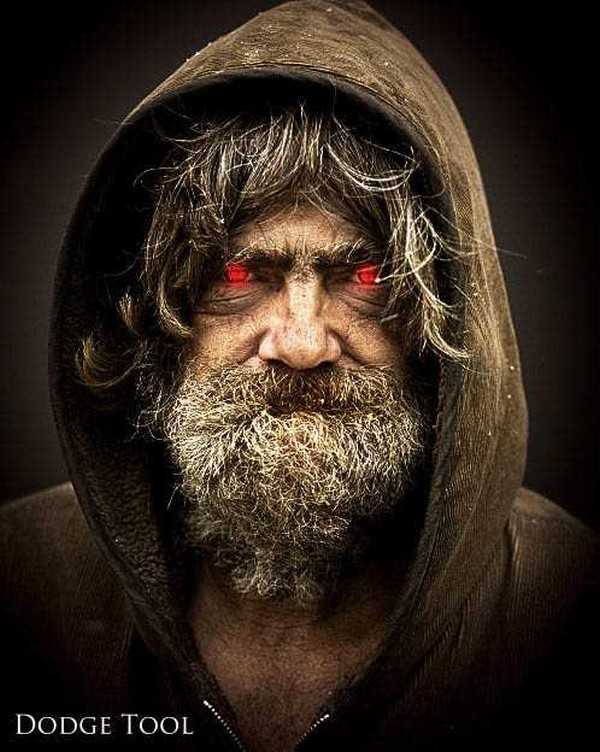
8、选择减淡工具把眼睛部分稍微涂亮一点。
最终效果:


最终效果

1、首先,让我们添加一个色阶调整层,加强整体的对比度,数值如下图。

2、现在让我们添加一个色相/饱和度调整层,减少饱和度。如果你喜欢,你也可以在此步骤使用色相滑块调整色调。

3、现在让我们添加一个曲线调整层,以进一步调整对比度和亮度。你需要添加三个节点调整,如下图。

4、现在,我们要增加清晰度。复制背景图层,按Ctrl + Shift + ] 置顶。然后执行:滤镜 > 其它 > 高反差保留,数值至少10。

5、设置这一层的混合模式为“叠加”。

6、脸部有点过曝,需要简单用加深工具修复。

7、新建一个图层,按Ctrl + Alt + Shift + E 盖印图层。选择加深工具,曝光设置为:50%,把下图红色区域稍微涂暗一点。

8、选择减淡工具把眼睛部分稍微涂亮一点。

最终效果:
