Photoshop为室内人像图片增加中性红黄色质感肤色
平面设计 发布日期:2026/4/7 浏览次数:1
正在浏览:Photoshop为室内人像图片增加中性红黄色质感肤色
原图

最终效果

1、打开原图素材,创建曲线调整图层,对红,蓝进行调整,参数设置如图1,2,效果如图3。这一步增加图片的红黄色。

<图1>

<图2>
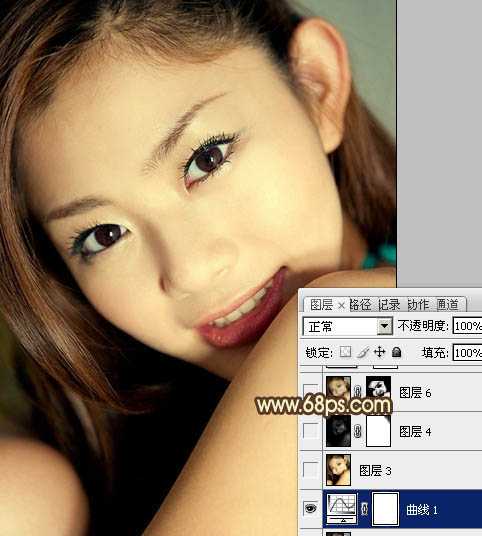
<图3>
2、新建一个图层,按Ctrl + Alt + Shift + E 盖印图层。进入通道面板,把绿色通道复制一层,对绿副本通道进行调整,用曲线压暗一点,只保留脸部,其它部分用黑色画笔擦掉,效果如下图。然后按Ctrl + A 全选。

<图4>
3、回到图层面板,新建一个图层,按Ctrl + V 把复制的绿副本通道复制进来,图层不透明度改为:20%,效果如下图。这两步是加强人物脸部肤色质感。
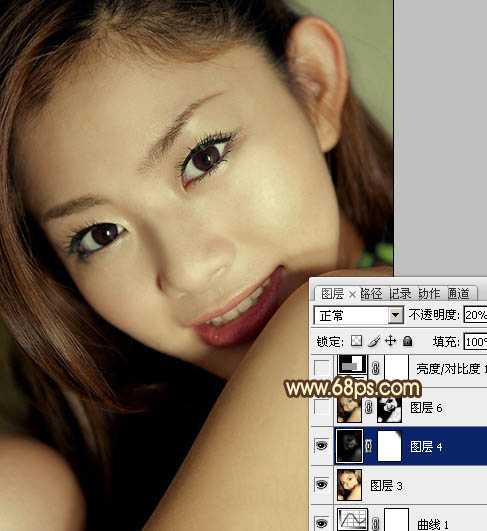
<图5>
4、新建一个图层,盖印图层。简单给人物磨一下皮,大致效果如下图。

<图6>
5、创建亮度/对比度调整图层,参数设置如图7,效果如图8。这一步增加肤色对比度。
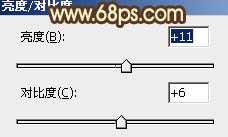
<图7>

<图8>
上一页12 下一页 阅读全文
最终效果
1、打开原图素材,创建曲线调整图层,对红,蓝进行调整,参数设置如图1,2,效果如图3。这一步增加图片的红黄色。
<图1>
<图2>
<图3>
2、新建一个图层,按Ctrl + Alt + Shift + E 盖印图层。进入通道面板,把绿色通道复制一层,对绿副本通道进行调整,用曲线压暗一点,只保留脸部,其它部分用黑色画笔擦掉,效果如下图。然后按Ctrl + A 全选。
<图4>
3、回到图层面板,新建一个图层,按Ctrl + V 把复制的绿副本通道复制进来,图层不透明度改为:20%,效果如下图。这两步是加强人物脸部肤色质感。
<图5>
4、新建一个图层,盖印图层。简单给人物磨一下皮,大致效果如下图。
<图6>
5、创建亮度/对比度调整图层,参数设置如图7,效果如图8。这一步增加肤色对比度。
<图7>
<图8>
上一页12 下一页 阅读全文