洋芋片photoshop唯美转手绘教程
平面设计 发布日期:2026/5/20 浏览次数:1
正在浏览:洋芋片photoshop唯美转手绘教程
制作过程有任何疑问可以加作者的QQ:408280966。
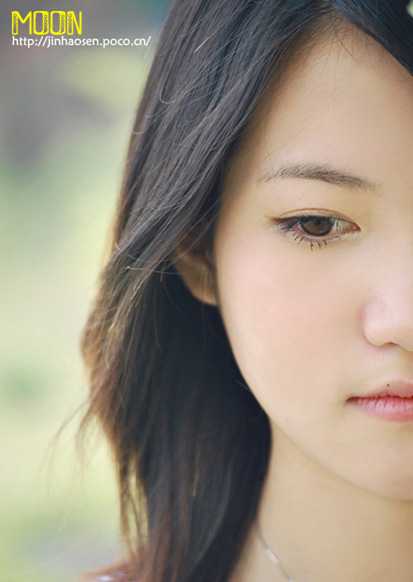
原图
最终效果

1、打开原图进行磨皮、调色、液化。

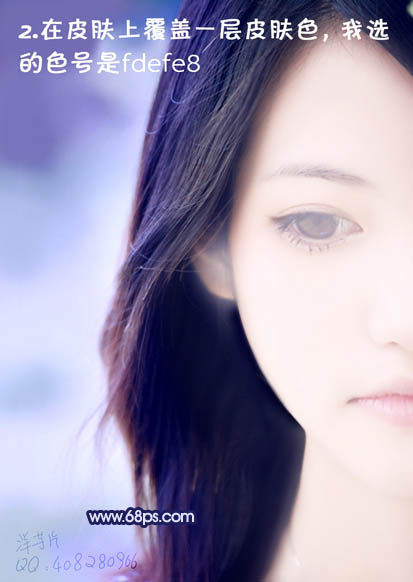
2、新建一个图层,在皮肤上覆盖一层皮肤色,我选的色号是:#fdefe8。
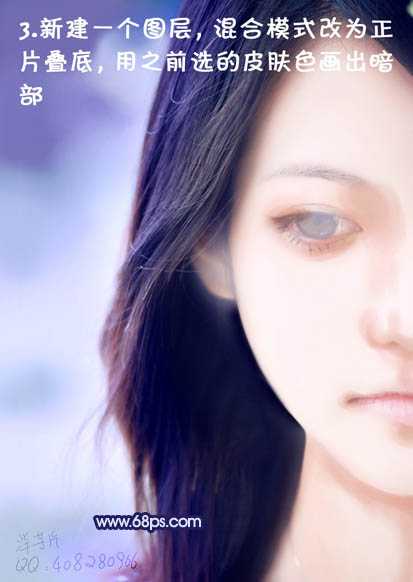
3、新建一个图层,混合模式改为“正片叠底”,用之前选的皮肤色画出暗部。
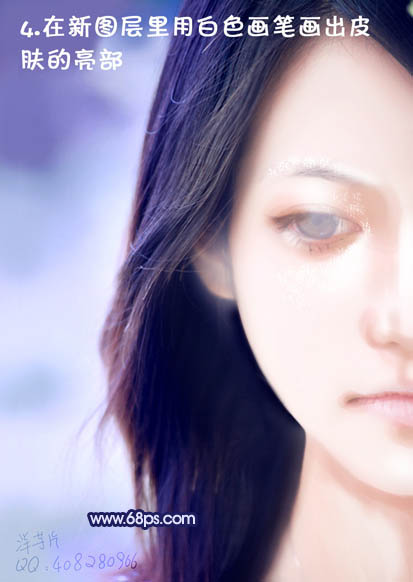
4、新建一个图层,用白色画笔画出皮肤的亮部。
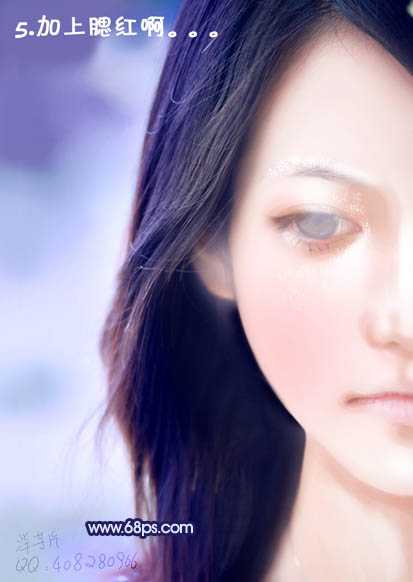
5、新建一个图层,用画笔涂上淡红色腮红。
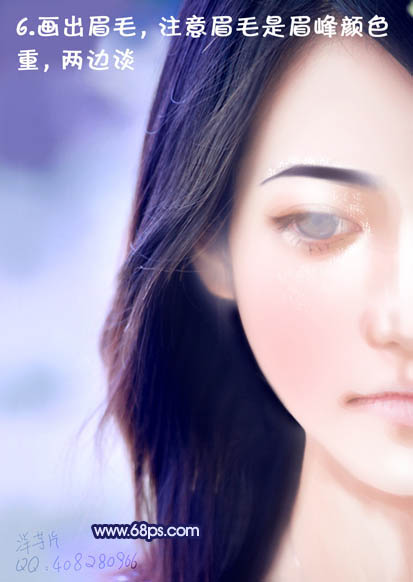
6、同上新建图层后画出眉毛,注意眉毛是眉峰颜色重,两边淡。
7、在之前的皮肤底色层建立一个蒙版,把五官擦出来。

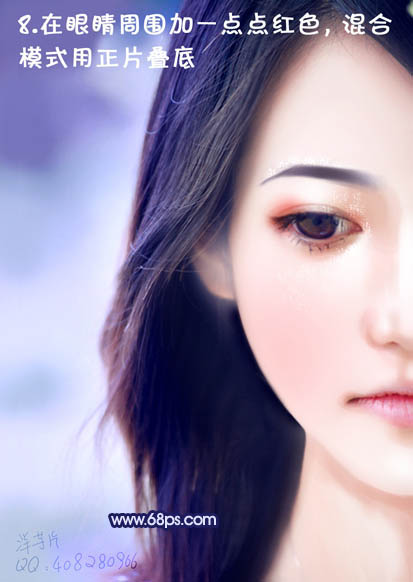
8、在眼睛周围加一点点红色,混合模式用“正片叠底”。
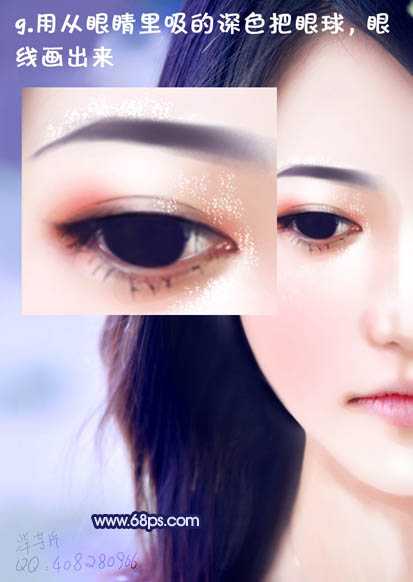
9、用从眼睛里吸的深色把眼球,眼线画出来。
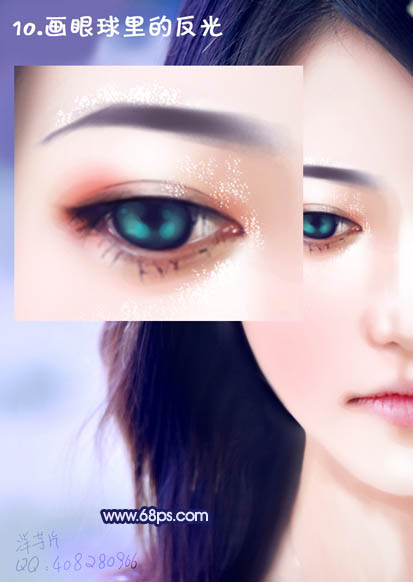
10、画眼球里的反光。
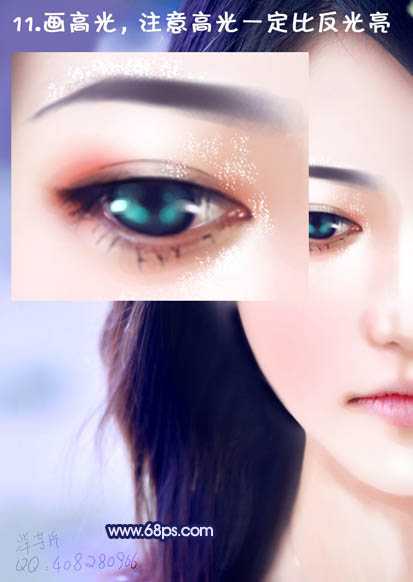
11、画高光,注意高光一定比反光亮。
上一页12 下一页 阅读全文
原图
最终效果
1、打开原图进行磨皮、调色、液化。
2、新建一个图层,在皮肤上覆盖一层皮肤色,我选的色号是:#fdefe8。
3、新建一个图层,混合模式改为“正片叠底”,用之前选的皮肤色画出暗部。
4、新建一个图层,用白色画笔画出皮肤的亮部。
5、新建一个图层,用画笔涂上淡红色腮红。
6、同上新建图层后画出眉毛,注意眉毛是眉峰颜色重,两边淡。
7、在之前的皮肤底色层建立一个蒙版,把五官擦出来。
8、在眼睛周围加一点点红色,混合模式用“正片叠底”。
9、用从眼睛里吸的深色把眼球,眼线画出来。
10、画眼球里的反光。
11、画高光,注意高光一定比反光亮。
上一页12 下一页 阅读全文