Photoshop将打造出非常有质感的黑白人像图片效果
平面设计 发布日期:2026/4/8 浏览次数:1
正在浏览:Photoshop将打造出非常有质感的黑白人像图片效果
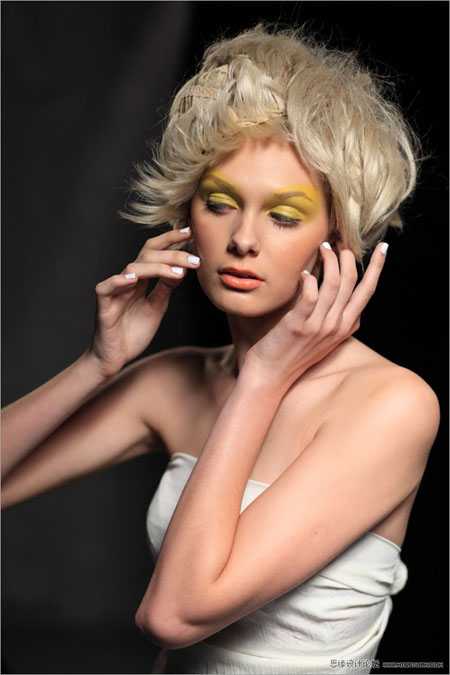
原图
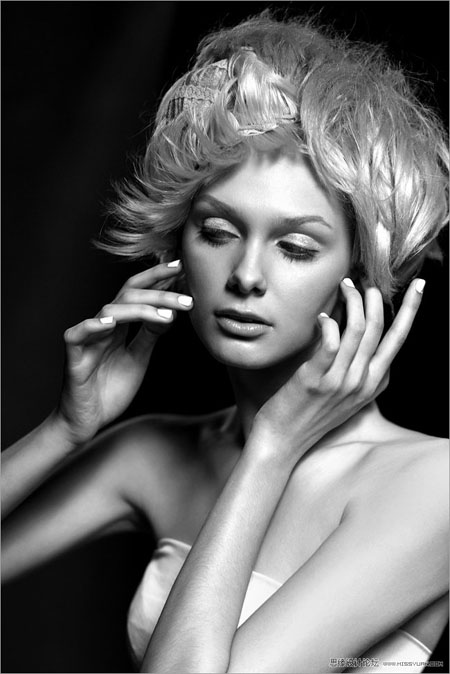
最终效果
1、打开原片,养成良好习惯,复制一个图层。
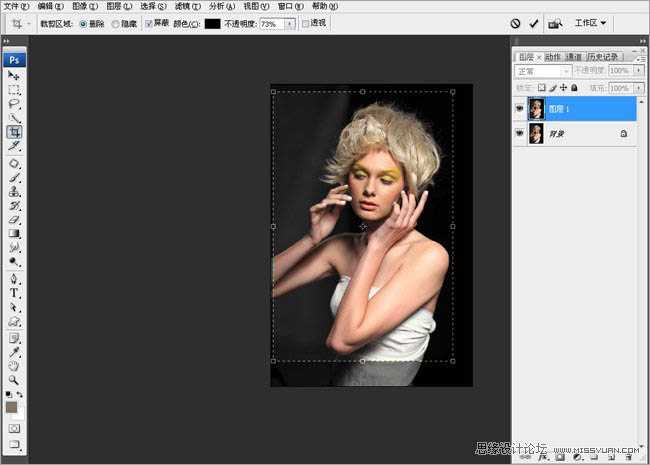
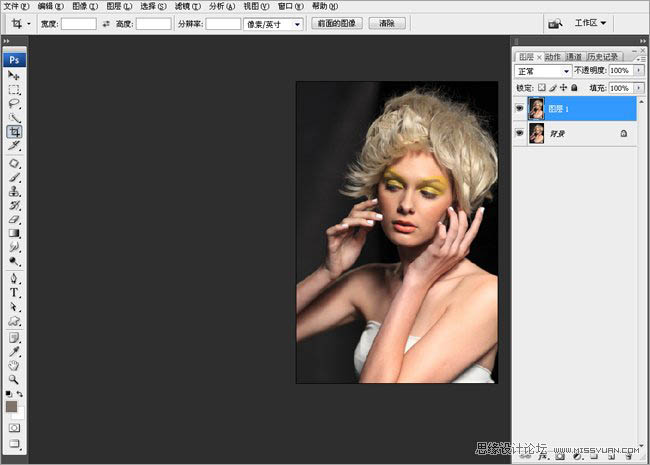
2、当时自己用85定焦拍摄,构图不是很严谨。首先对图片进行了剪裁。
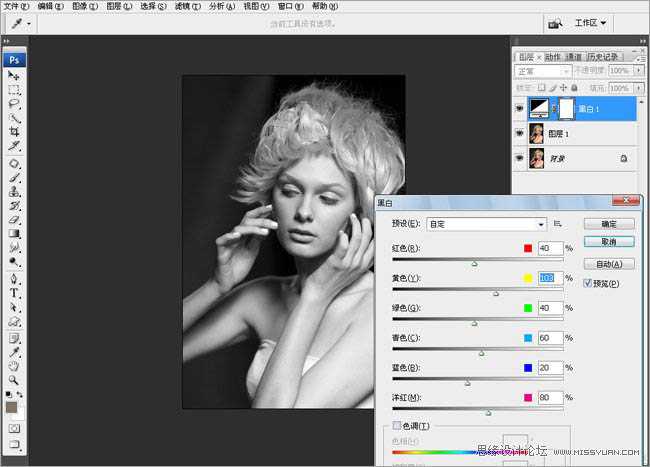
3、新建一个黑白调整层,具体可以调节参数。在这里调节了黄色通道的明度,因为原图是黄色眼影,但是感觉做成黑白以后,黄色眼影比较突出,所以现在把黄色眼影去掉,让眼影和肤色融为一体。
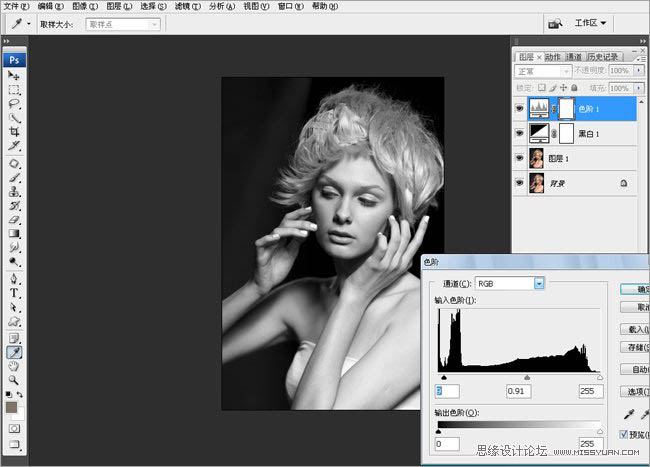
4、新建调整层 –色阶,按住ALT键,看图片暗部的信息,暗部不要太黑,中间灰稍微压暗点。
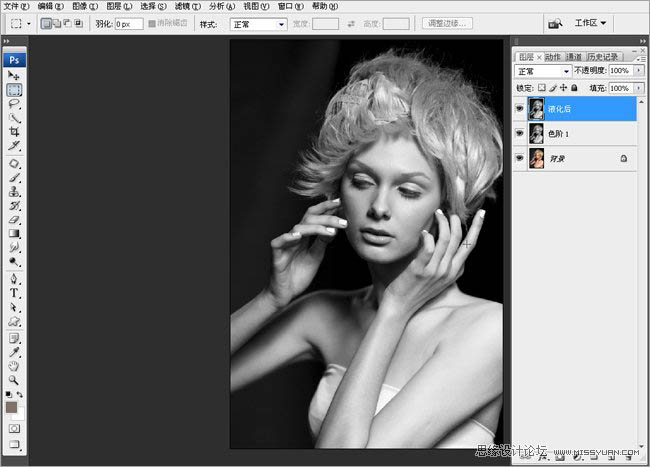
5、合并图层,对人物进行细致的液化,重点是脸型,五官,胳膊,脖子,手指等位置。
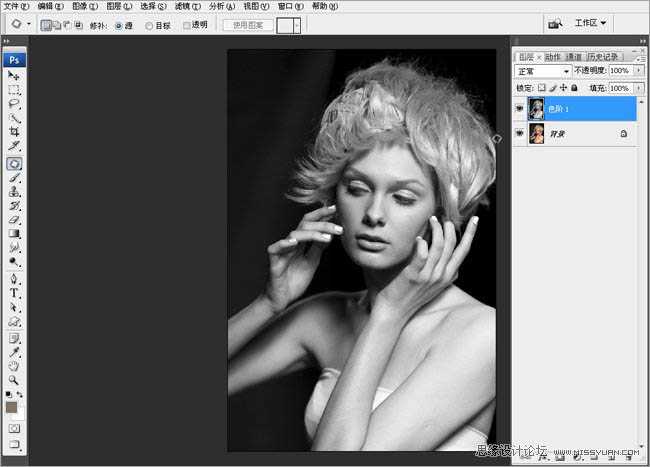
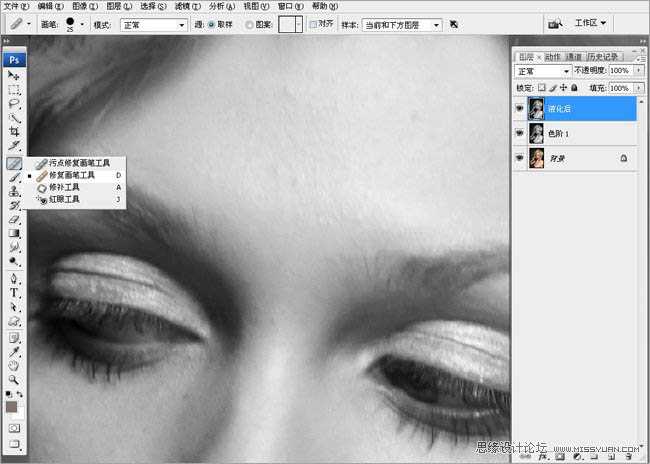
6、整体液化好以后,对人物的瑕疵进行细致修饰,这里仔细的用 修复画笔工具。
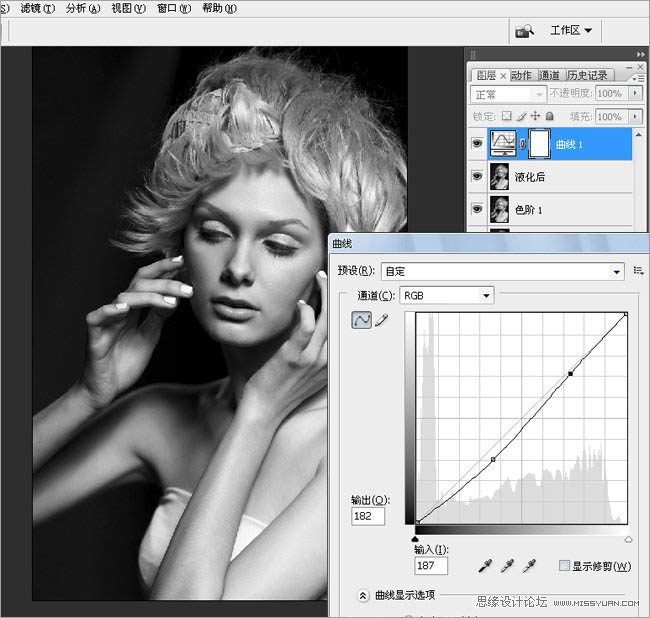
7、现在感觉整体还是偏亮,曲线整体的压暗。
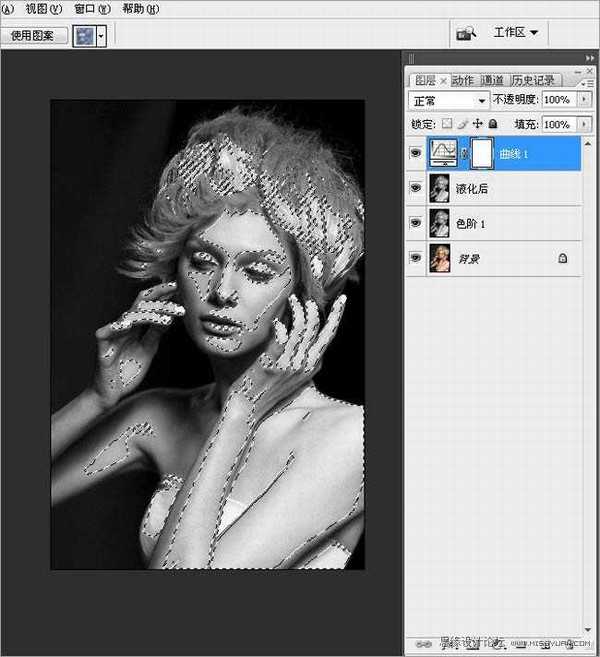
8、整体压暗以后,高光的区域,我们需要单独的来提亮一下。Ctrl+alt+` 选区高光区。
上一页12 下一页 阅读全文
最终效果
1、打开原片,养成良好习惯,复制一个图层。
2、当时自己用85定焦拍摄,构图不是很严谨。首先对图片进行了剪裁。
3、新建一个黑白调整层,具体可以调节参数。在这里调节了黄色通道的明度,因为原图是黄色眼影,但是感觉做成黑白以后,黄色眼影比较突出,所以现在把黄色眼影去掉,让眼影和肤色融为一体。
4、新建调整层 –色阶,按住ALT键,看图片暗部的信息,暗部不要太黑,中间灰稍微压暗点。
5、合并图层,对人物进行细致的液化,重点是脸型,五官,胳膊,脖子,手指等位置。
6、整体液化好以后,对人物的瑕疵进行细致修饰,这里仔细的用 修复画笔工具。
7、现在感觉整体还是偏亮,曲线整体的压暗。
8、整体压暗以后,高光的区域,我们需要单独的来提亮一下。Ctrl+alt+` 选区高光区。
上一页12 下一页 阅读全文