photoshop制作照片撕裂的效果
平面设计 发布日期:2026/4/7 浏览次数:1
正在浏览:photoshop制作照片撕裂的效果
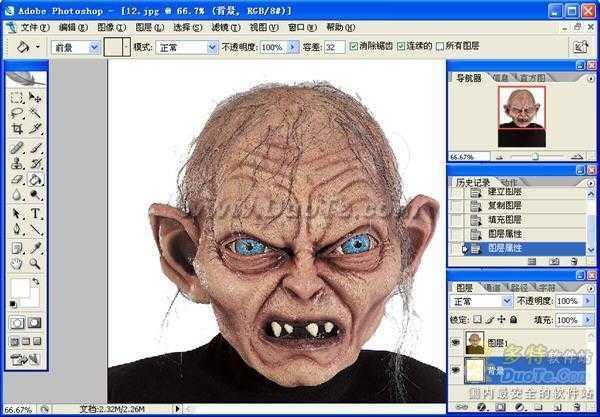
首先要准备素材,然后打开,接着复制图层。(把背景色,填充为白色)
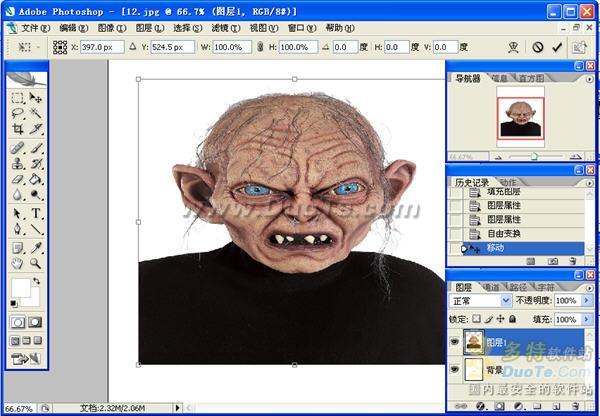
接着选择图层1,按ctrl+t调整大小。
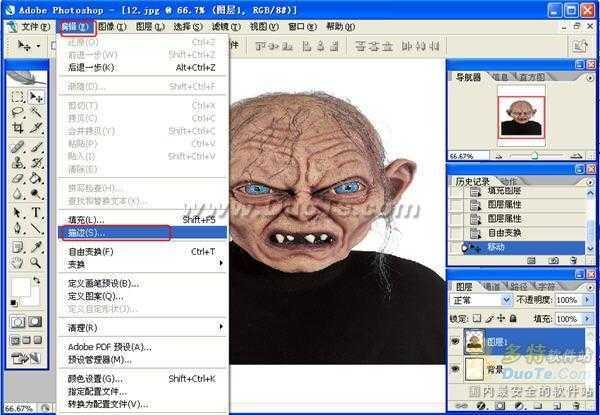
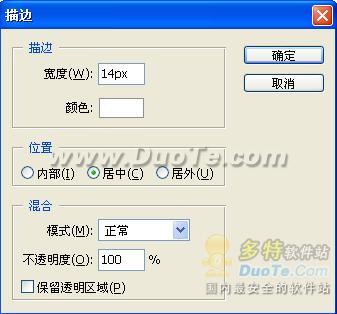
接下来就是描边,选择 编辑---描边。
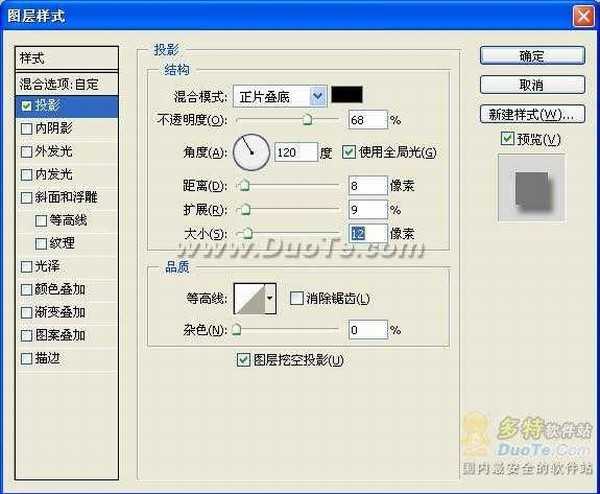
在选择 图层---图层样式----投影,如下图:
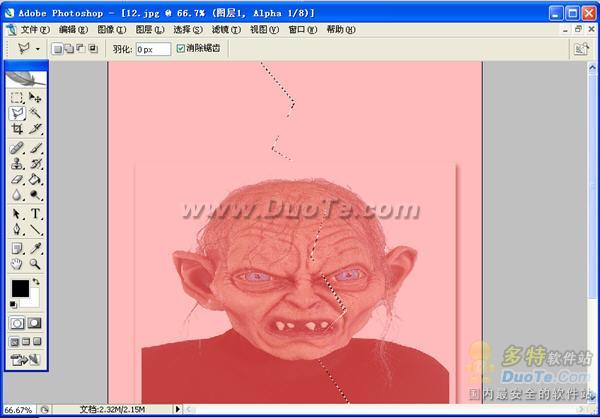
再来就是到通道新建一层,为了方便自己睇到想去撕的位址,把RGB的眼睛打开,如下图:

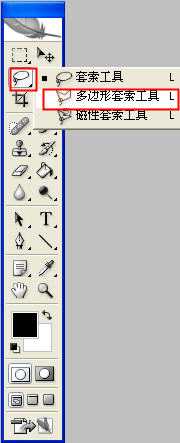
再用多边型套索工具,勾画出想要撕开的大概刑路径。
再把RGB的眼睛关了,把选到的选区填充成白色;
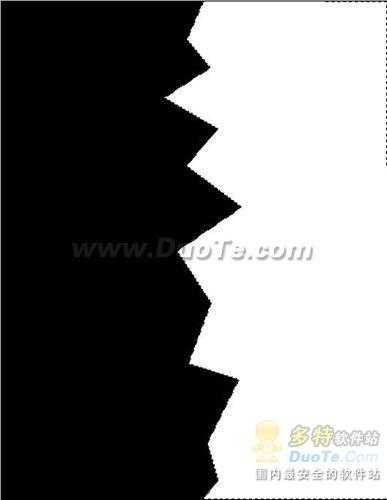
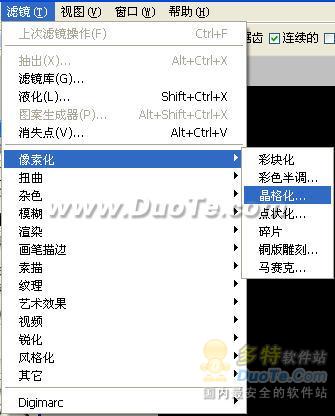
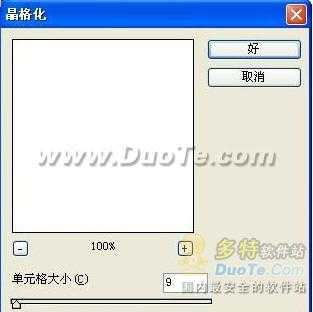
然后是把选区晶格化了,位址和数值如下图:
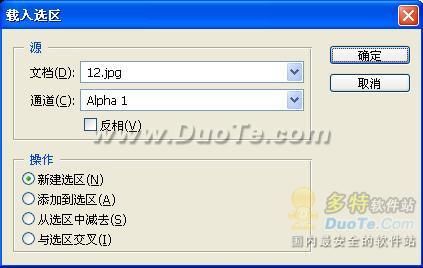
接下来,再回到图层,选到图层 1,载入选区,通道选择 Alpha 1,如图:
最后选择图层1,按ctrl+t把图层移动到自己想要撕开的位置。
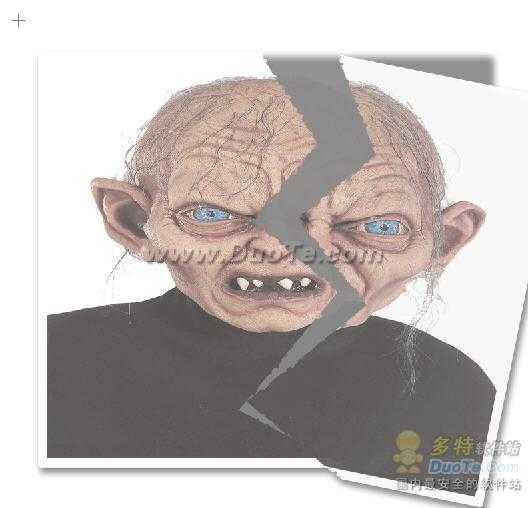
最终效果如下图:
接着选择图层1,按ctrl+t调整大小。
接下来就是描边,选择 编辑---描边。
在选择 图层---图层样式----投影,如下图:
再来就是到通道新建一层,为了方便自己睇到想去撕的位址,把RGB的眼睛打开,如下图:
再用多边型套索工具,勾画出想要撕开的大概刑路径。
再把RGB的眼睛关了,把选到的选区填充成白色;
然后是把选区晶格化了,位址和数值如下图:
接下来,再回到图层,选到图层 1,载入选区,通道选择 Alpha 1,如图:
最后选择图层1,按ctrl+t把图层移动到自己想要撕开的位置。
最终效果如下图: