Photoshop制作超酷的烈火人像效果
平面设计 发布日期:2026/4/11 浏览次数:1
正在浏览:Photoshop制作超酷的烈火人像效果
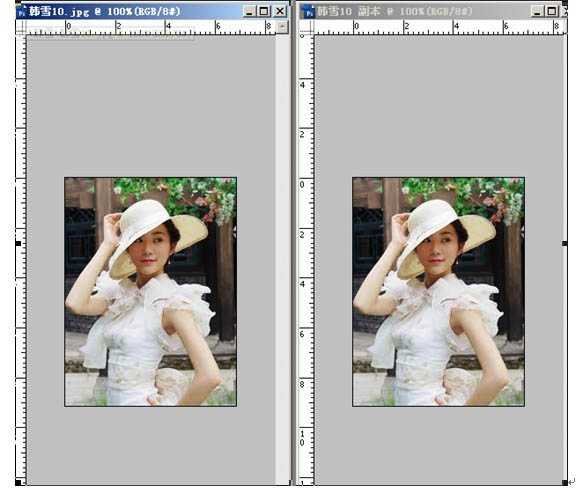
原图

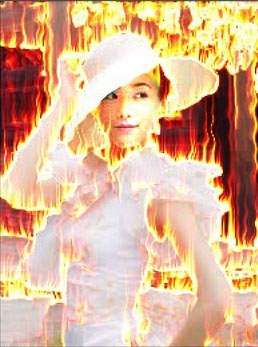
最终效果
1、打开一张人物图像,最好是黑白对比还不错的,别太灰色调了。
2、打开图像后复制一张文档出来,在标题栏上单击右键复制。
3、这样就有2张图像,可以把第一张开始做效果。
4、将图像 滤镜——风格化——查找边缘。
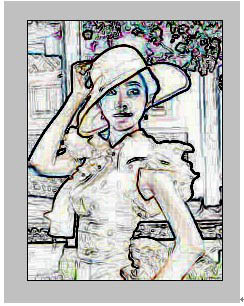
5、继续将图像去色 ctrl+shift+u,然后在按反向ctrl+i。
6、图像——旋转画布——顺时针90度。
7、滤镜——风格化——风(小风),前面是顺时针90度,现在将他逆时针90度转回来,接着 滤镜——扭曲——波纹。
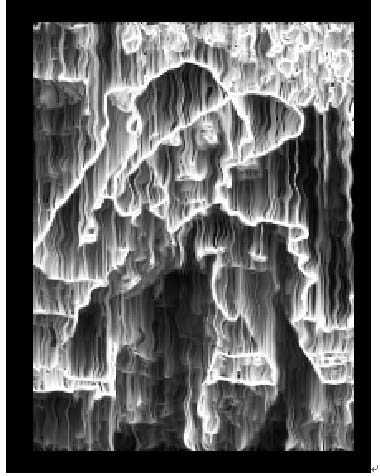
8、图像——模式——灰度(这样可以把色彩的信息都丢了,效果会好些)。
上一页12 下一页 阅读全文
最终效果
1、打开一张人物图像,最好是黑白对比还不错的,别太灰色调了。
2、打开图像后复制一张文档出来,在标题栏上单击右键复制。
3、这样就有2张图像,可以把第一张开始做效果。
4、将图像 滤镜——风格化——查找边缘。
5、继续将图像去色 ctrl+shift+u,然后在按反向ctrl+i。
6、图像——旋转画布——顺时针90度。
7、滤镜——风格化——风(小风),前面是顺时针90度,现在将他逆时针90度转回来,接着 滤镜——扭曲——波纹。
8、图像——模式——灰度(这样可以把色彩的信息都丢了,效果会好些)。
上一页12 下一页 阅读全文