Photoshop将海景图片调成绚丽的金色调
平面设计 发布日期:2026/6/21 浏览次数:1
正在浏览:Photoshop将海景图片调成绚丽的金色调
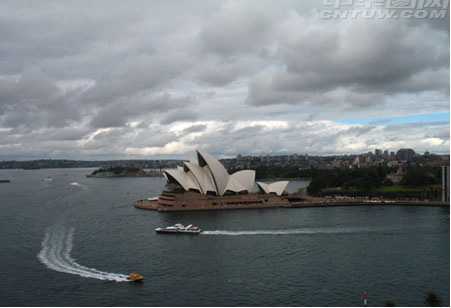
原图
最终效果

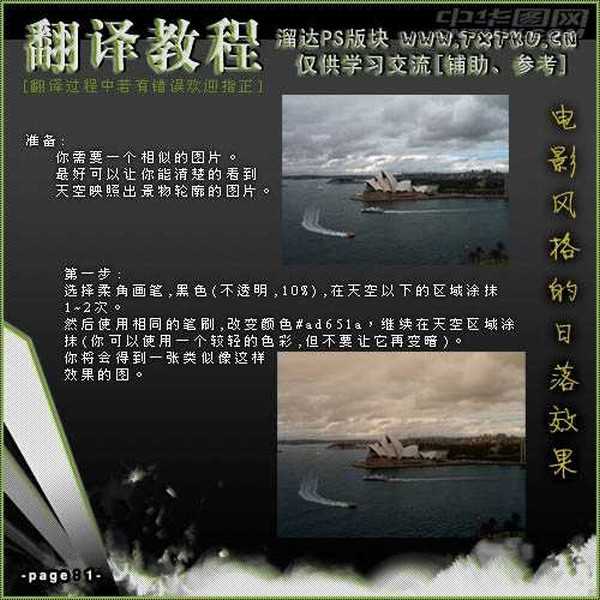
1、打开原图素材,选择柔角画笔,黑色,不透明度为:10%,在天空以下的区域涂抹1,2次。然后使用相同的笔刷,改变颜色:#ad651a,继续在天空区域涂抹,大致效果如下。
2、现在点击图标旁边的创建新调整图层。这会创建一个新的添加或调整图层,此处选择曲线,设置如下图所示。


3、添加一个新的图层,在曲线图层的下面,填充为黑色,将黑色填充图层不透明度调整为:60%,执行:滤镜 > 渲染 > 镜头光晕,参数设置如下图。

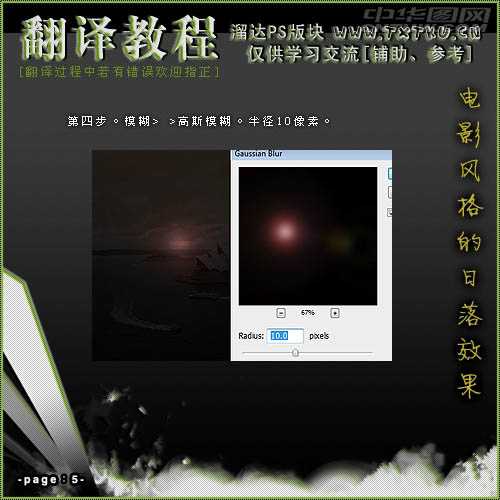
4、执行:滤镜 > 模糊 > 高斯模糊,数值为10。
将黑色图层不透明度调整到100%。现在我们将要创建光线闪耀。选择柔软的圆形笔刷颜色:#ffe01a,透明度为:10%。从这个点开始向外发散的刷,不断的刷,知道你刷出类似下图所示的效果。

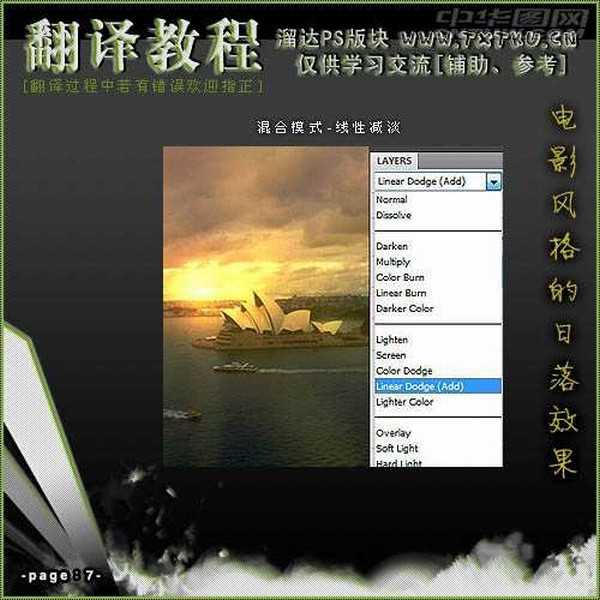
图层混合模式改为“线性减淡”,效果如下图。
上一页12 下一页 阅读全文
最终效果
1、打开原图素材,选择柔角画笔,黑色,不透明度为:10%,在天空以下的区域涂抹1,2次。然后使用相同的笔刷,改变颜色:#ad651a,继续在天空区域涂抹,大致效果如下。
2、现在点击图标旁边的创建新调整图层。这会创建一个新的添加或调整图层,此处选择曲线,设置如下图所示。
3、添加一个新的图层,在曲线图层的下面,填充为黑色,将黑色填充图层不透明度调整为:60%,执行:滤镜 > 渲染 > 镜头光晕,参数设置如下图。
4、执行:滤镜 > 模糊 > 高斯模糊,数值为10。
将黑色图层不透明度调整到100%。现在我们将要创建光线闪耀。选择柔软的圆形笔刷颜色:#ffe01a,透明度为:10%。从这个点开始向外发散的刷,不断的刷,知道你刷出类似下图所示的效果。
图层混合模式改为“线性减淡”,效果如下图。
上一页12 下一页 阅读全文