photoshop利用Lab通道快速制作个性油画图片
平面设计 发布日期:2026/4/6 浏览次数:1
正在浏览:photoshop利用Lab通道快速制作个性油画图片
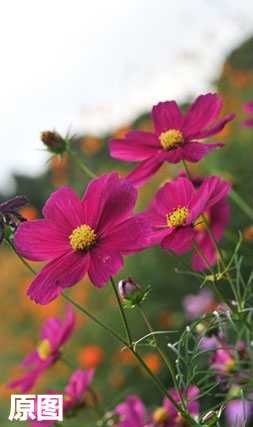
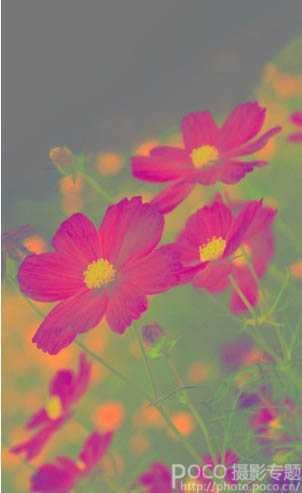
原图
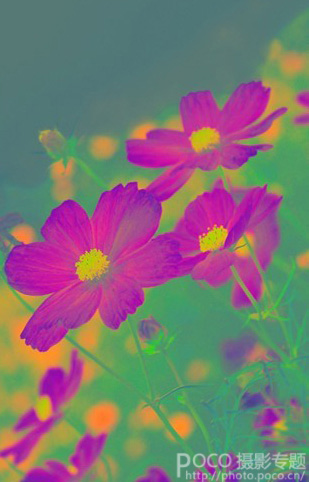
最终效果
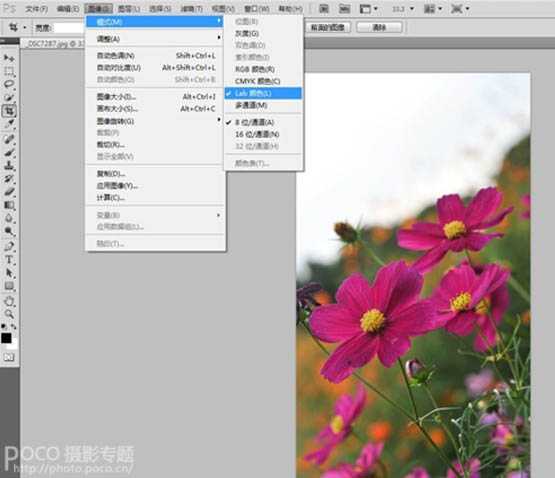
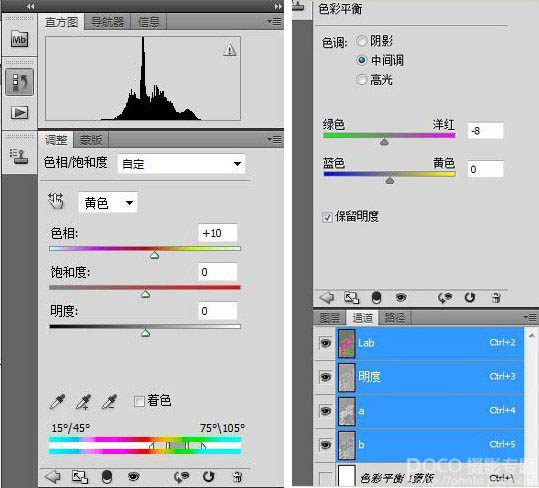
1、首先将图像模式从RGB模式转化为LAB模式(打开图像,在菜单的编辑栏中找到图像->模式->选择LAB颜色项目),进入通道面板:
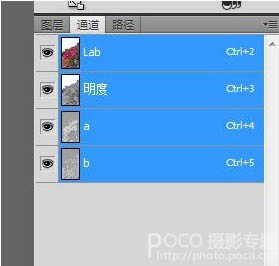
2、在LAB通道内调整颜色:选中B通道Control+A ,使用Control+C复制该通道,选中明度通道Control+V粘贴刚才复制的B通道,Control+D取消选区。这样的目的是加亮黄色,加暗蓝色,使得颜色得以强化,得到以下图像。
3、色彩调整:基本效果已经出来,下面我们对其他细致的方面进行调整:调整色相饱和度(黄色+10 绿色+27,洋红色-10),色彩平衡(中间调:绿色-8),或你可以随自己的喜好调整。
4、锐化图像:合并可见图层,在明度通道内锐化图像,再将图像模式从LAB模式转化回RGB模式:
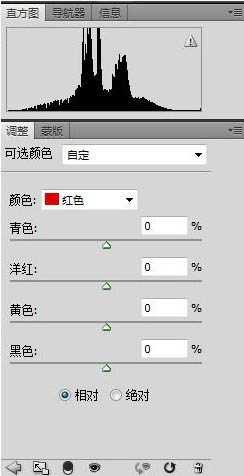
5、最终效果:按住Control+J复制图层,更改混合模式为柔光,透明度50%。最后进入可选颜色面板(洋红:青色+24%,黑色+21%;绿色:青色+30 ,黑色+40,黄色-11,黄色:青色+6,黑色+5;中性色:青色+15)或按需调整,最终效果如下:
最终效果:
最终效果
1、首先将图像模式从RGB模式转化为LAB模式(打开图像,在菜单的编辑栏中找到图像->模式->选择LAB颜色项目),进入通道面板:
2、在LAB通道内调整颜色:选中B通道Control+A ,使用Control+C复制该通道,选中明度通道Control+V粘贴刚才复制的B通道,Control+D取消选区。这样的目的是加亮黄色,加暗蓝色,使得颜色得以强化,得到以下图像。
3、色彩调整:基本效果已经出来,下面我们对其他细致的方面进行调整:调整色相饱和度(黄色+10 绿色+27,洋红色-10),色彩平衡(中间调:绿色-8),或你可以随自己的喜好调整。
4、锐化图像:合并可见图层,在明度通道内锐化图像,再将图像模式从LAB模式转化回RGB模式:
5、最终效果:按住Control+J复制图层,更改混合模式为柔光,透明度50%。最后进入可选颜色面板(洋红:青色+24%,黑色+21%;绿色:青色+30 ,黑色+40,黄色-11,黄色:青色+6,黑色+5;中性色:青色+15)或按需调整,最终效果如下:
最终效果: