photoshop利用通道快速调出外景照片个性色彩
平面设计 发布日期:2026/4/5 浏览次数:1
正在浏览:photoshop利用通道快速调出外景照片个性色彩
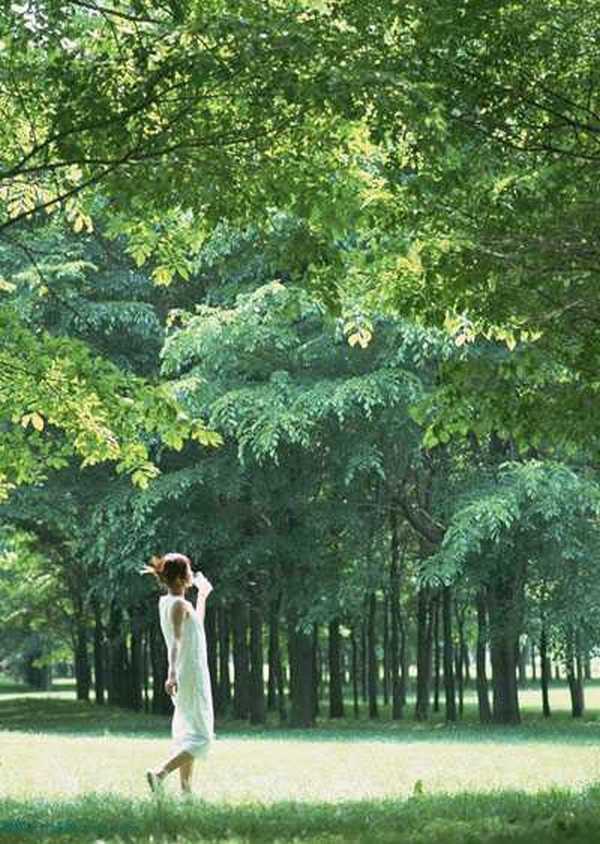
原图
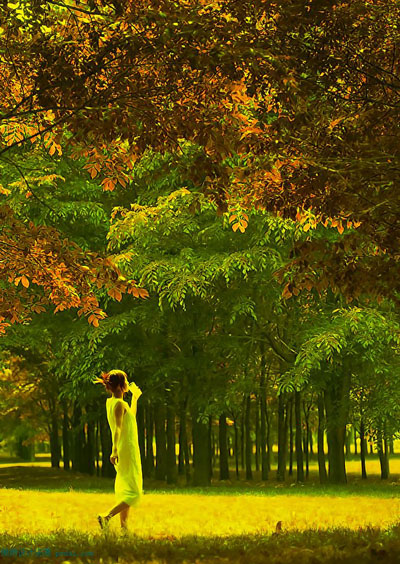
最终效果
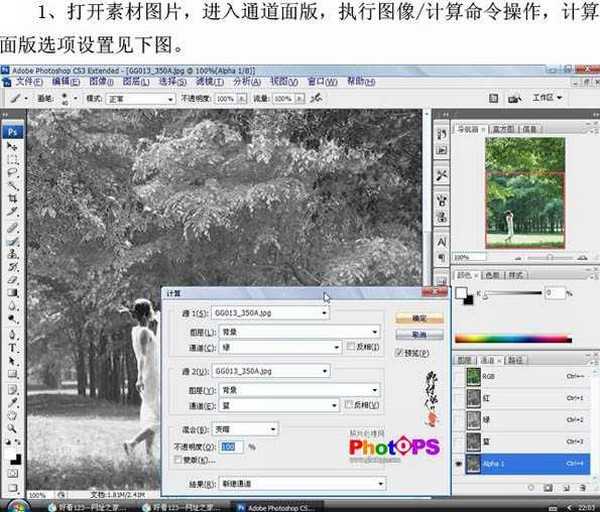
1、打开原图素材,进入通道面板,执行:图像 > 应用图像,参数设置如下图。
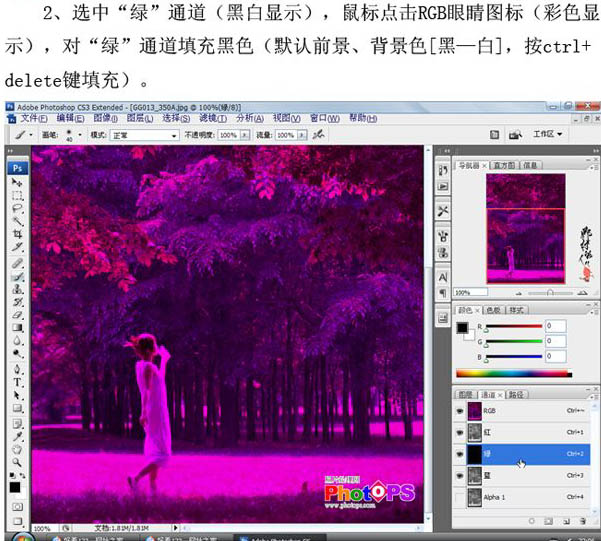
2、选中“绿”通道,鼠标点击RGB眼睛图标,对“绿”通道填充黑色,效果如下图。
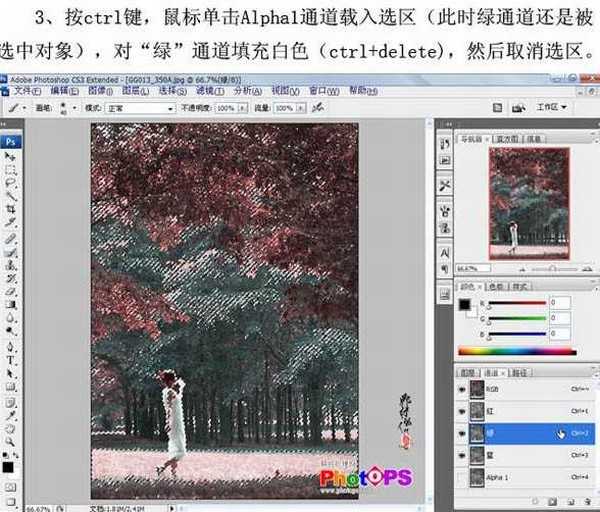
3、按Ctrl键,鼠标单击Alpha1通道载入选区(此时绿通道还是被选中对象),对“绿”通道填充白色,然后取消选区。
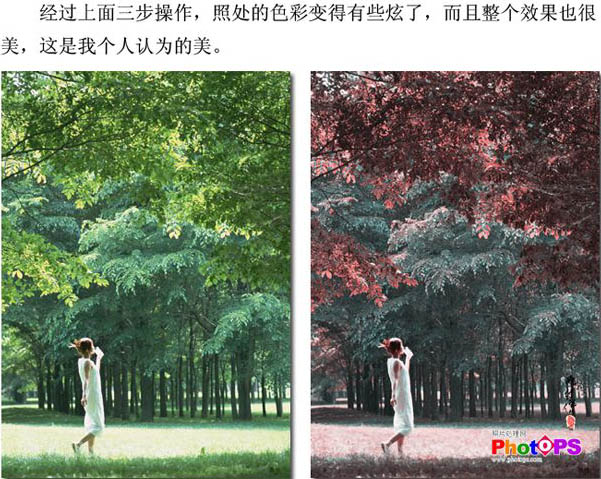
经过上面的三步操作,照片的色彩变得有些炫了,而且整个效果也很美,如下图。
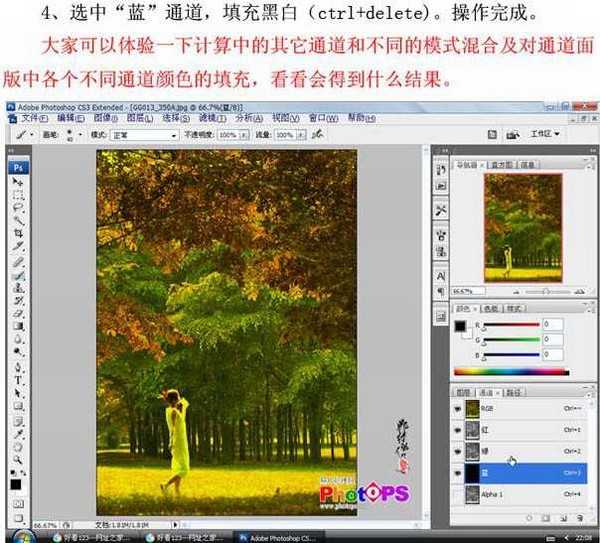
4、选中“蓝”通道,填充黑色,完成最终效果。
大家可以体验一下计算中的其他通道和不同的模式混合及对通道面板中各个不同通道颜色的填充,看看会得到什么结果。
最终效果:
最终效果
1、打开原图素材,进入通道面板,执行:图像 > 应用图像,参数设置如下图。
2、选中“绿”通道,鼠标点击RGB眼睛图标,对“绿”通道填充黑色,效果如下图。
3、按Ctrl键,鼠标单击Alpha1通道载入选区(此时绿通道还是被选中对象),对“绿”通道填充白色,然后取消选区。
经过上面的三步操作,照片的色彩变得有些炫了,而且整个效果也很美,如下图。
4、选中“蓝”通道,填充黑色,完成最终效果。
大家可以体验一下计算中的其他通道和不同的模式混合及对通道面板中各个不同通道颜色的填充,看看会得到什么结果。
最终效果: