Photoshop调出人物图片淡青的非主流色调
平面设计 发布日期:2026/6/29 浏览次数:1
正在浏览:Photoshop调出人物图片淡青的非主流色调
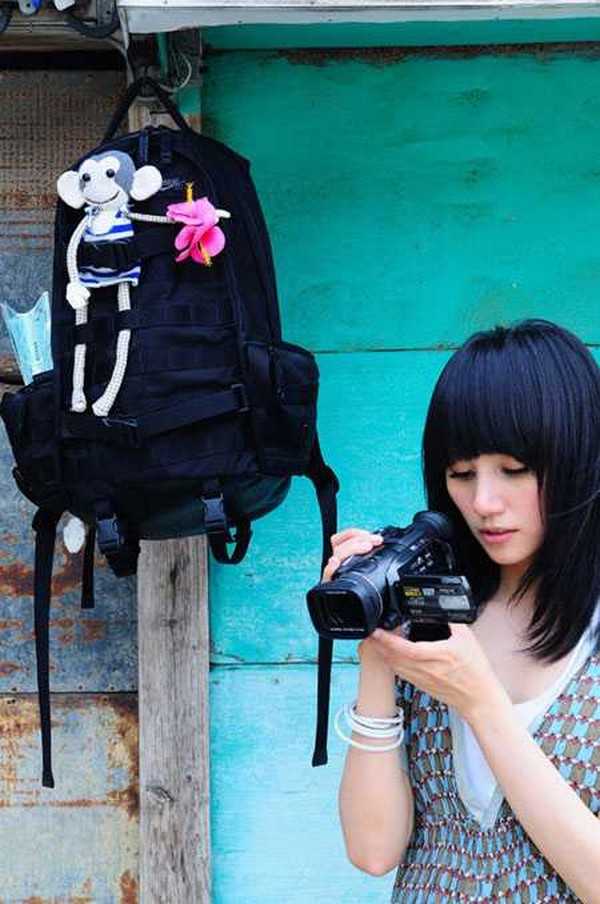
原图
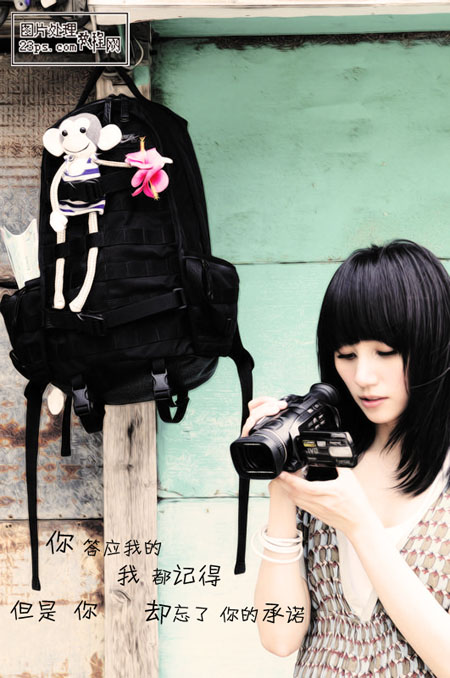
最终效果
1、打开原图,ctrl+j得到图层1。 2、执行图像——应用图像,参数如图。

3、新建调整图层,照片滤镜,参数如图。

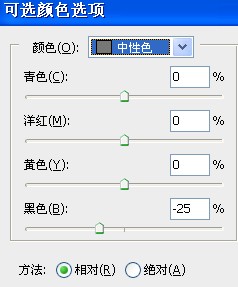
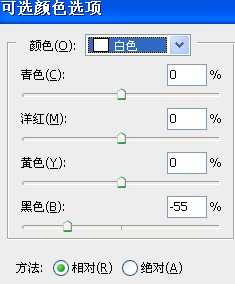
4、新建调整图层,可选颜色,参数如图。

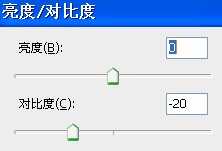
5、新建调整图层,亮度/对比度 参数如图。
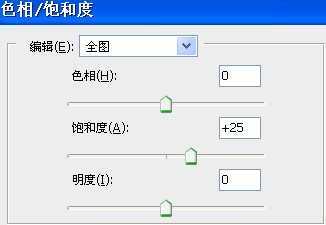
6、新建调整图层,色相/饱和度,参数如图步骤。
7、alt+ctrl+shift+e,盖印图层,得到图层2。 8、执行滤镜——滤镜库——深色线条,参数如图。

9、将图层2的混合模式改为“柔光”,不透明度50%。 10、alt+ctrl+shift+e,盖印图层,得到图层3。
11、TOPAZ锐化,轻微磨皮,再加些适合的文字,完成最终效果。
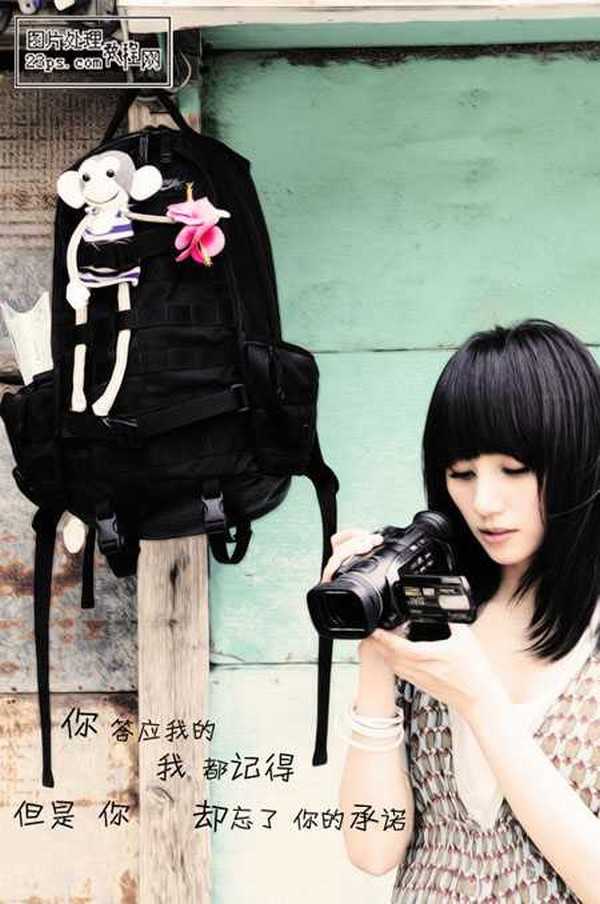
最终效果
1、打开原图,ctrl+j得到图层1。 2、执行图像——应用图像,参数如图。
3、新建调整图层,照片滤镜,参数如图。
4、新建调整图层,可选颜色,参数如图。
5、新建调整图层,亮度/对比度 参数如图。
6、新建调整图层,色相/饱和度,参数如图步骤。
7、alt+ctrl+shift+e,盖印图层,得到图层2。 8、执行滤镜——滤镜库——深色线条,参数如图。
9、将图层2的混合模式改为“柔光”,不透明度50%。 10、alt+ctrl+shift+e,盖印图层,得到图层3。
11、TOPAZ锐化,轻微磨皮,再加些适合的文字,完成最终效果。