photoshop简单给夜景图片加上星光效果
平面设计 发布日期:2026/4/6 浏览次数:1
正在浏览:photoshop简单给夜景图片加上星光效果
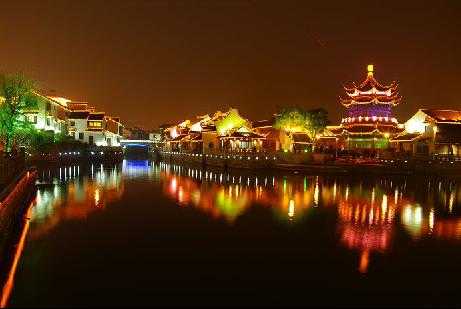
原图
最终效果1
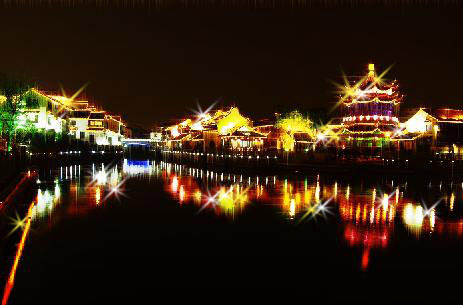
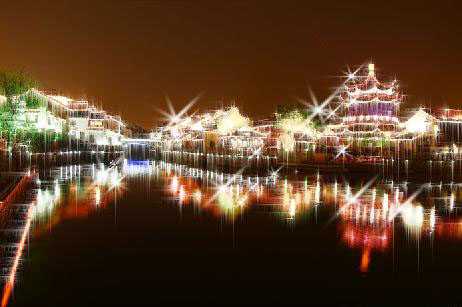
最终效果2
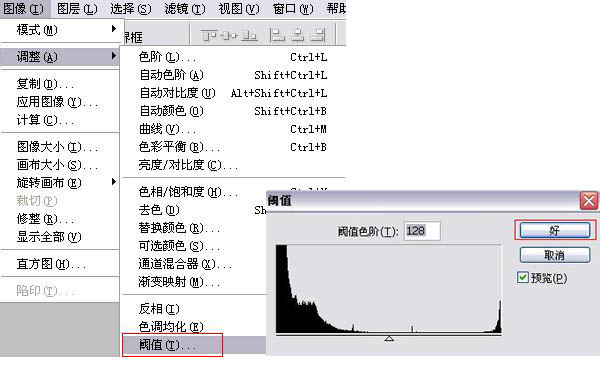
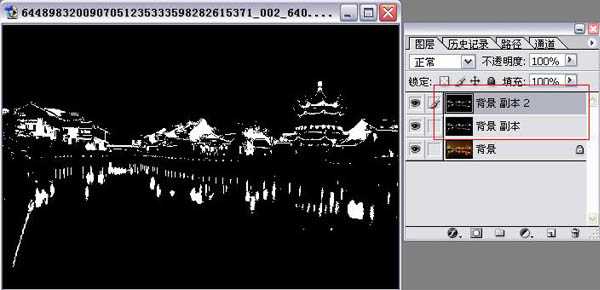
1、打开原图,复制背景图层,在背景副本上进行图像——调整——值域,然后把背景副本复制一层。
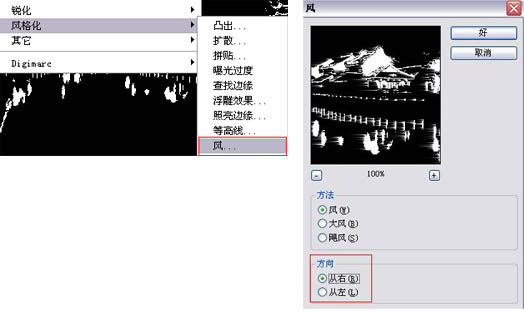
2、在背景副本层上进行滤镜——风格化——风(方向左右各进行一次,先把副本2的眼睛关闭才能看到效果)
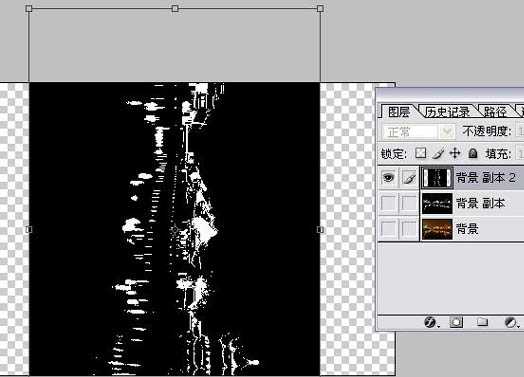
然后把背景副本2旋转90°,同样进行滤镜——风格化——风(也是左右方向各进行一次),最后把图层转回原位。
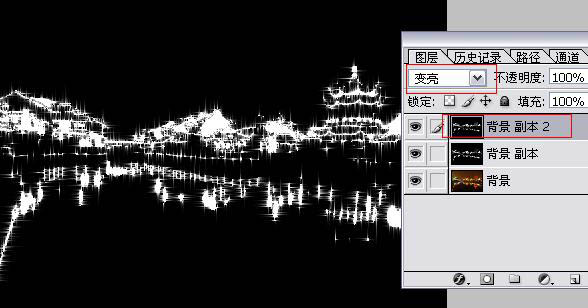
3、把背景副本2的图层模式改为变亮,现在我们就能看到星星的效果了。
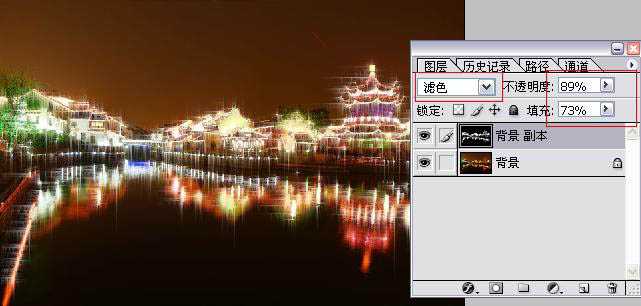
4、把背景副本与背景副本2合并,把图层模式改为滤色(随个人喜好可以适当调节不透明度和亮度),大家也可以尝试一下把图层模式改为其他的,效果也是不同的哦(也是看个人喜好啦!)
最终效果:
最终效果1
最终效果2
1、打开原图,复制背景图层,在背景副本上进行图像——调整——值域,然后把背景副本复制一层。
2、在背景副本层上进行滤镜——风格化——风(方向左右各进行一次,先把副本2的眼睛关闭才能看到效果)
然后把背景副本2旋转90°,同样进行滤镜——风格化——风(也是左右方向各进行一次),最后把图层转回原位。
3、把背景副本2的图层模式改为变亮,现在我们就能看到星星的效果了。
4、把背景副本与背景副本2合并,把图层模式改为滤色(随个人喜好可以适当调节不透明度和亮度),大家也可以尝试一下把图层模式改为其他的,效果也是不同的哦(也是看个人喜好啦!)
最终效果: