Photoshop将森林婚片调成温馨的暖色调
平面设计 发布日期:2026/6/15 浏览次数:1
正在浏览:Photoshop将森林婚片调成温馨的暖色调
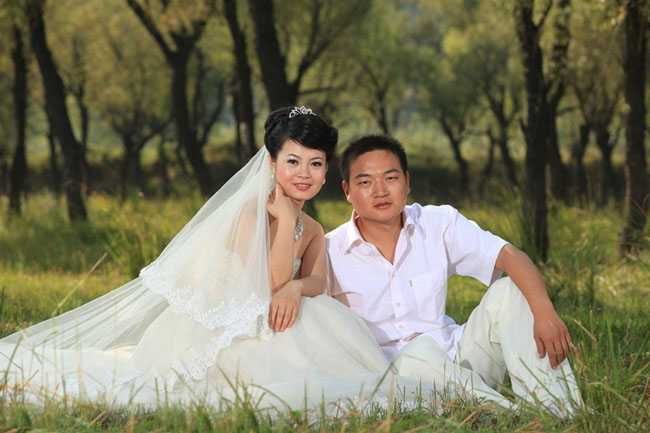
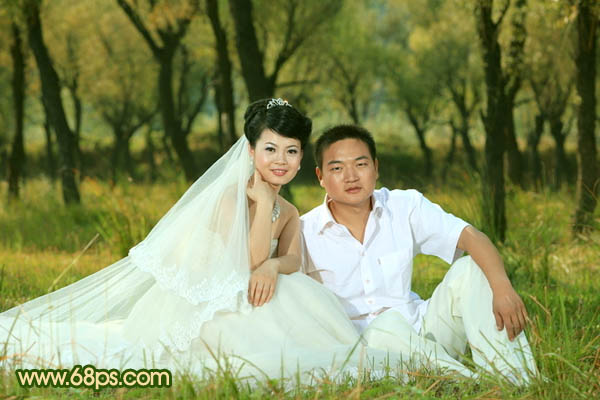
原图
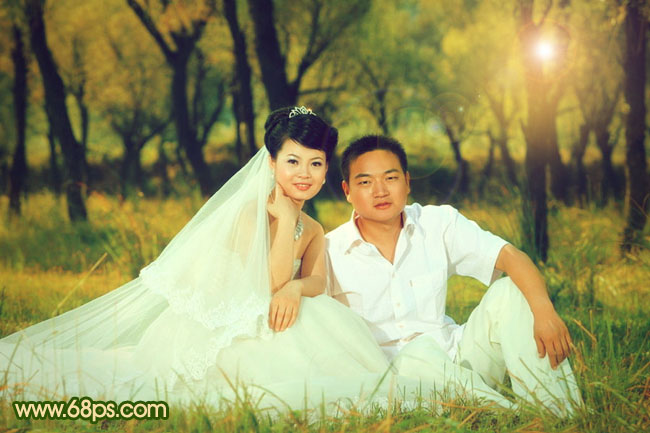
最终效果
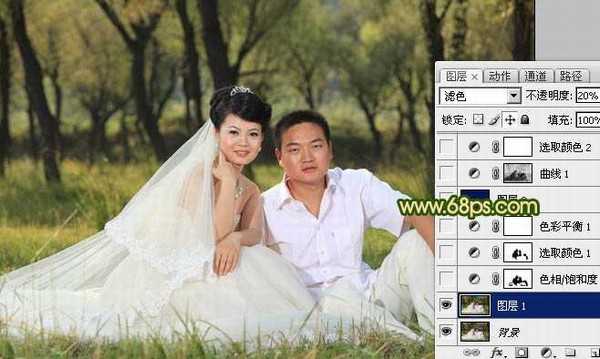
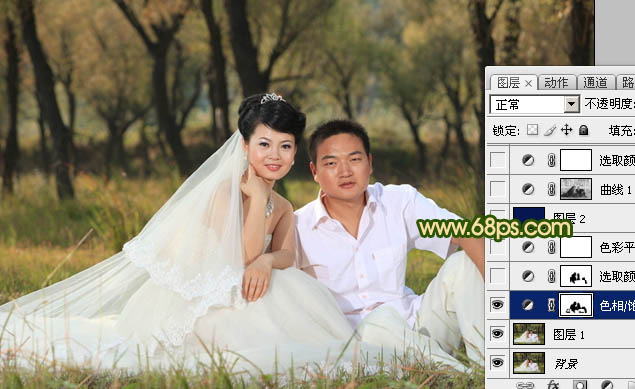
1、打开原图素材,按Ctrl + J 把背景图层复制一层,图层混合模式改为“滤色”,不透明度改为:20%,稍微把图层加亮一点,效果如下图。
<图1>
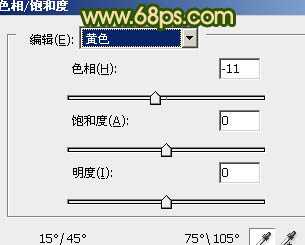
2、创建色相/饱和度调整图层,对黄色进行调整,参数设置如图2,确定后用黑色画笔把人物部分擦出来。这一步操作目的是把背景暖色增强一点,效果如图3。
<图2>
<图3>
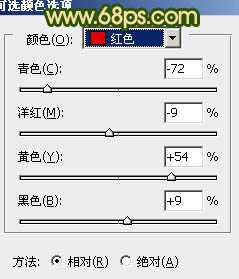
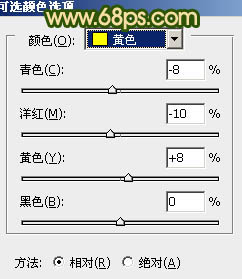
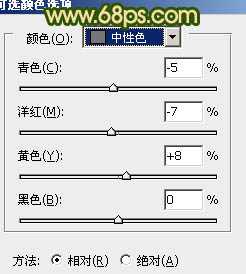
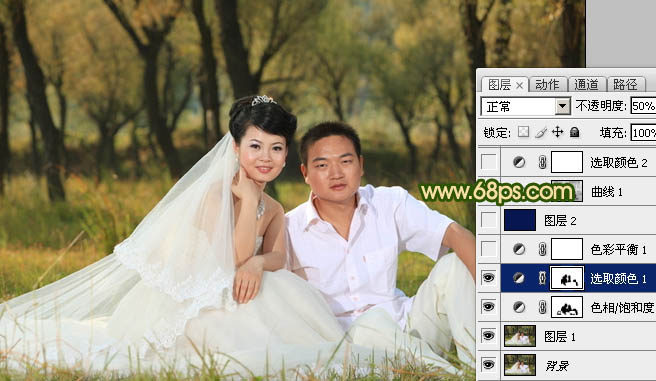
3、创建可选颜色调整图层,最红,黄,中性色进行调整,参数设置如图4 - 6,确定后把图层不透明度改为:50%,再用黑色画笔把人物脸部擦出来,效果如图7。
<图4>
<图5>
<图6>
<图7>
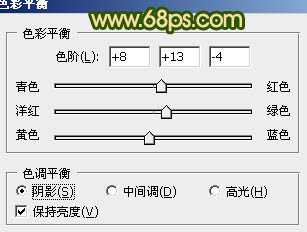
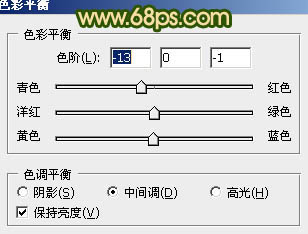
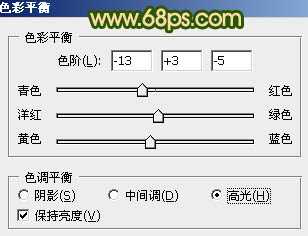
4、创建色彩平衡调整图层,对阴影,中间调,高光进行调整,参数设置如图8 - 10,效果如图11。
<图8>
<图9>
<图10>
<图11>
5、新建一个图层,填充颜色:#061651,图层混合模式改为“变亮”,不透明度改为:80%,效果如下图。

<图12>
6、按Ctrl + Alt + ~ 调出高光选区,按Ctrl + Shift + I 把选区反选,然后创建曲线调整图层,对红色进行调整,参数设置如图13,确定后把图层不透明度改为:30%,效果如图14。
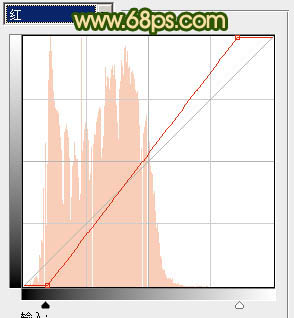
<图13>
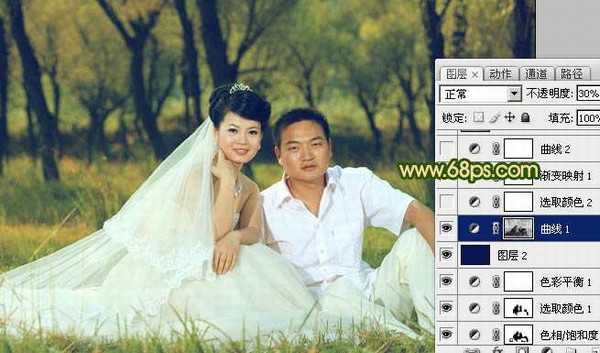
<图14>
上一页12 下一页 阅读全文
最终效果
1、打开原图素材,按Ctrl + J 把背景图层复制一层,图层混合模式改为“滤色”,不透明度改为:20%,稍微把图层加亮一点,效果如下图。
<图1>
2、创建色相/饱和度调整图层,对黄色进行调整,参数设置如图2,确定后用黑色画笔把人物部分擦出来。这一步操作目的是把背景暖色增强一点,效果如图3。
<图2>
<图3>
3、创建可选颜色调整图层,最红,黄,中性色进行调整,参数设置如图4 - 6,确定后把图层不透明度改为:50%,再用黑色画笔把人物脸部擦出来,效果如图7。
<图4>
<图5>
<图6>
<图7>
4、创建色彩平衡调整图层,对阴影,中间调,高光进行调整,参数设置如图8 - 10,效果如图11。
<图8>
<图9>
<图10>
<图11>
5、新建一个图层,填充颜色:#061651,图层混合模式改为“变亮”,不透明度改为:80%,效果如下图。
<图12>
6、按Ctrl + Alt + ~ 调出高光选区,按Ctrl + Shift + I 把选区反选,然后创建曲线调整图层,对红色进行调整,参数设置如图13,确定后把图层不透明度改为:30%,效果如图14。
<图13>
<图14>
上一页12 下一页 阅读全文