Photoshop将室内人物图片调出颓废的深蓝色
平面设计 发布日期:2025/12/29 浏览次数:1
正在浏览:Photoshop将室内人物图片调出颓废的深蓝色
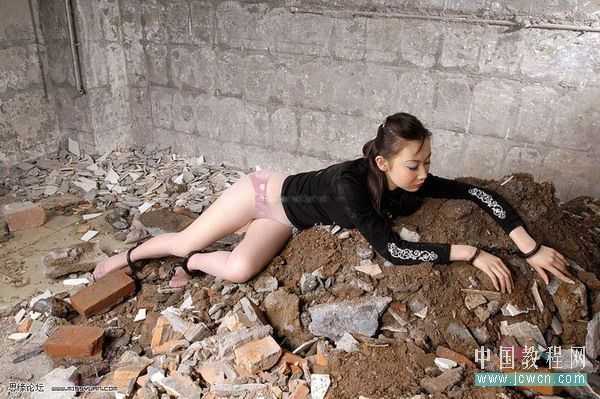
原图
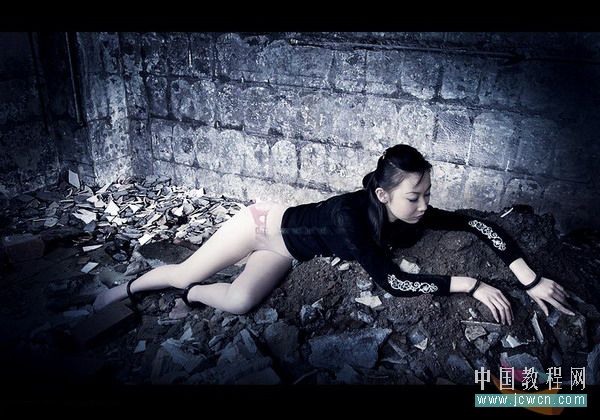
最终效果
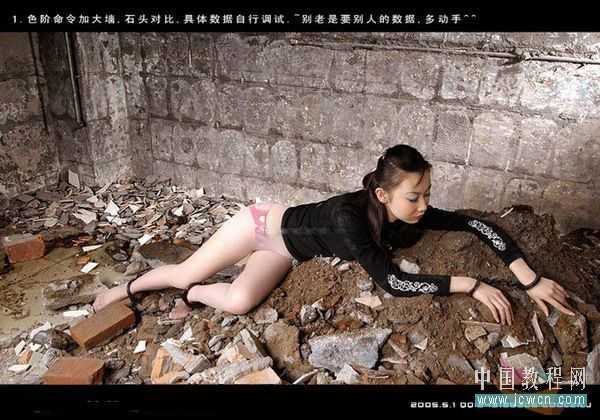
1、打开原图素材,创建色阶调整图层,加点墙壁及石头对比,具体的数值自定调试,大致效果如下图。
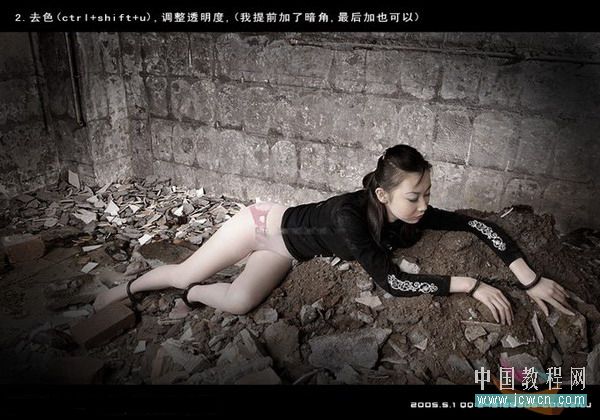
2、新建一个图层,按Ctrl + Alt + Shift + E 盖印图层,按Ctrl + Shift + U 去色,适当降低图层不透明度。再给照片加上暗角,效果如下图。
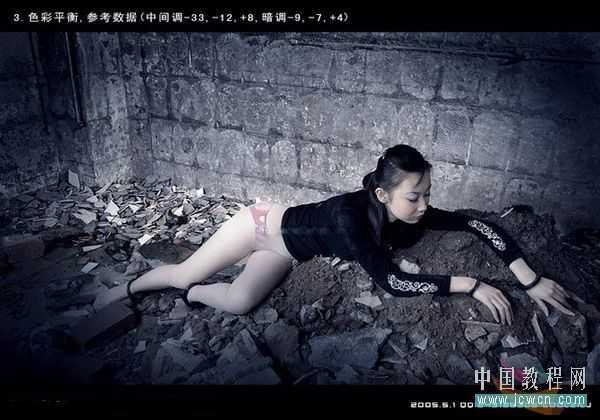
3、创建色彩平衡调整图层,对中间调和阴影进行调整,数值:中间调:-33/-12/8;阴影:-9/-7/4,效果如下图。
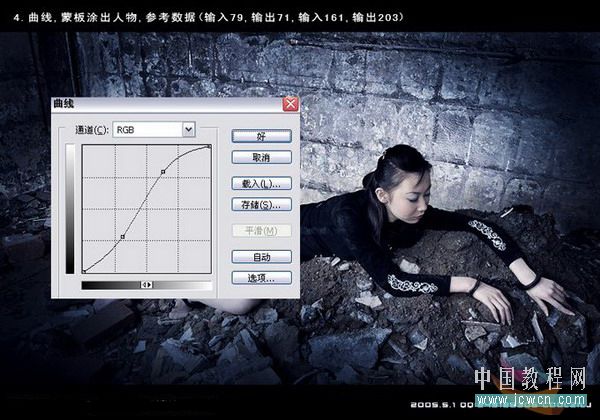
4、创建曲线调整图层,对RGB进行调整,参数设置如下图,加强明暗对比,确定后用黑色画笔把人物部分擦出来。
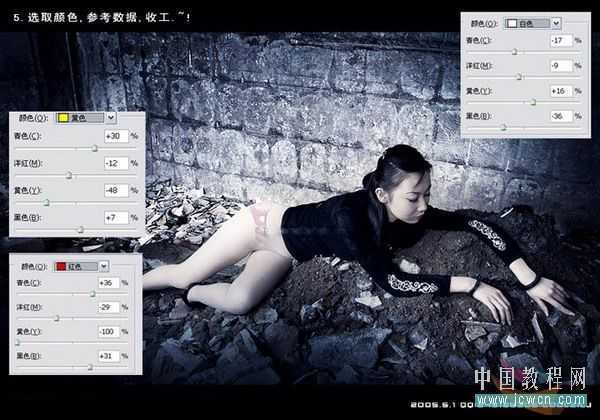
5、创建可选颜色调整图层,对红,黄,白色进行调整,参数设置如下图,红:36/-29/-100/31;黄:30/-12/-48/7;白色:-17/-9/16/-36;确定后完成最终效果。
最终效果:


最终效果

1、打开原图素材,创建色阶调整图层,加点墙壁及石头对比,具体的数值自定调试,大致效果如下图。

2、新建一个图层,按Ctrl + Alt + Shift + E 盖印图层,按Ctrl + Shift + U 去色,适当降低图层不透明度。再给照片加上暗角,效果如下图。

3、创建色彩平衡调整图层,对中间调和阴影进行调整,数值:中间调:-33/-12/8;阴影:-9/-7/4,效果如下图。

4、创建曲线调整图层,对RGB进行调整,参数设置如下图,加强明暗对比,确定后用黑色画笔把人物部分擦出来。

5、创建可选颜色调整图层,对红,黄,白色进行调整,参数设置如下图,红:36/-29/-100/31;黄:30/-12/-48/7;白色:-17/-9/16/-36;确定后完成最终效果。

最终效果:
