Photoshop将偏灰的照片处理明亮清晰方法
平面设计 发布日期:2026/6/24 浏览次数:1
正在浏览:Photoshop将偏灰的照片处理明亮清晰方法
原图

最终效果

1、打开原图素材。
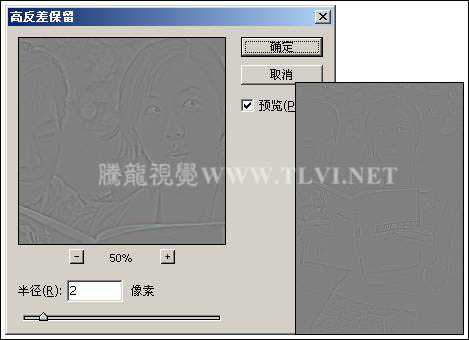
2、在“图层”调板中,对“背景”图层进行复制,创建出“背景 副本”图层。执行“滤镜”→“其他”→“高反差保留”命令,打开“高反差保留”对话框,参数设置如下图,为其添加滤镜效果。
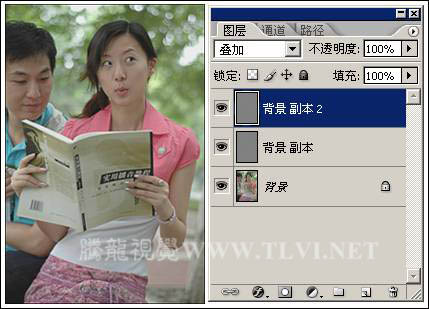
3、在“图层”调板中,设置“背景 副本”图层的”混合模式”选项为“叠加”。然后对“背景 副本”图层进行复制,创建“背景 副本 2”图层,如图下图所示。
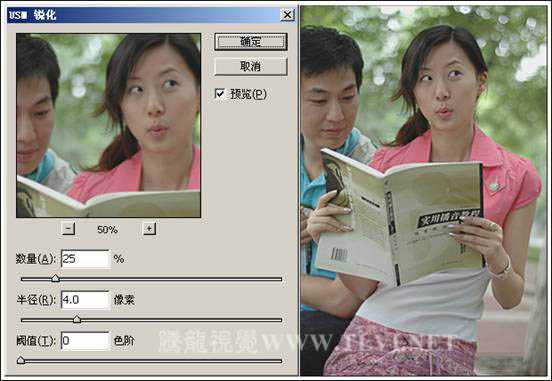
4、选择“背景”图层,使该图层成为当前可编辑状态,执行“滤镜”→“锐化”→“USM锐化”命令,参数设置如下图,对图像进行锐化。
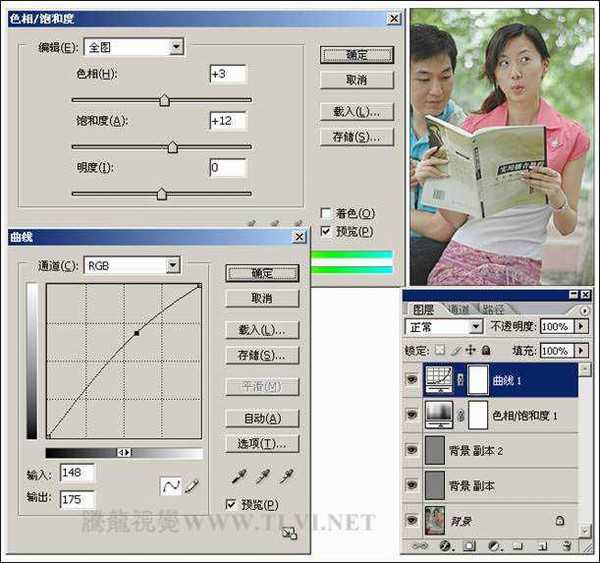
5、接下来依次创建“色相/饱和度 1”和“曲线 1”调整图层,对图像的整体色调进行调整,如图下图所示。
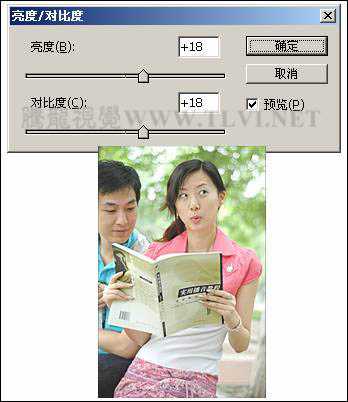
6、创建“亮度/对比度 1”调整图层,增强图像的亮度和对比度,如图下图所示。
7、最后在视图中添加相关的文字信息和装饰线条,完成实例的制作。
最终效果
1、打开原图素材。
2、在“图层”调板中,对“背景”图层进行复制,创建出“背景 副本”图层。执行“滤镜”→“其他”→“高反差保留”命令,打开“高反差保留”对话框,参数设置如下图,为其添加滤镜效果。
3、在“图层”调板中,设置“背景 副本”图层的”混合模式”选项为“叠加”。然后对“背景 副本”图层进行复制,创建“背景 副本 2”图层,如图下图所示。
4、选择“背景”图层,使该图层成为当前可编辑状态,执行“滤镜”→“锐化”→“USM锐化”命令,参数设置如下图,对图像进行锐化。
5、接下来依次创建“色相/饱和度 1”和“曲线 1”调整图层,对图像的整体色调进行调整,如图下图所示。
6、创建“亮度/对比度 1”调整图层,增强图像的亮度和对比度,如图下图所示。
7、最后在视图中添加相关的文字信息和装饰线条,完成实例的制作。