Photoshop将外景婚片调出温馨浪漫的暖橙色
平面设计 发布日期:2025/12/29 浏览次数:1
正在浏览:Photoshop将外景婚片调出温馨浪漫的暖橙色
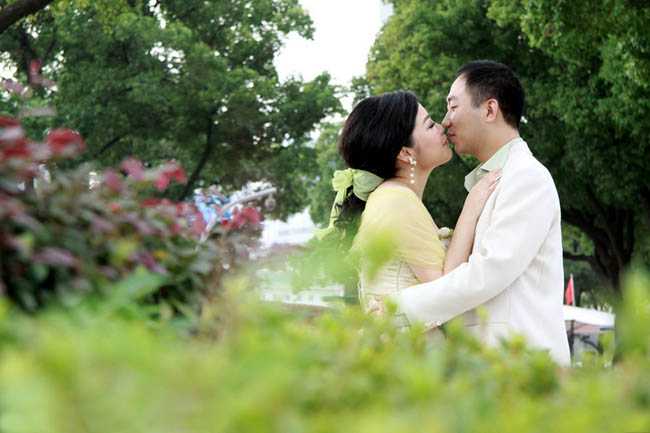
原图
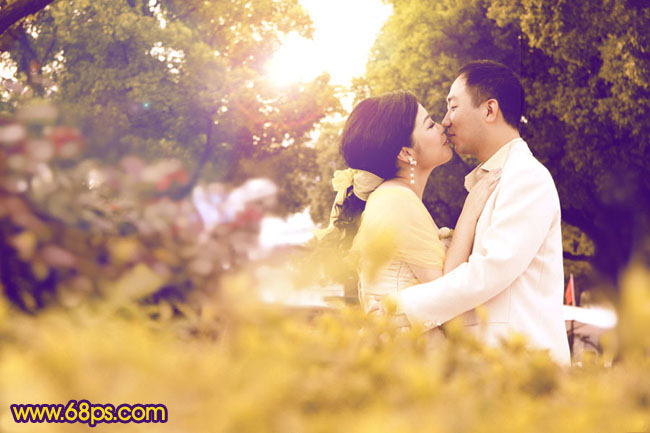
最终效果
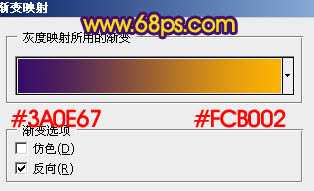
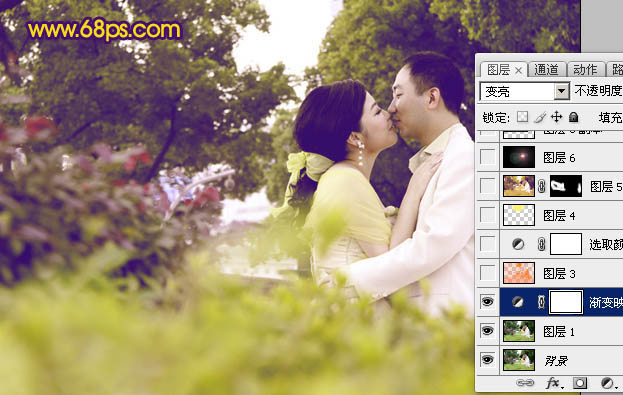
1、打开原图素材,创建渐变映射调整图层,颜色设置为:#3A0E67到#FCB002渐变,如图1,确定后把图层混合模式改为“变亮”,效果如图2。
<图1>
<图2>
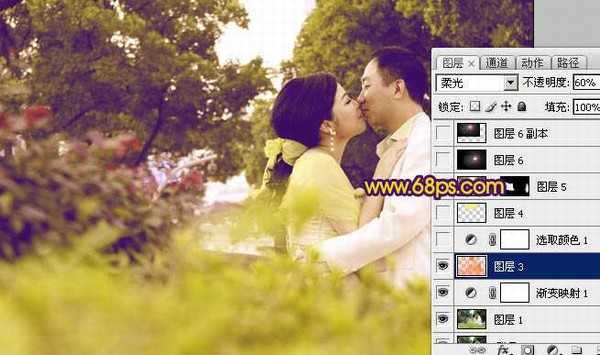
2、按Ctrl + Alt + ~ 调出高光选区,新建一个图层填充橙色:#F8850D,图层混合模式改为“柔光”,图层不透明度改为:60%,如下图。
<图3>
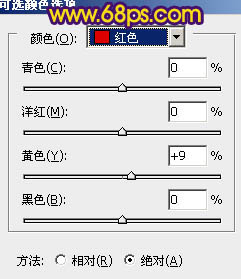
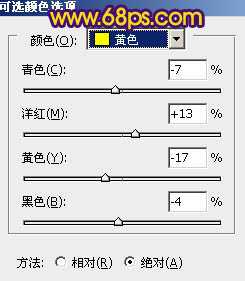
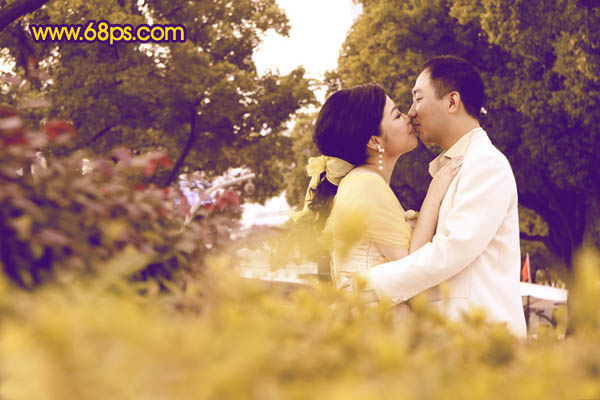
3、创建可选颜色调整图层,对红,黄进行调整,参数设置如图4,5,适当把图片调红一点,效果如图6。
<图4>
<图5>
<图6>
4、感觉画面高光部分还不够强烈。新建一个图层,用套索工具勾出图7所示的选区,按Ctrl + Alt + D 羽化60个像素后填充颜色:#FDF272,图层混合模式改为“柔光”,效果如图8。
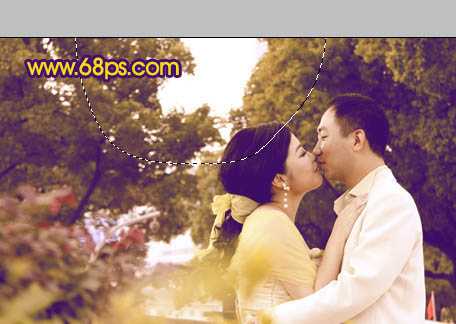
<图7>
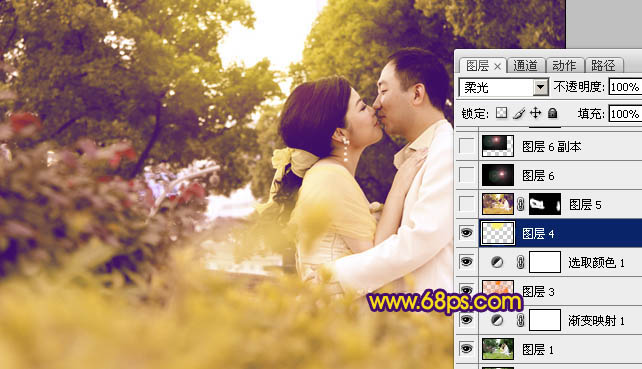
<图8>
5、新建一个图层,按Ctrl + Alt + Shift + E 盖印图层。执行:滤镜 > 模糊 > 高斯模糊,数值为5,确定后按住Alt 键添加图层蒙版,用白色画笔把中间部分杂乱的部分涂模糊,效果如下图。
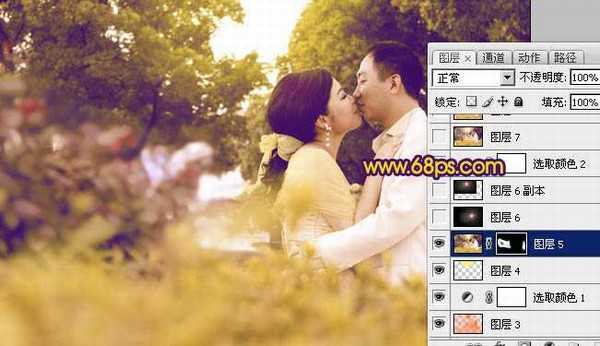
<图9>
上一页12 下一页 阅读全文

最终效果

1、打开原图素材,创建渐变映射调整图层,颜色设置为:#3A0E67到#FCB002渐变,如图1,确定后把图层混合模式改为“变亮”,效果如图2。

<图1>

<图2>
2、按Ctrl + Alt + ~ 调出高光选区,新建一个图层填充橙色:#F8850D,图层混合模式改为“柔光”,图层不透明度改为:60%,如下图。

<图3>
3、创建可选颜色调整图层,对红,黄进行调整,参数设置如图4,5,适当把图片调红一点,效果如图6。

<图4>

<图5>

<图6>
4、感觉画面高光部分还不够强烈。新建一个图层,用套索工具勾出图7所示的选区,按Ctrl + Alt + D 羽化60个像素后填充颜色:#FDF272,图层混合模式改为“柔光”,效果如图8。

<图7>

<图8>
5、新建一个图层,按Ctrl + Alt + Shift + E 盖印图层。执行:滤镜 > 模糊 > 高斯模糊,数值为5,确定后按住Alt 键添加图层蒙版,用白色画笔把中间部分杂乱的部分涂模糊,效果如下图。

<图9>
上一页12 下一页 阅读全文