Photoshop制作超酷的黑翼天使
平面设计 发布日期:2026/7/1 浏览次数:1
正在浏览:Photoshop制作超酷的黑翼天使
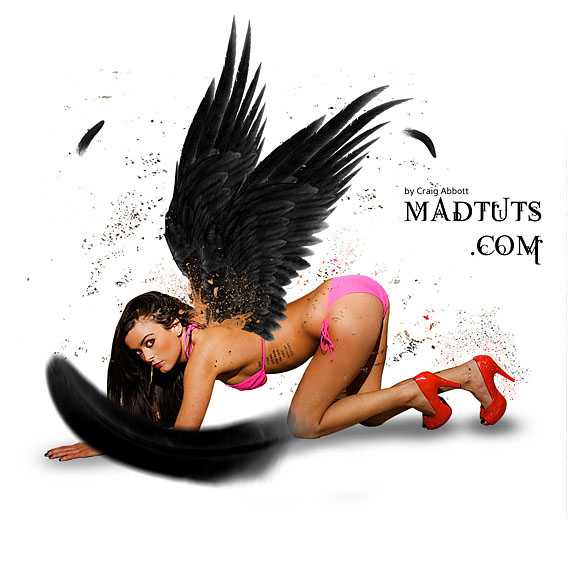
最终效果
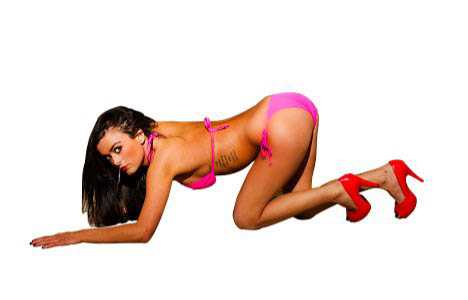
1、首先我们运行photoshop打开美女模特素材,双击背景图层把背景图层进行解锁,然后使用钢笔工具把这位美女抠出来,如图所示。
2、使用钢笔工具创建好美女路径后,按下Ctrl+Enter键把路径转为选区,然后执行“选择—调整边缘”,设置方法参考下图。
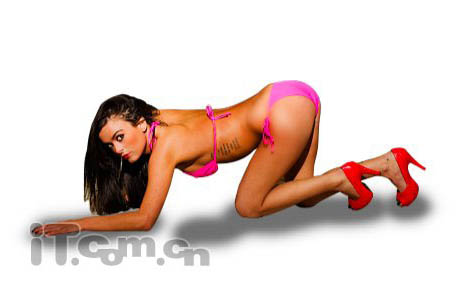
3、调整完边缘后执行“图层—图层蒙版—显示选区”命令,这样就把背景清除了,你可以在美女图层下创建一个新图层并填充白色,效果如图所示。
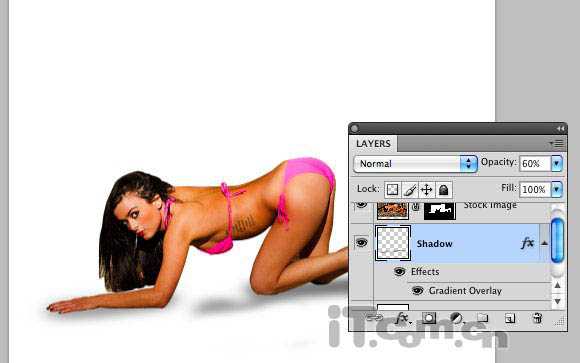
4、下面我们在美女图层下再创建一个新图层,命名为“阴影”,然后设置前景色为灰色,使用硬度为0的柔角画笔工具画出一些阴影,如图所示。
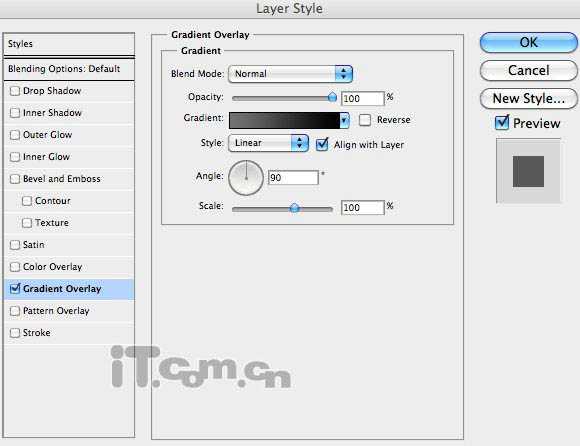
5、设置不阴影层的不透明度为60%,然后添加一个渐变叠加的图层样式,如图所示。
6、执行“滤镜—模糊—高斯模糊”,半径约为10像素左右,如图所示。

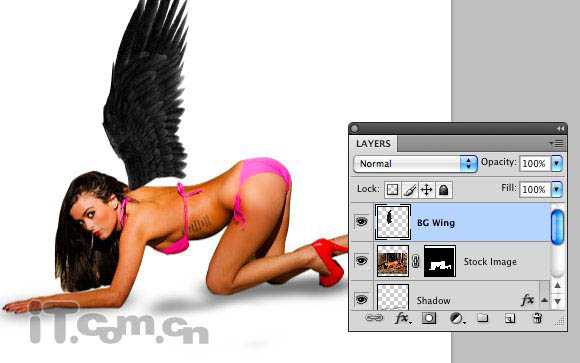
7、下面打开黑色翅膀素材,打开翅膀复制到美女身上,如图所示。

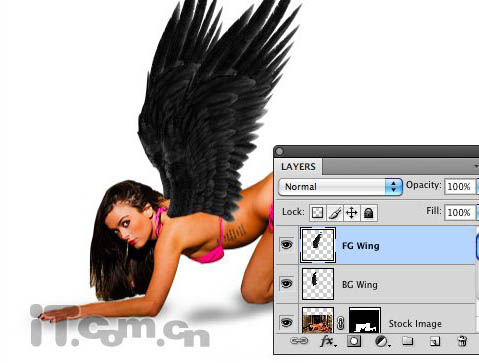
8、按下Ctrl+J复制翅膀图层,然后设置大小和位置(使用“编辑—自由变换”命令),如图所示。
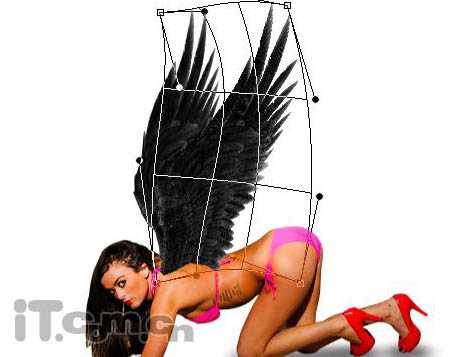
9、如果觉得翅膀的形状与美女的身体不太协调,可以执行“编辑—变换—变形”命令(需要CS2及以上版本才有),调整翅膀的形状,如图所示。
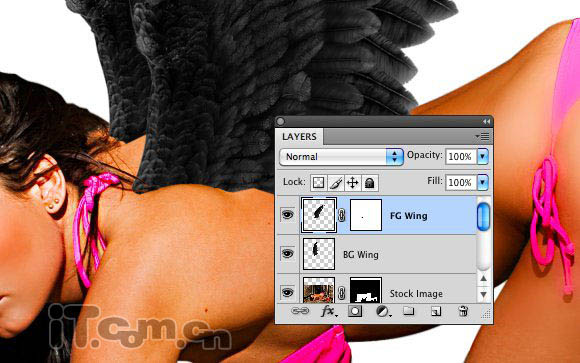
10、为翅膀图层创建一个图层蒙版,然后黑色的画笔工具在蒙版上涂抹,以消除翅膀与美女交背部的不协调,然后翅膀与美女背部融合得更自然,如图所示。
11、接下来对美女眼睛进行修改。在美女图层的上面创建一个新图层,然后使用椭圆选框工具创建两个眼珠的圆形选区,如图所示。

上一页12 下一页 阅读全文
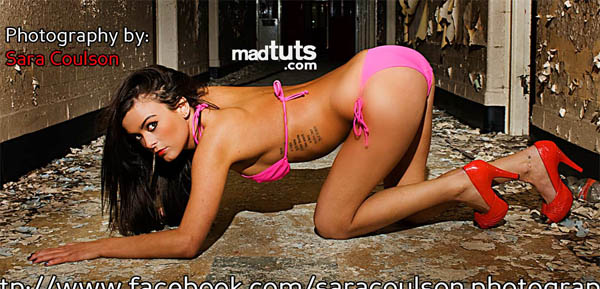
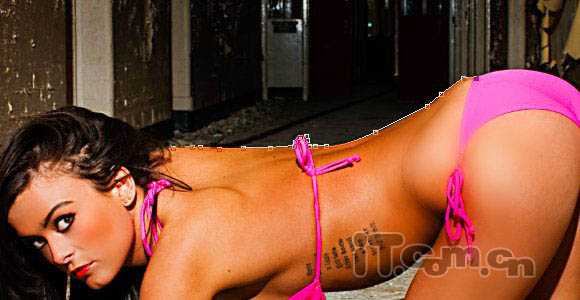
1、首先我们运行photoshop打开美女模特素材,双击背景图层把背景图层进行解锁,然后使用钢笔工具把这位美女抠出来,如图所示。
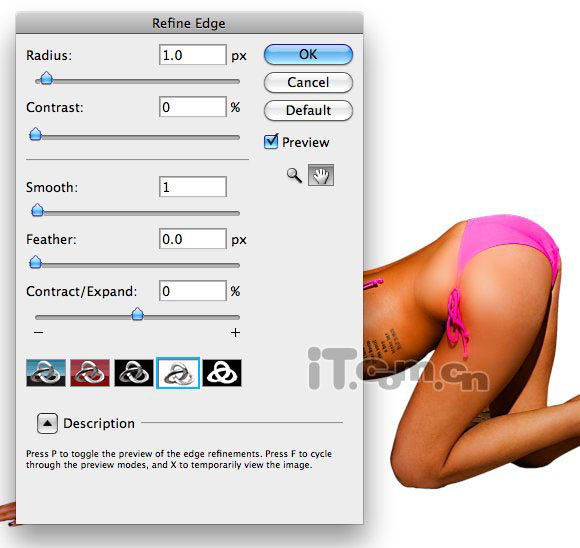
2、使用钢笔工具创建好美女路径后,按下Ctrl+Enter键把路径转为选区,然后执行“选择—调整边缘”,设置方法参考下图。
3、调整完边缘后执行“图层—图层蒙版—显示选区”命令,这样就把背景清除了,你可以在美女图层下创建一个新图层并填充白色,效果如图所示。
4、下面我们在美女图层下再创建一个新图层,命名为“阴影”,然后设置前景色为灰色,使用硬度为0的柔角画笔工具画出一些阴影,如图所示。
5、设置不阴影层的不透明度为60%,然后添加一个渐变叠加的图层样式,如图所示。
6、执行“滤镜—模糊—高斯模糊”,半径约为10像素左右,如图所示。
7、下面打开黑色翅膀素材,打开翅膀复制到美女身上,如图所示。
8、按下Ctrl+J复制翅膀图层,然后设置大小和位置(使用“编辑—自由变换”命令),如图所示。
9、如果觉得翅膀的形状与美女的身体不太协调,可以执行“编辑—变换—变形”命令(需要CS2及以上版本才有),调整翅膀的形状,如图所示。
10、为翅膀图层创建一个图层蒙版,然后黑色的画笔工具在蒙版上涂抹,以消除翅膀与美女交背部的不协调,然后翅膀与美女背部融合得更自然,如图所示。
11、接下来对美女眼睛进行修改。在美女图层的上面创建一个新图层,然后使用椭圆选框工具创建两个眼珠的圆形选区,如图所示。
上一页12 下一页 阅读全文