ps 滤镜制作朦胧动感的艺术照片
平面设计 发布日期:2026/4/8 浏览次数:1
正在浏览:ps 滤镜制作朦胧动感的艺术照片
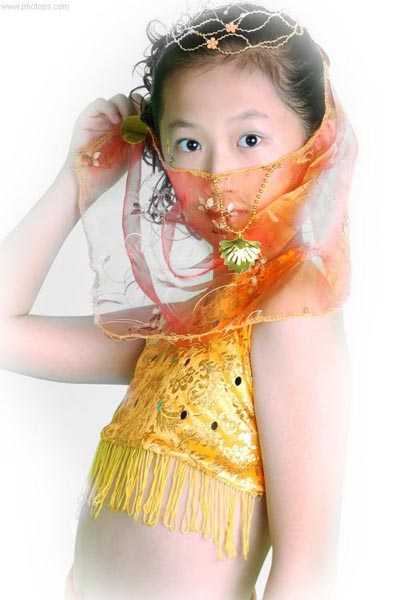
原图
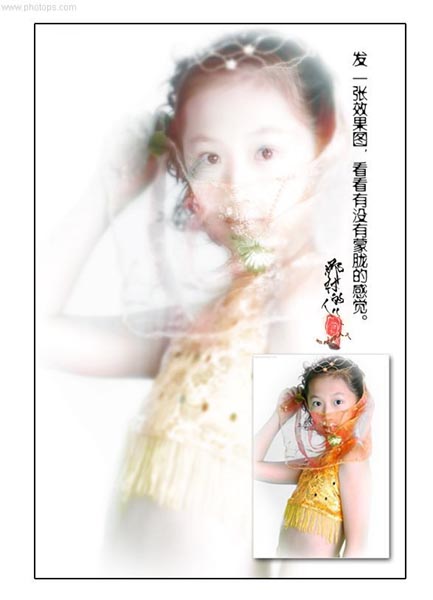
最终效果
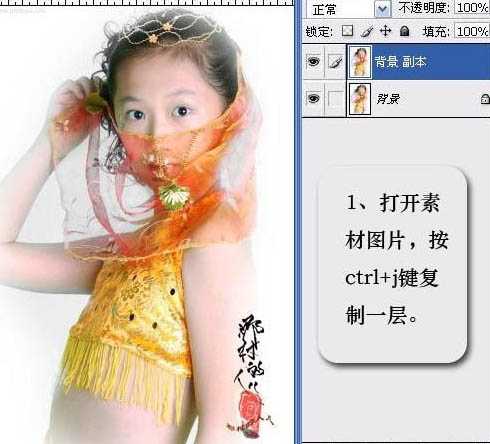
1、打开原图素材,把背景图层复制一层。
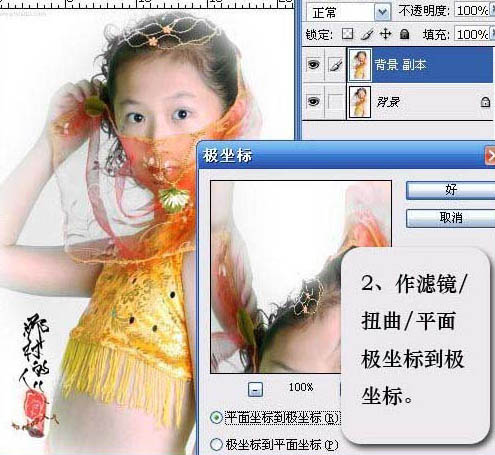
2、执行:滤镜 > 扭曲 > 极坐标,选择“平面坐标到极坐标”,参数设置如下图。
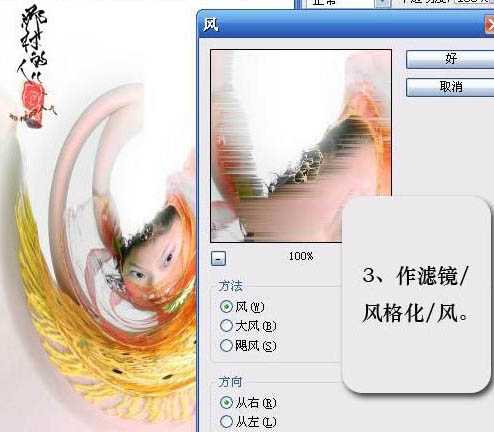
3、执行:滤镜 > 风格化 > 风,参数设置如下图。
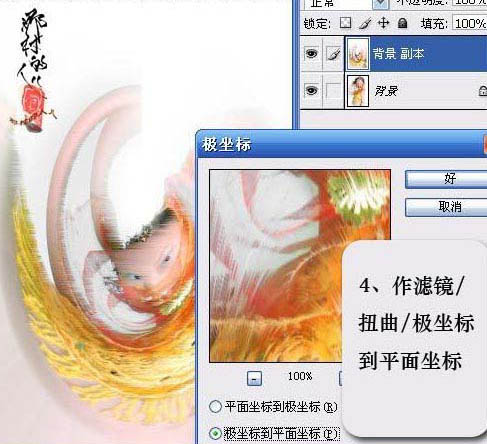
4、执行:滤镜 > 扭曲 > 极坐标,选择“极坐标到平面坐标”,如下图。
5、执行几次滤镜后的效果如下图。目的是做出图片的动感效果。

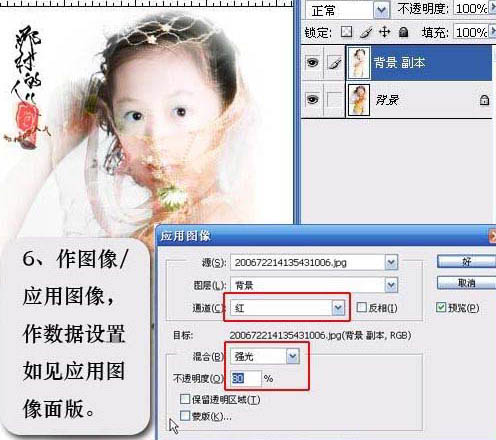
6、执行:图像 > 应用图像,参数设置如下图。
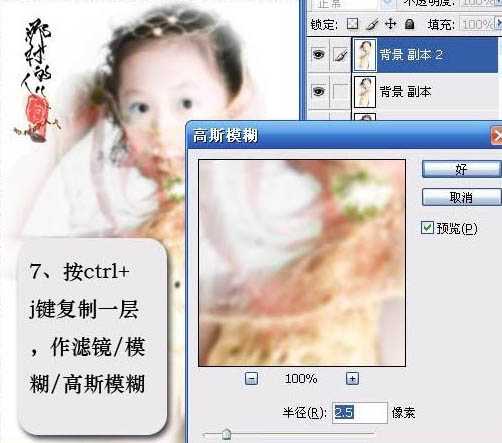
7、按Ctrl + J 把当前图层复制一层,执行:滤镜 > 模糊 > 高斯模糊,数值为:2.5。
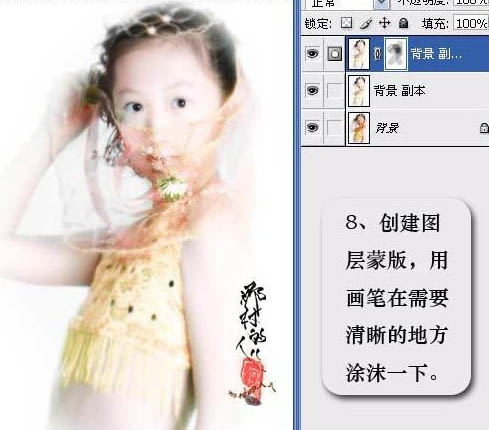
8、加上图层蒙版,用黑色画笔把需要清晰的部分涂出来。
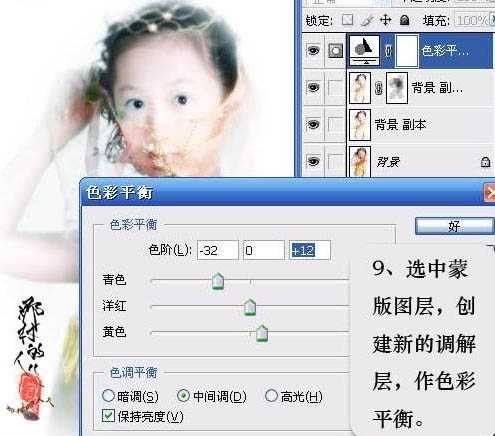
9、创建色彩平衡调整图层,参数设置如下图。
图层参照及最终效果。
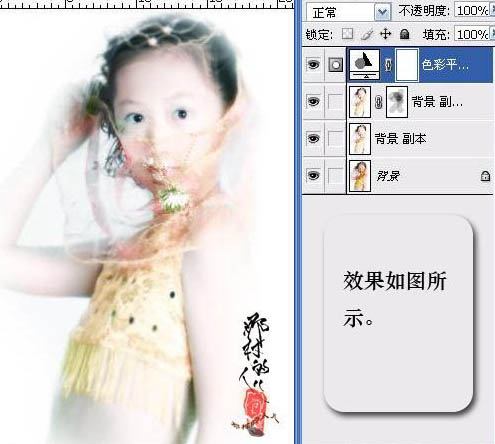

最终效果
1、打开原图素材,把背景图层复制一层。
2、执行:滤镜 > 扭曲 > 极坐标,选择“平面坐标到极坐标”,参数设置如下图。
3、执行:滤镜 > 风格化 > 风,参数设置如下图。
4、执行:滤镜 > 扭曲 > 极坐标,选择“极坐标到平面坐标”,如下图。
5、执行几次滤镜后的效果如下图。目的是做出图片的动感效果。
6、执行:图像 > 应用图像,参数设置如下图。
7、按Ctrl + J 把当前图层复制一层,执行:滤镜 > 模糊 > 高斯模糊,数值为:2.5。
8、加上图层蒙版,用黑色画笔把需要清晰的部分涂出来。
9、创建色彩平衡调整图层,参数设置如下图。
图层参照及最终效果。