Photoshop 天空加上彩色透射光束效果
平面设计 发布日期:2026/4/8 浏览次数:1
正在浏览:Photoshop 天空加上彩色透射光束效果
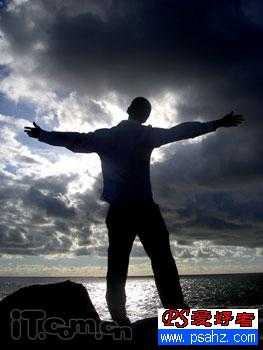
原图
最终效果

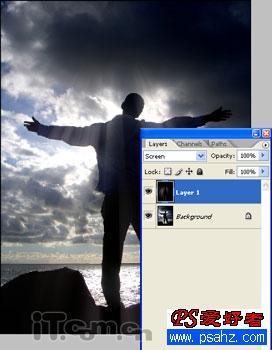
1、首先我们要寻找合适的素材图片,ps教程中我找来了一幅背光的人物照片,我们先用photoshop打开它。

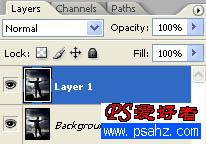
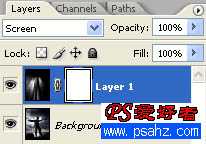
2、开始之前,我们需要先复制一层,按下Ctrl+J复制出图层1,这是photoshop处理照片的良好习惯,如图所示。
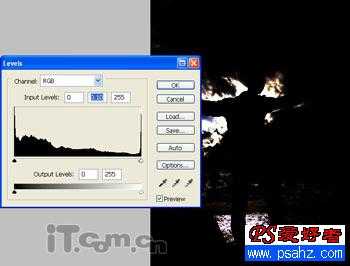
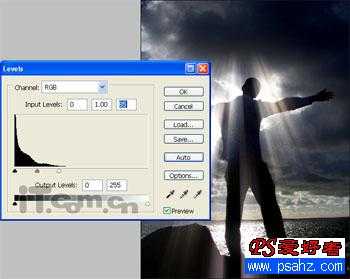
3、我们要找出照片的光源位置,使用色阶工具(图像—调整—色阶),向右拖动中间的滑块,如图所示。
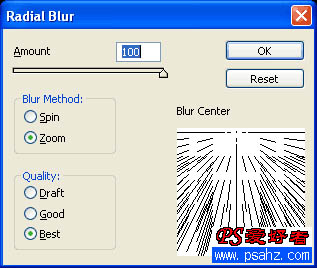
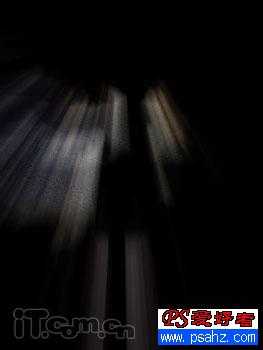
4、打开照片的光源位置后,我们就可以制作光芒的了。在这个photoshop教程中,我使用了径向模糊滤镜(滤镜—模糊—径向模糊)设置数量:100、模糊方法:缩放、品质:最好,并手动模糊中心到你想光线射出出位置,如图所示。
5、第一次使用径向模糊后,你可能会发现光线上有些光斑,看起来不均匀。此时我们可以按下Ctrl+F再做一次径向模糊,直到你满意为止,如图所示。
6、制作完光线后,就要把它融入照片中,设置图层1的混合模式为“滤色”,效果如图所示。
7、光线融入照片后,看起来似乎并不十分强烈。为了增加光线的质感,我使用打开色阶工具(图像—调整—色阶)向左拖动中间和右边的滑块,你也可以单击“自动”按钮,让photoshop自动为你调整,如图所示。
8、接下来如果你放大图片,你可能会发现光线上出现了一此噪点,要删除它可以使用去斑滤镜(滤镜—杂色—去斑),如图所示。
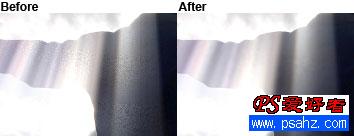
9、下面我们在去除某些地方应该被遮蔽了的光线,添加一个图层蒙板,如图所示。
10、使用黑色的画笔工具在蒙板中涂抹你认为不需要光线的地方,如图所示。

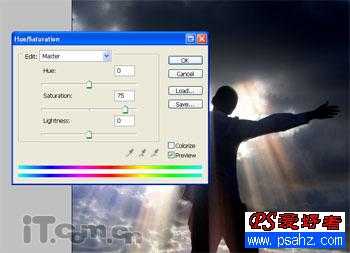
11、调整光线的颜色,在photoshop中我们可以使用色相/饱和度工具(图像—调整—色相/饱和度),设置参考下图。
来到这里ps教程就完毕了,下面看看大家的成果图吧!
最终效果
1、首先我们要寻找合适的素材图片,ps教程中我找来了一幅背光的人物照片,我们先用photoshop打开它。
2、开始之前,我们需要先复制一层,按下Ctrl+J复制出图层1,这是photoshop处理照片的良好习惯,如图所示。
3、我们要找出照片的光源位置,使用色阶工具(图像—调整—色阶),向右拖动中间的滑块,如图所示。
4、打开照片的光源位置后,我们就可以制作光芒的了。在这个photoshop教程中,我使用了径向模糊滤镜(滤镜—模糊—径向模糊)设置数量:100、模糊方法:缩放、品质:最好,并手动模糊中心到你想光线射出出位置,如图所示。
5、第一次使用径向模糊后,你可能会发现光线上有些光斑,看起来不均匀。此时我们可以按下Ctrl+F再做一次径向模糊,直到你满意为止,如图所示。
6、制作完光线后,就要把它融入照片中,设置图层1的混合模式为“滤色”,效果如图所示。
7、光线融入照片后,看起来似乎并不十分强烈。为了增加光线的质感,我使用打开色阶工具(图像—调整—色阶)向左拖动中间和右边的滑块,你也可以单击“自动”按钮,让photoshop自动为你调整,如图所示。
8、接下来如果你放大图片,你可能会发现光线上出现了一此噪点,要删除它可以使用去斑滤镜(滤镜—杂色—去斑),如图所示。
9、下面我们在去除某些地方应该被遮蔽了的光线,添加一个图层蒙板,如图所示。
10、使用黑色的画笔工具在蒙板中涂抹你认为不需要光线的地方,如图所示。
11、调整光线的颜色,在photoshop中我们可以使用色相/饱和度工具(图像—调整—色相/饱和度),设置参考下图。
来到这里ps教程就完毕了,下面看看大家的成果图吧!