Photoshop 精修陈年老照片
平面设计 发布日期:2026/4/10 浏览次数:1
正在浏览:Photoshop 精修陈年老照片
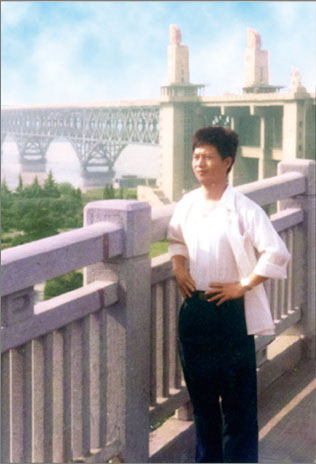
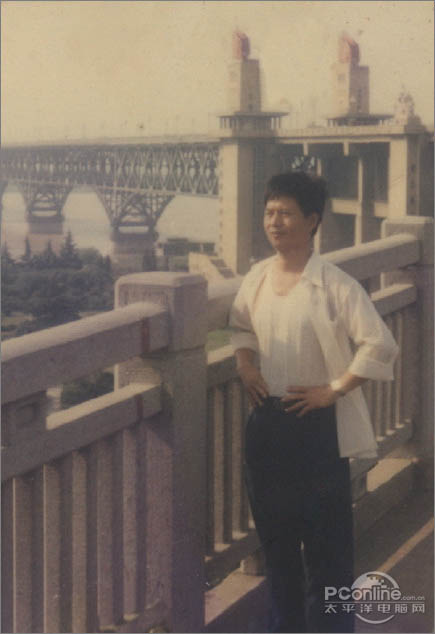
下面的教程将介绍如何把一张非常陈旧的照片还原,包括照片的修复及色彩的还原。作者介绍的非常详细,修复的也非常完美。想学的朋友可以尝试一下。
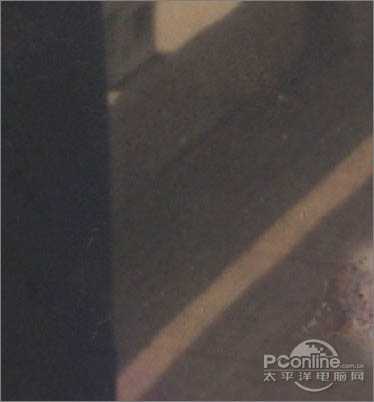
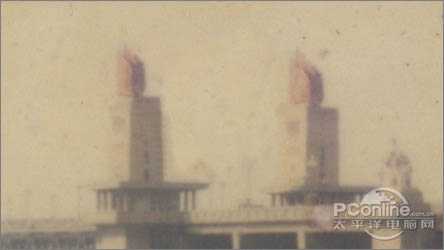
原图

<图1>
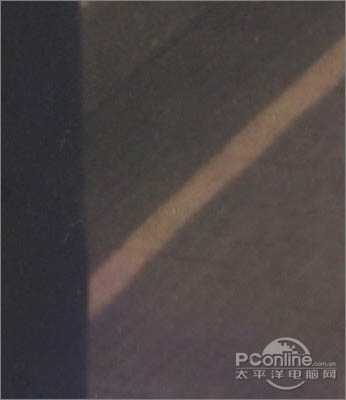
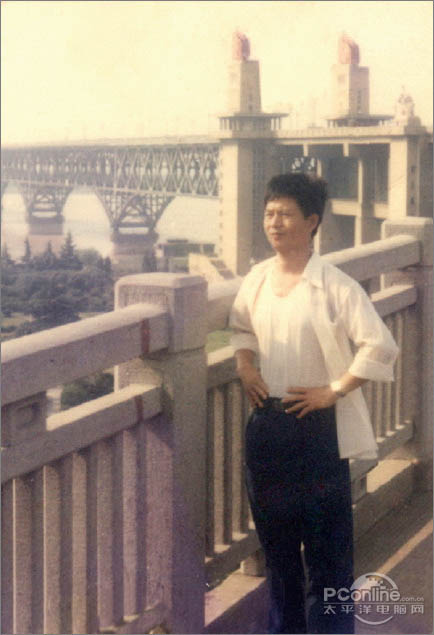
最终效果
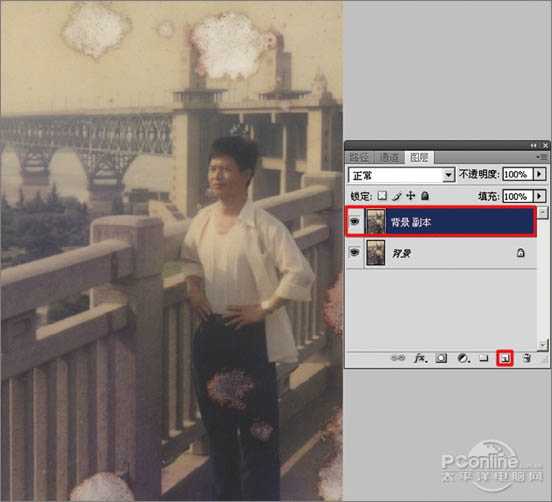
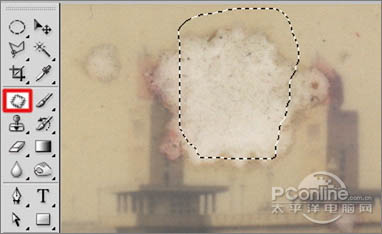
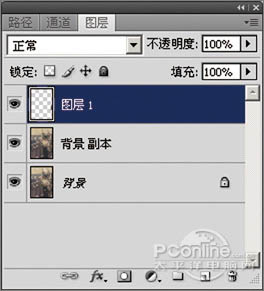
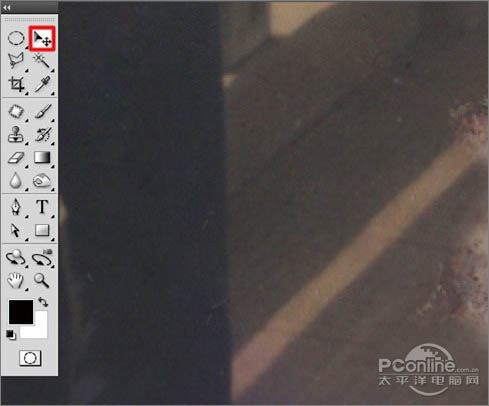
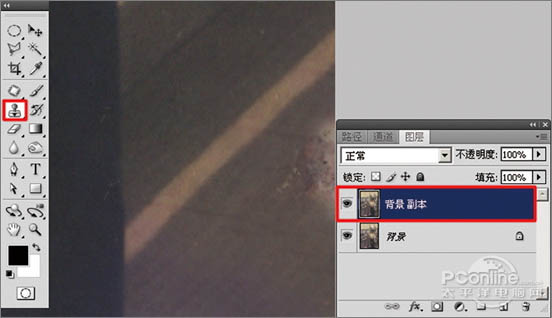
<图2> 一、修复照片的破损区域 1、运行Adobe Photoshop CS4软件,执行菜单:“文件”/“打开”(快捷键Ctrl+O),打开素材,把“背景”图层拖到面板下方的 创建新图层按钮处,复制出“背景副本”,如图3所示。提示:在复制出来的照片上进行编辑操作,可以避免操作失误无法退回原始状态。
<图3>
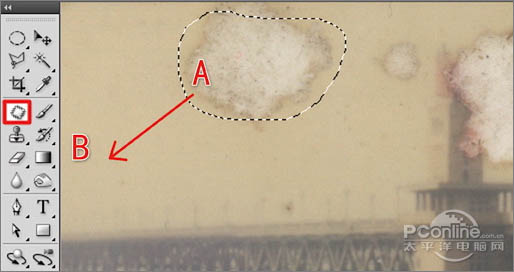
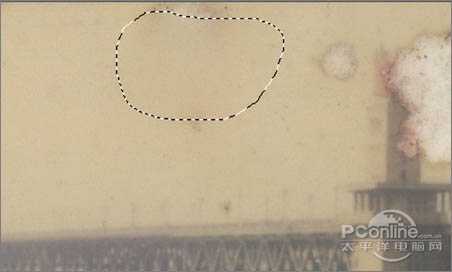
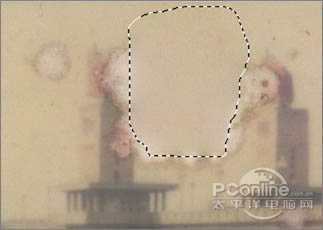
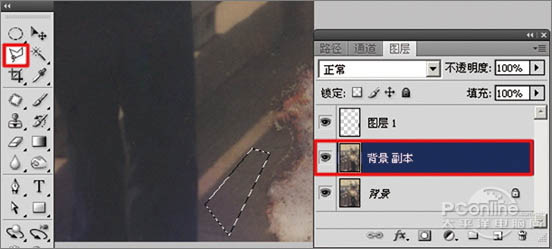
2、选择工具箱中的 修补工具,在要修补的位置描绘出选区,如图4A所示。按住鼠标左键,拖动这个选区到相似色之中,如图4B所示。释放鼠标,完成选区修补并按组合键Ctrl+D取消选区,如图5所示。提示:对于破损面积比较大的区域,可以直接使用修补工具选择,然后拖动到相近颜色区域以完成初步修复。
<图4>
<图5>
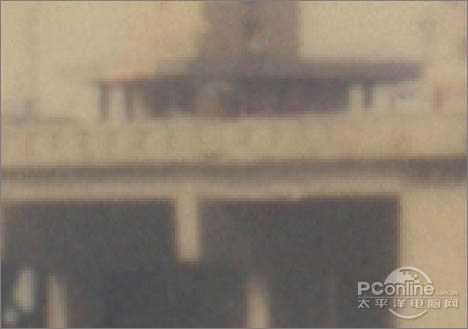
3、选择工具箱中的 修补工具,选择破损比较严重的桥塔中间部分,如图6所示。用鼠标左键拖动这个选区到相似色之中,释放鼠标完成初步修复,然后按组合键Ctrl+D取消选区,效果如图7所示。
<图6>
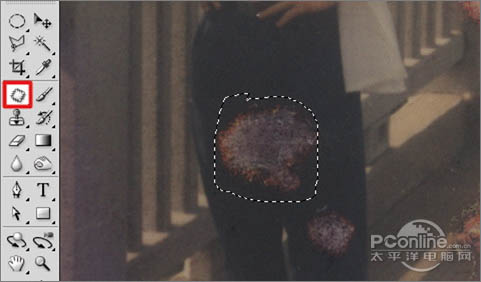
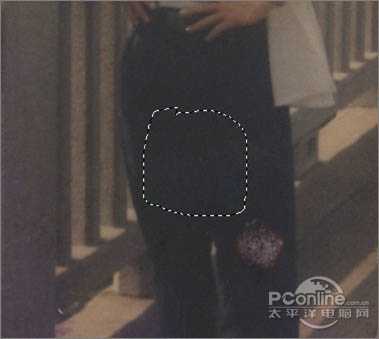
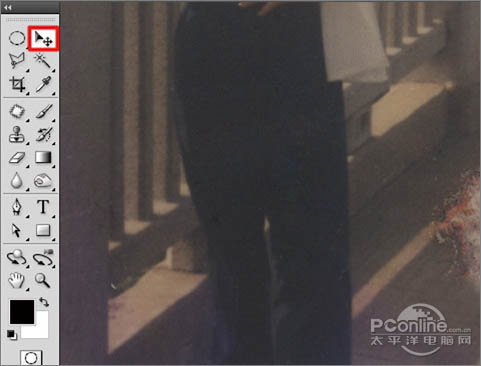
<图7> 4、选择工具箱中的 修补工具,选择人物裤子中破损较严重的区域,如图8所示。用鼠标左键拖动这个选区到相似区域之中,释放鼠标,完成此区域的初步修复并按组合键Ctrl+D取消选区,效果如图9所示。
<图8>
<图9>
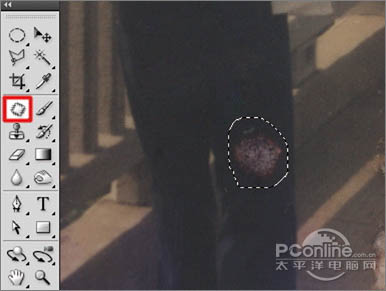
5、选择工具箱中的 修补工具,选择人物裤子膝盖处破损较大的区域,如图10所示。用鼠标左键拖动这个选区到相似区域之中,释放鼠标完成该区域修复并按组合键Ctrl+D取消选区,效果如图11所示。
<图10>

<图11>
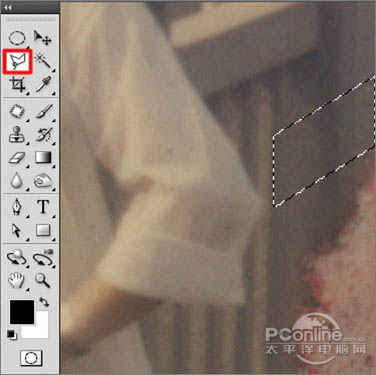
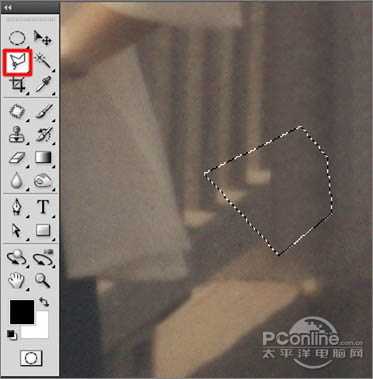
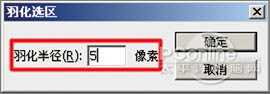
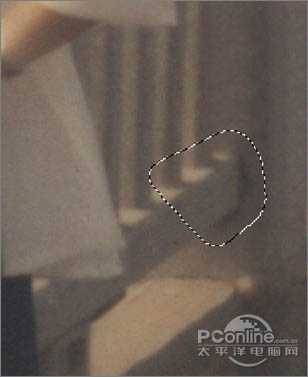
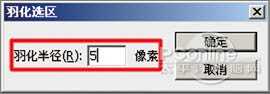
6、选择工具箱中的 多边形套索工具,描绘出如图12所示的四边形选区;执行菜单:“选择”/“修改”/“羽化”(快捷键Shift+F6),弹出“羽化选区”对话框,羽化半径设置为:5像素,如图13所示。执行菜单:“图层”/“新建”/“通过拷贝的图层”(快捷键Ctrl+J),复制“图层 1”,如图14所示。
<图12>

<图13>

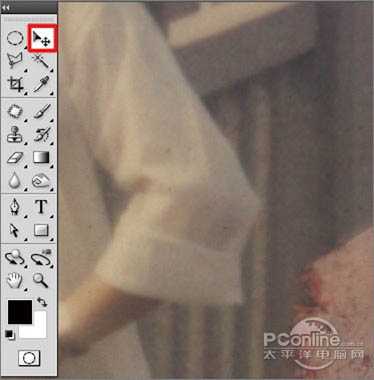
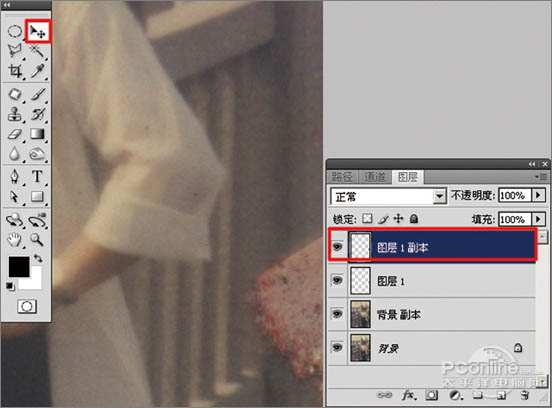
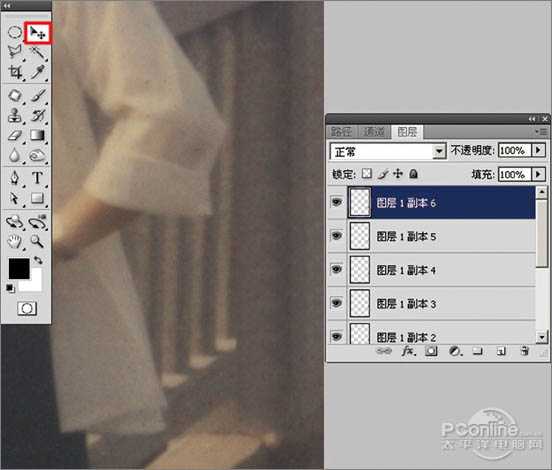
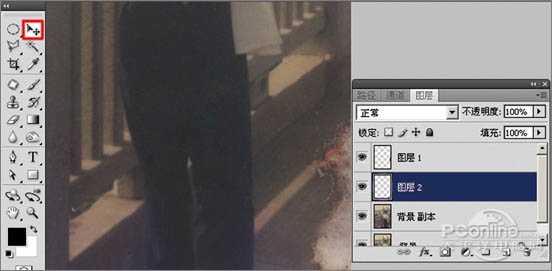
<图14> 7、选择工具中的 移动工具,向下移动 “图层1”的位置,把破损的区域进行覆盖,如图15所示。执行菜单:“图层”/“新建”/“通过拷贝的图层”(快捷键Ctrl+J),再使用 移动工具,向下移动 “图层1副本”,把破损的区域进行覆盖,如图16所示。用相同的制作方法直到完全覆盖破损区,覆盖的效果如图17所示。选中“图层 1副本6”,执行菜单:“图层”/“向下合并”(快捷键Ctrl+E),合并成“图层 1”,如图18所示。
<图15>
<图16>
<图17>
<图18> 8、选择工具箱中的 多边形套索工具,描绘出如图19所示多边形选区。执行菜单:“选择”/“修改”/“羽化”(快捷键Shift+F6),弹出“羽化选区”对话框,羽化半径设置为:5像素,如图20所示;然后按Delete键,删除“图层1”选区中的图像,然后按“Ctrl+D”取消选择如图21所示。
<图19>
<图20>
<图21>
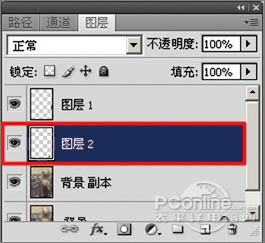
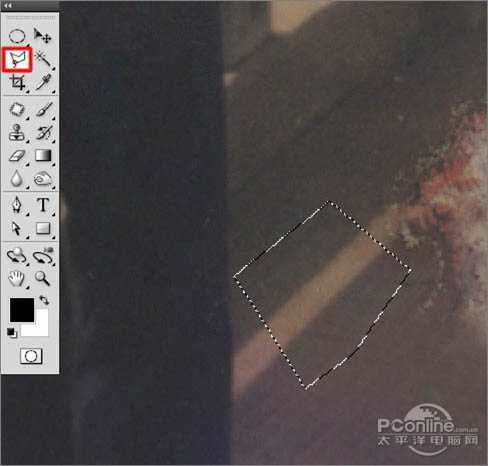
9、选择工具箱中的 多边形套索工具,描绘出如图22所示四边形选区。执行菜单:“选择”/“修改”/“羽化”(快捷键Shift+F6),弹出“羽化选区”对话框,羽化半径设置为:5像素,如图23所示。执行菜单:“图层”/“新建”/“通过拷贝的图层”(快捷键Ctrl+J),复制出“图层 2”,如图24所示。
<图22>
<图23>
<图24> 10、选择工具中的 移动工具,向右移动复制出的“层图 2”图像位置,把路面破损的区域覆盖,如图25所示;同样用复制出图层并移动的方法,把路面破损的区域全部覆盖,效果如图26所示,再执行菜单:“图层”/“向下合并”(快捷键Ctrl+E),合并成“图层 2”。
<图25>
<图26>
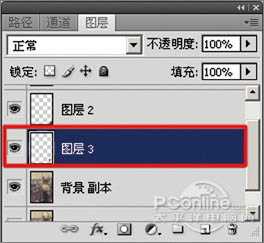
11、选择工具箱中的 多边形套索工具,描绘出如图27所示四边形选区。执行菜单:“选择”/“修改”/“羽化”(快捷键Shift+F6),弹出“羽化选区”对话框,羽化半径设置为:5像素,如图28所示。执行菜单:“图层”/“新建”/“通过拷贝的图层”(快捷键Ctrl+J),复制“图层 3”,如图29所示。
<图27>

<图28>
<图29> 12、选择工具中的 移动工具,向右上角移动复制出的“层图 3”图像位置,覆盖路面破损的区域,如图30所示。同样用复制出图层并移动的方法,把路面其它破损的区域覆盖,效果如图31所示。
<图30>
<图31>
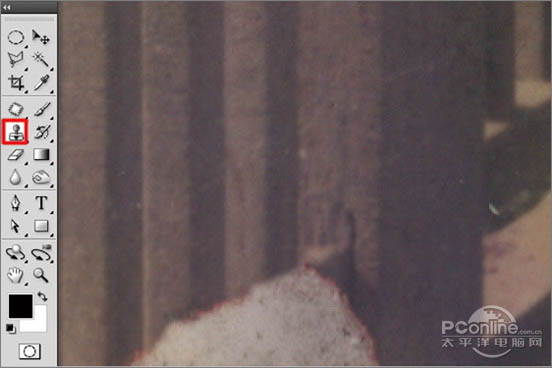
13、选中“图层 1”,执行菜单:“图层”/“向下合并”(快捷键Ctrl+E),合并成“背景 副本”,再选择工具箱中的 仿制图章工具,如图32所示;按住Alt键,在修复区域外点击路面相似的图像采样,然后在修复区域拖动鼠标复制以覆盖修复,效果如图33所示。
<图32>
<图33>
14、选择工具箱中的 仿制图章工具,按住Alt键,在修复区域外点击相似的图像采样,然后在修复区域拖动鼠标复制以覆盖修复,如图34所示。 要细心的选中相似的图像采样慢慢修复,效果如图35所示。
<图34>
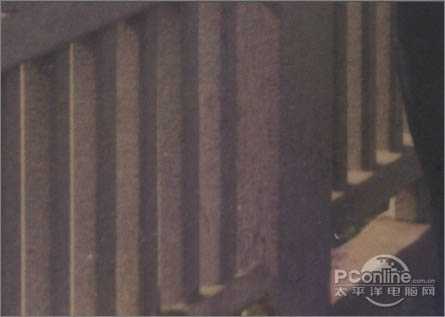
<图35> 15、选择工具箱中的 仿制图章工具,修复破损桥塔中间部分,如图36所示;按住Alt键,在修复区域外点击相似的图像采样,然后在修复区域拖动鼠标复制以覆盖修复,效果如图37所示。

<图36>
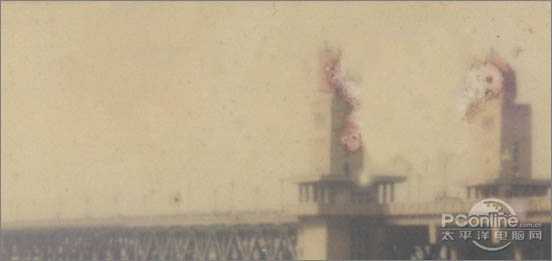
<图37>
16、按组合键“Ctrl+‘+’”,把视图放大,选择工具箱中的 仿制图章工具,修复桥塔的破损区域,如图38所示。按住Alt键,在修复区域外点击桥塔相似的图像采样,然后慢慢的在修复区域拖动鼠标复制以覆盖修复,效果如图39所示。
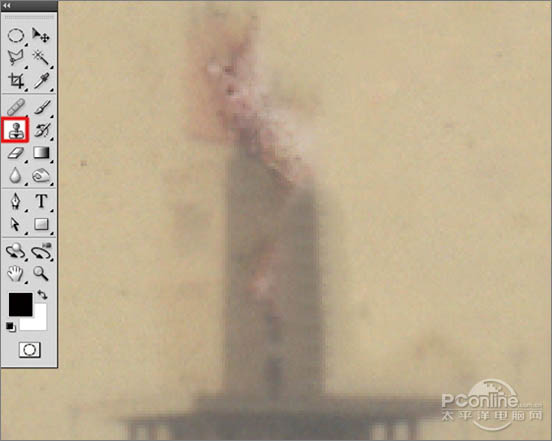
<图38>
<图39>
17、按组合键“Ctrl+‘+’”,把视图放大,选择工具箱中的 仿制图章工具,修复桥的破损的区域,如图40所示。按住Alt键,在修复区域外点击桥相似的图像采样,然后慢慢的在修复区域拖动鼠标复制以覆盖修复,效果如图41所示。

<图40>
<图41> 18、选择工具箱中的 仿制图章工具,修复人物脸部的破损区域,如图42所示。按住Alt键,在修复区域外点击相似的图像采样,然后慢慢的在修复区域拖动鼠标复制以覆盖修复,效果如图43所示。
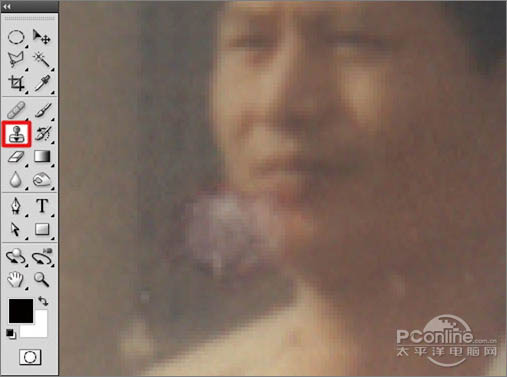
<图42>
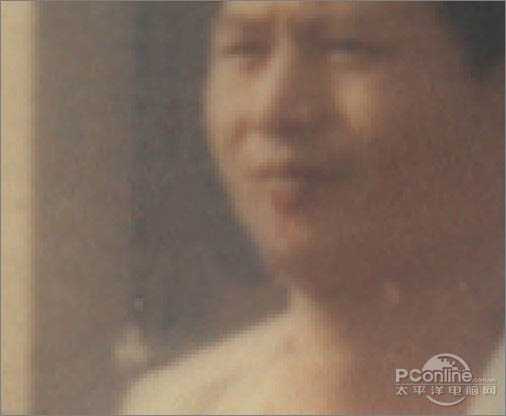
<图43>
19、按组合键“Ctrl+0”,把视图显视全部页面大小,观察整个画面,还有小小的破损的区域,如图44所示,继续使用 仿制图章工具进行修复。
<图44>
20、执行菜单:“图像”/“调整”/“色阶”(快捷键Ctrl+L),弹出“色阶”对话框,对色阶进行调整,如图45所示,效果如图46所示。

<图45>
<图46> 上一页12 3 下一页 阅读全文
原图
<图1>
最终效果
<图2> 一、修复照片的破损区域 1、运行Adobe Photoshop CS4软件,执行菜单:“文件”/“打开”(快捷键Ctrl+O),打开素材,把“背景”图层拖到面板下方的 创建新图层按钮处,复制出“背景副本”,如图3所示。提示:在复制出来的照片上进行编辑操作,可以避免操作失误无法退回原始状态。
<图3>
2、选择工具箱中的 修补工具,在要修补的位置描绘出选区,如图4A所示。按住鼠标左键,拖动这个选区到相似色之中,如图4B所示。释放鼠标,完成选区修补并按组合键Ctrl+D取消选区,如图5所示。提示:对于破损面积比较大的区域,可以直接使用修补工具选择,然后拖动到相近颜色区域以完成初步修复。
<图4>
<图5>
3、选择工具箱中的 修补工具,选择破损比较严重的桥塔中间部分,如图6所示。用鼠标左键拖动这个选区到相似色之中,释放鼠标完成初步修复,然后按组合键Ctrl+D取消选区,效果如图7所示。
<图6>
<图7> 4、选择工具箱中的 修补工具,选择人物裤子中破损较严重的区域,如图8所示。用鼠标左键拖动这个选区到相似区域之中,释放鼠标,完成此区域的初步修复并按组合键Ctrl+D取消选区,效果如图9所示。
<图8>
<图9>
5、选择工具箱中的 修补工具,选择人物裤子膝盖处破损较大的区域,如图10所示。用鼠标左键拖动这个选区到相似区域之中,释放鼠标完成该区域修复并按组合键Ctrl+D取消选区,效果如图11所示。
<图10>
<图11>
6、选择工具箱中的 多边形套索工具,描绘出如图12所示的四边形选区;执行菜单:“选择”/“修改”/“羽化”(快捷键Shift+F6),弹出“羽化选区”对话框,羽化半径设置为:5像素,如图13所示。执行菜单:“图层”/“新建”/“通过拷贝的图层”(快捷键Ctrl+J),复制“图层 1”,如图14所示。
<图12>
<图13>
<图14> 7、选择工具中的 移动工具,向下移动 “图层1”的位置,把破损的区域进行覆盖,如图15所示。执行菜单:“图层”/“新建”/“通过拷贝的图层”(快捷键Ctrl+J),再使用 移动工具,向下移动 “图层1副本”,把破损的区域进行覆盖,如图16所示。用相同的制作方法直到完全覆盖破损区,覆盖的效果如图17所示。选中“图层 1副本6”,执行菜单:“图层”/“向下合并”(快捷键Ctrl+E),合并成“图层 1”,如图18所示。
<图15>
<图16>
<图17>
<图18> 8、选择工具箱中的 多边形套索工具,描绘出如图19所示多边形选区。执行菜单:“选择”/“修改”/“羽化”(快捷键Shift+F6),弹出“羽化选区”对话框,羽化半径设置为:5像素,如图20所示;然后按Delete键,删除“图层1”选区中的图像,然后按“Ctrl+D”取消选择如图21所示。
<图19>
<图20>
<图21>
9、选择工具箱中的 多边形套索工具,描绘出如图22所示四边形选区。执行菜单:“选择”/“修改”/“羽化”(快捷键Shift+F6),弹出“羽化选区”对话框,羽化半径设置为:5像素,如图23所示。执行菜单:“图层”/“新建”/“通过拷贝的图层”(快捷键Ctrl+J),复制出“图层 2”,如图24所示。
<图22>
<图23>
<图24> 10、选择工具中的 移动工具,向右移动复制出的“层图 2”图像位置,把路面破损的区域覆盖,如图25所示;同样用复制出图层并移动的方法,把路面破损的区域全部覆盖,效果如图26所示,再执行菜单:“图层”/“向下合并”(快捷键Ctrl+E),合并成“图层 2”。
<图25>
<图26>
11、选择工具箱中的 多边形套索工具,描绘出如图27所示四边形选区。执行菜单:“选择”/“修改”/“羽化”(快捷键Shift+F6),弹出“羽化选区”对话框,羽化半径设置为:5像素,如图28所示。执行菜单:“图层”/“新建”/“通过拷贝的图层”(快捷键Ctrl+J),复制“图层 3”,如图29所示。
<图27>
<图28>
<图29> 12、选择工具中的 移动工具,向右上角移动复制出的“层图 3”图像位置,覆盖路面破损的区域,如图30所示。同样用复制出图层并移动的方法,把路面其它破损的区域覆盖,效果如图31所示。
<图30>
<图31>
13、选中“图层 1”,执行菜单:“图层”/“向下合并”(快捷键Ctrl+E),合并成“背景 副本”,再选择工具箱中的 仿制图章工具,如图32所示;按住Alt键,在修复区域外点击路面相似的图像采样,然后在修复区域拖动鼠标复制以覆盖修复,效果如图33所示。
<图32>
<图33>
14、选择工具箱中的 仿制图章工具,按住Alt键,在修复区域外点击相似的图像采样,然后在修复区域拖动鼠标复制以覆盖修复,如图34所示。 要细心的选中相似的图像采样慢慢修复,效果如图35所示。
<图34>
<图35> 15、选择工具箱中的 仿制图章工具,修复破损桥塔中间部分,如图36所示;按住Alt键,在修复区域外点击相似的图像采样,然后在修复区域拖动鼠标复制以覆盖修复,效果如图37所示。
<图36>
<图37>
16、按组合键“Ctrl+‘+’”,把视图放大,选择工具箱中的 仿制图章工具,修复桥塔的破损区域,如图38所示。按住Alt键,在修复区域外点击桥塔相似的图像采样,然后慢慢的在修复区域拖动鼠标复制以覆盖修复,效果如图39所示。
<图38>
<图39>
17、按组合键“Ctrl+‘+’”,把视图放大,选择工具箱中的 仿制图章工具,修复桥的破损的区域,如图40所示。按住Alt键,在修复区域外点击桥相似的图像采样,然后慢慢的在修复区域拖动鼠标复制以覆盖修复,效果如图41所示。
<图40>
<图41> 18、选择工具箱中的 仿制图章工具,修复人物脸部的破损区域,如图42所示。按住Alt键,在修复区域外点击相似的图像采样,然后慢慢的在修复区域拖动鼠标复制以覆盖修复,效果如图43所示。
<图42>
<图43>
19、按组合键“Ctrl+0”,把视图显视全部页面大小,观察整个画面,还有小小的破损的区域,如图44所示,继续使用 仿制图章工具进行修复。
<图44>
20、执行菜单:“图像”/“调整”/“色阶”(快捷键Ctrl+L),弹出“色阶”对话框,对色阶进行调整,如图45所示,效果如图46所示。
<图45>
<图46> 上一页12 3 下一页 阅读全文