Photoshop 影楼照片修饰步骤
平面设计 发布日期:2026/6/22 浏览次数:1
正在浏览:Photoshop 影楼照片修饰步骤
首先打开一张我们要修的图片。 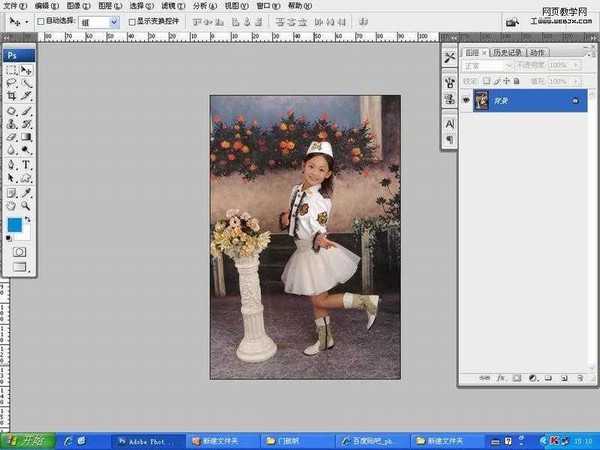
图片里宝贝的皮肤比较暗,我们应该着手从整体调明暗高光等等。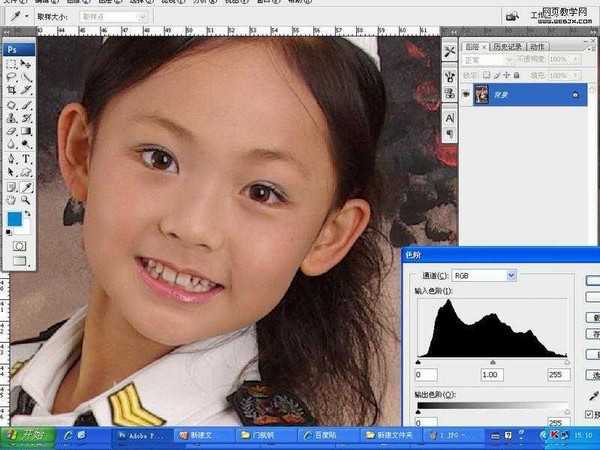
适当自己觉得舒服就可以,千万不能调太白,这是禁忌。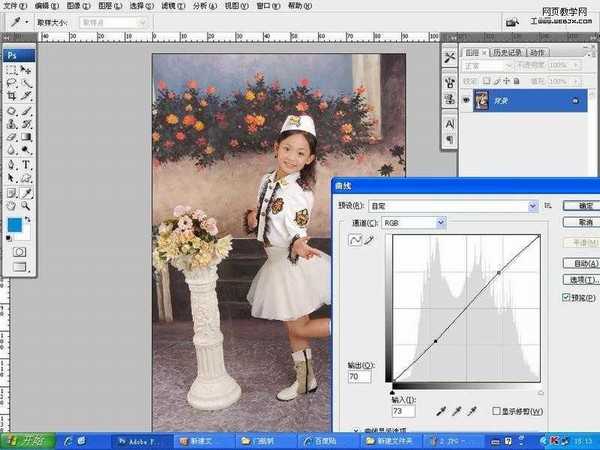
让我们放大看宝贝的脸部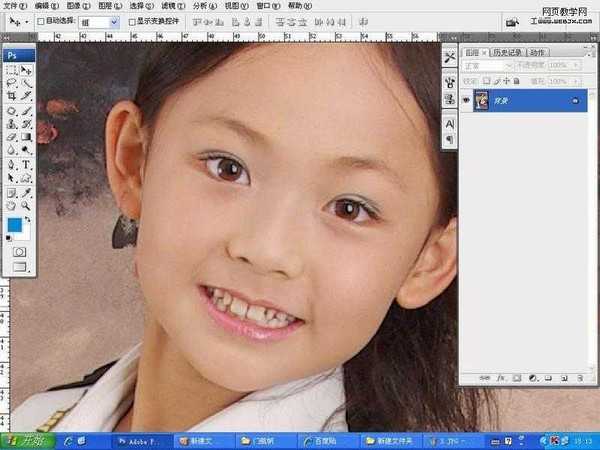
有专门的磨皮软件,但是总会有和我一样觉得不好用的人吧?我喜欢用滤镜,模糊,表面模糊。
数值不是固定的,自己试下合适自己的。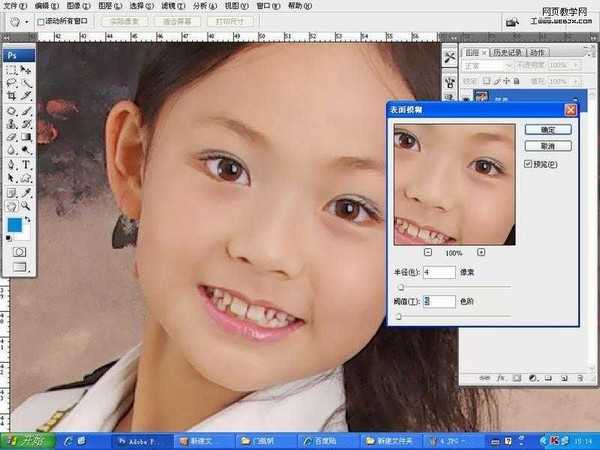
磨皮开始,因为还是宝贝,肤质相当的好。
不断按CTRL键进行磨皮,不要太过,不透明度按自己喜好,没有固定的模式。
注意人物脸部的明暗,别变形哦。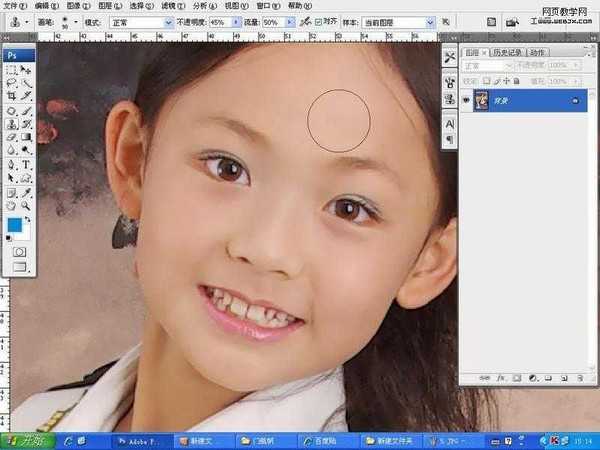
宝贝颈部的肤色明显发黄,选中给个羽化值。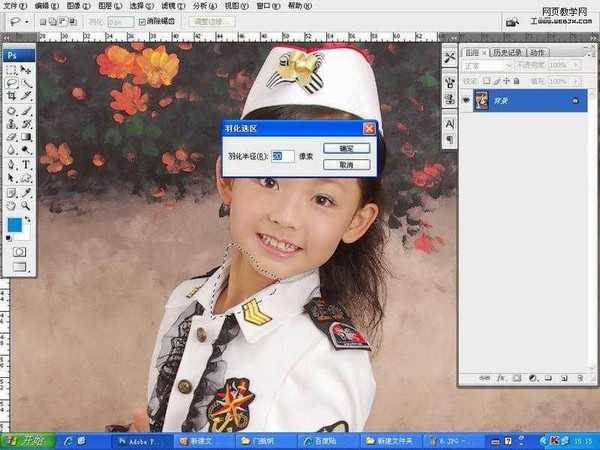
图片里宝贝的皮肤比较暗,我们应该着手从整体调明暗高光等等。
适当自己觉得舒服就可以,千万不能调太白,这是禁忌。
让我们放大看宝贝的脸部
有专门的磨皮软件,但是总会有和我一样觉得不好用的人吧?我喜欢用滤镜,模糊,表面模糊。
数值不是固定的,自己试下合适自己的。
磨皮开始,因为还是宝贝,肤质相当的好。
不断按CTRL键进行磨皮,不要太过,不透明度按自己喜好,没有固定的模式。
注意人物脸部的明暗,别变形哦。
宝贝颈部的肤色明显发黄,选中给个羽化值。