Photoshop 漂亮的绿色蝴蝶仙子
平面设计 发布日期:2025/12/25 浏览次数:1
正在浏览:Photoshop 漂亮的绿色蝴蝶仙子
来源:PS联盟 作者:Sener
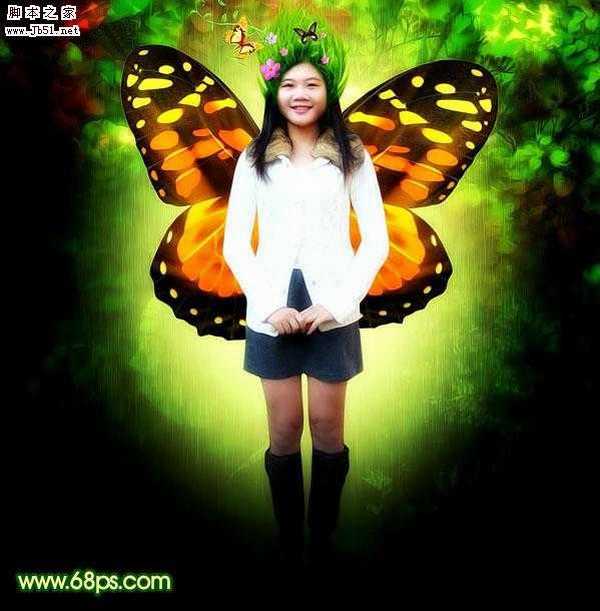
本教的制作主要分为两个部分。首先是背景部分的制作,用到一些植物及花朵素材。只要稍微融合一下即可。另一部分是人物的处理。这一步需要根据自己的喜好给人物加上各种装饰效果如翅膀、头饰等。也可以根据自己的思路加上其它装饰效果。
最终效果
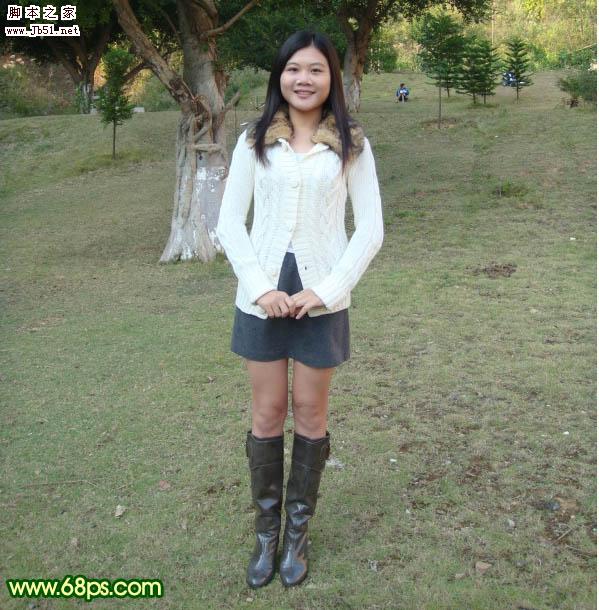
1、打开下图所示的人物素材。
<图1> 2、新建一个图层,填充颜色:#E4F2A7,效果如图2。

<图2>
3、打开下图3所示的鲜花素材拖进来,放好位置,把图层混合模式改为“正片叠底”,效果如图4。
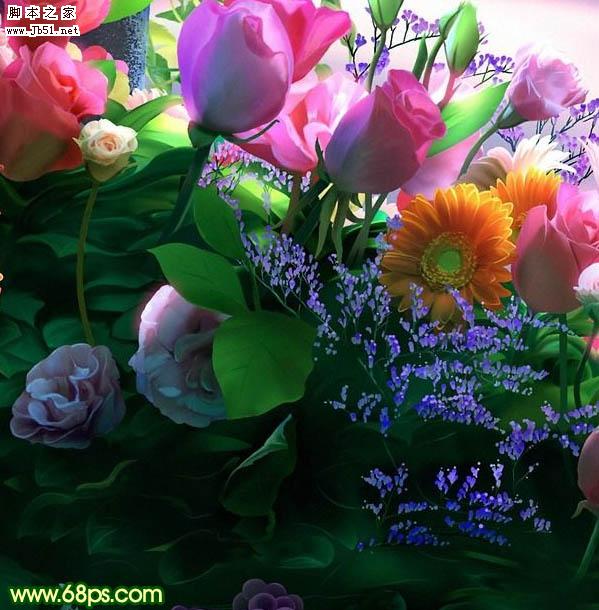
<图3>

<图4> 4、打开下图5所示的蔓藤素材拖进来,图层混合模式改为“正片叠底”,效果如图6。
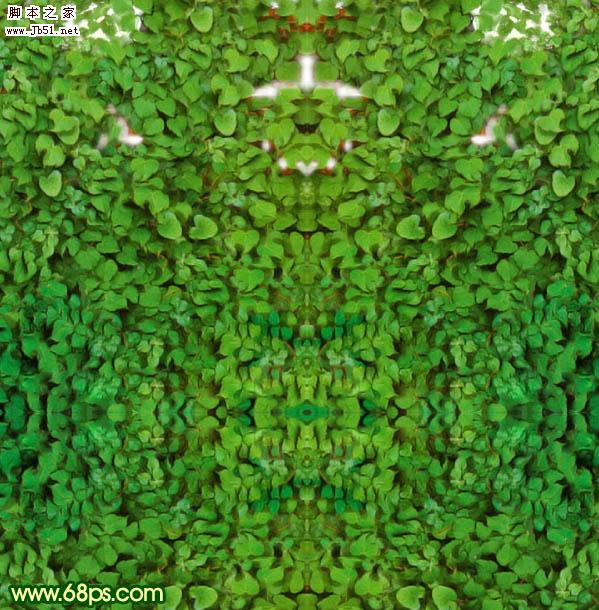
<图5>
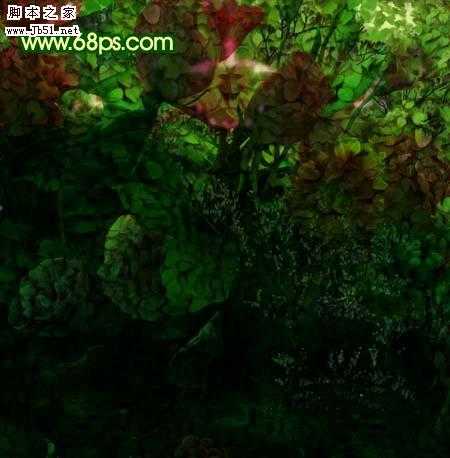
<图6> 5、新建一个图层,用椭圆选框工具拉出图7所示的椭圆选区,按Ctrl + Alt + D 羽化50个像素,然后填充颜色:#E4F2A7,按Ctrl + D 取消选区后效果如图8。
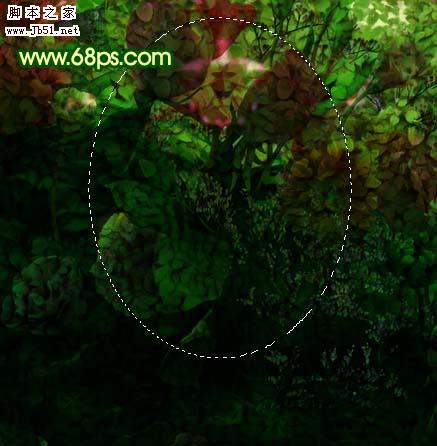
<图7>

<图8>
6、新建一个图层,按Ctrl + Alt + Shift + E 盖印图层,执行:滤镜 > 模糊 > 高斯模糊,数值为5,确定后把图层混合模式改为“强光”,效果如图9。

<图9> 7、把背景图层复制一层,按Ctrl + Shift + ] 置顶,然后用钢笔工具把人物部分抠出来,复制到新的图层,把下面的背景副本隐藏,效果如图10。

<图10>
8、打开下图所示的蝴蝶素材,用魔术棒抠出来,放到人物图层的下面,效果如图12。
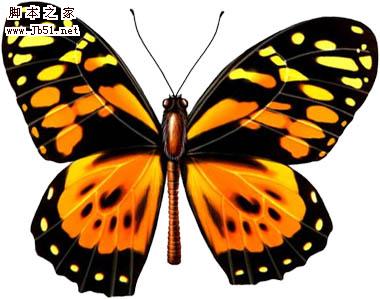
<图11>

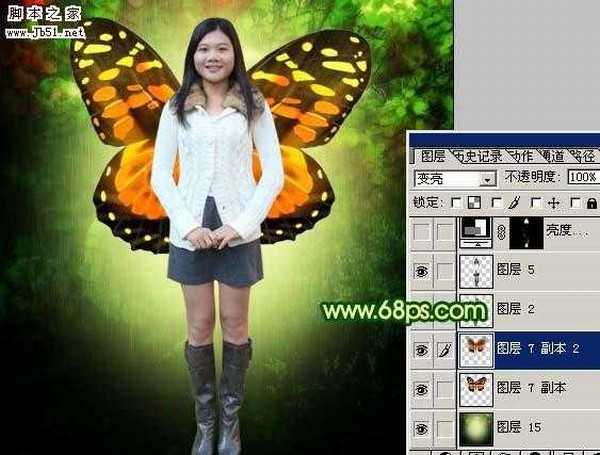
<图12> 9、把蝴蝶图层复制一层,执行:滤镜 > 模糊 > 径向模糊,参数设置如图13,确定后把图层混合模式改为“变亮”,效果如图14。
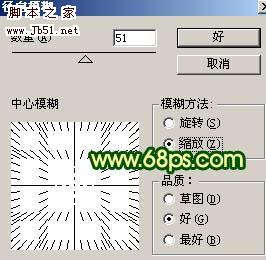
<图13>
<图14>
10、回到人物图层,执行:图像 > 调整 > 亮度/对比度,参数设置如图15,效果如图16。

<图15>
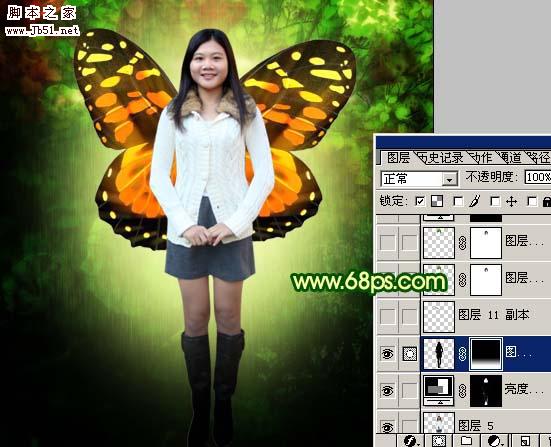
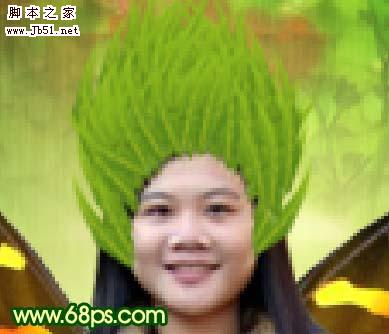
<图16> 11、打开图17所示的树叶素材,用魔术棒抠出来,拖进来,不停的复制和变形做成图18所示的发饰效果。然后把这些树叶图层合并为一个图层。

<图17>
<图18>
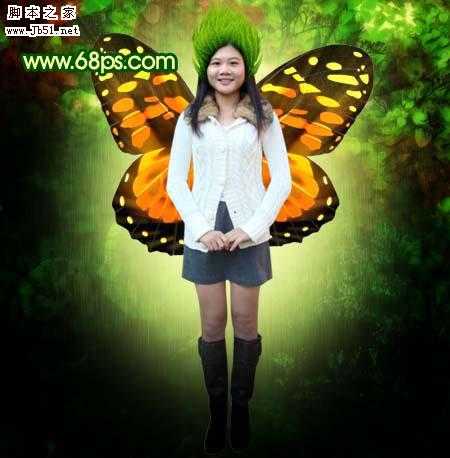
12、选择加深工具把发饰的根部位置涂暗一点,如图19。
<图19>
13、找一些小花朵和蝴蝶装饰一下,效果如图20。
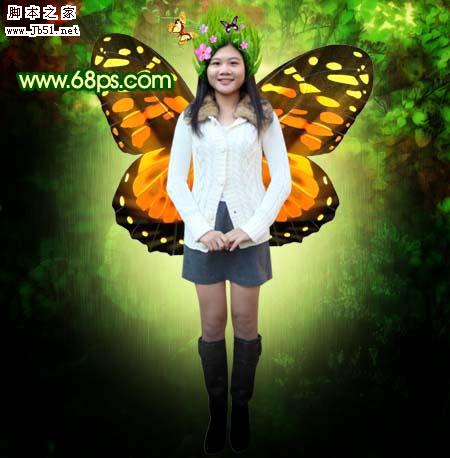
<图20> 14、新建一个图层,盖印图层,执行:滤镜 > 模糊 > 高斯模糊,数值为5,确定后把图层混合模式改为“强光”,图层不透明度改为:50%,效果如图21。
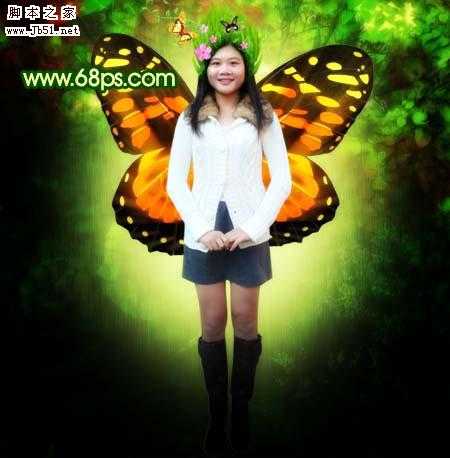
<图21>
15、新建一个图层,盖印图层,适当把图层锐化一下,如图22。
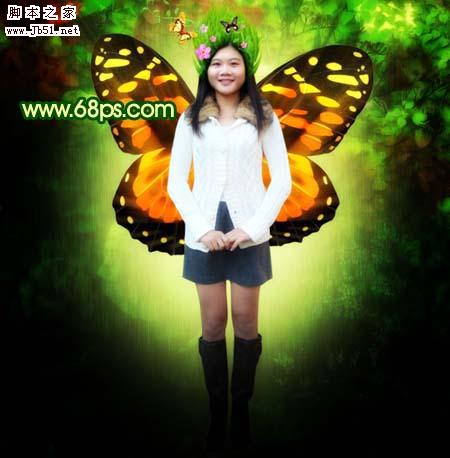
<图22>
16、创建亮度/对比度调整图层,参数设置如图23,效果如图24。

<图23>
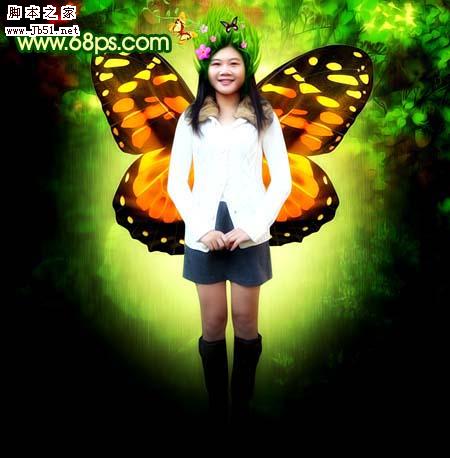
<图24>
17、最后整体调整下颜色和细节,完成最终效果。

<图25>
本教的制作主要分为两个部分。首先是背景部分的制作,用到一些植物及花朵素材。只要稍微融合一下即可。另一部分是人物的处理。这一步需要根据自己的喜好给人物加上各种装饰效果如翅膀、头饰等。也可以根据自己的思路加上其它装饰效果。
最终效果

1、打开下图所示的人物素材。

<图1> 2、新建一个图层,填充颜色:#E4F2A7,效果如图2。

<图2>
3、打开下图3所示的鲜花素材拖进来,放好位置,把图层混合模式改为“正片叠底”,效果如图4。

<图3>

<图4> 4、打开下图5所示的蔓藤素材拖进来,图层混合模式改为“正片叠底”,效果如图6。

<图5>

<图6> 5、新建一个图层,用椭圆选框工具拉出图7所示的椭圆选区,按Ctrl + Alt + D 羽化50个像素,然后填充颜色:#E4F2A7,按Ctrl + D 取消选区后效果如图8。

<图7>

<图8>
6、新建一个图层,按Ctrl + Alt + Shift + E 盖印图层,执行:滤镜 > 模糊 > 高斯模糊,数值为5,确定后把图层混合模式改为“强光”,效果如图9。

<图9> 7、把背景图层复制一层,按Ctrl + Shift + ] 置顶,然后用钢笔工具把人物部分抠出来,复制到新的图层,把下面的背景副本隐藏,效果如图10。

<图10>
8、打开下图所示的蝴蝶素材,用魔术棒抠出来,放到人物图层的下面,效果如图12。

<图11>

<图12> 9、把蝴蝶图层复制一层,执行:滤镜 > 模糊 > 径向模糊,参数设置如图13,确定后把图层混合模式改为“变亮”,效果如图14。

<图13>

<图14>
10、回到人物图层,执行:图像 > 调整 > 亮度/对比度,参数设置如图15,效果如图16。

<图15>

<图16> 11、打开图17所示的树叶素材,用魔术棒抠出来,拖进来,不停的复制和变形做成图18所示的发饰效果。然后把这些树叶图层合并为一个图层。

<图17>

<图18>
12、选择加深工具把发饰的根部位置涂暗一点,如图19。

<图19>
13、找一些小花朵和蝴蝶装饰一下,效果如图20。

<图20> 14、新建一个图层,盖印图层,执行:滤镜 > 模糊 > 高斯模糊,数值为5,确定后把图层混合模式改为“强光”,图层不透明度改为:50%,效果如图21。

<图21>
15、新建一个图层,盖印图层,适当把图层锐化一下,如图22。

<图22>
16、创建亮度/对比度调整图层,参数设置如图23,效果如图24。

<图23>

<图24>
17、最后整体调整下颜色和细节,完成最终效果。

<图25>