Photoshop设计制作闪亮的浪漫情人节金属字
平面设计 发布日期:2026/6/3 浏览次数:1
正在浏览:Photoshop设计制作闪亮的浪漫情人节金属字
本教程重点介绍文字金属效果部分的制作,文字直接使用了素材;制作的时候用多层图层样式分别给文字加上金属渐变、描边、浮雕等效果。
最终效果

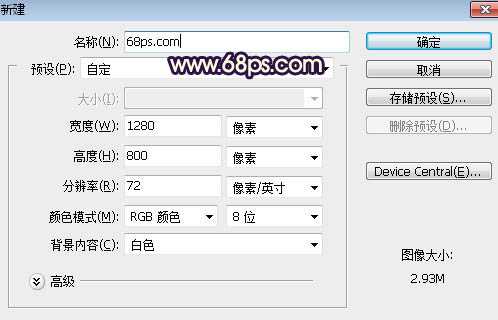
1、打开PS软件,按Ctrl + N 新建画布,尺寸为1280 * 800像素,分辨率为:72像素/英寸,如下图。
<图1>
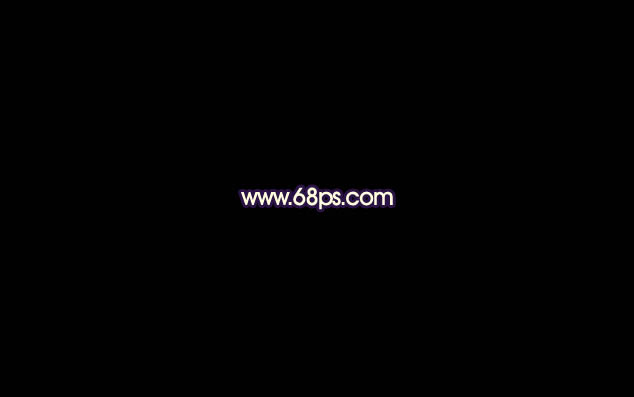
2、用油漆桶工具把背景填充黑色,如下图。
<图2>
3、点这里打开文字素材,然后保存到本机,再用PS打开,用移动工具拖进来,再适当调整好位置,如下图。

<图3>
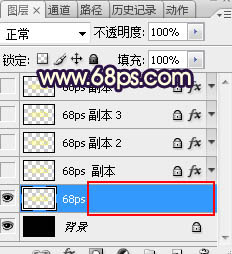
4、双击图层面板文字缩略图后面的蓝色区域设置图层样式。
<图4>
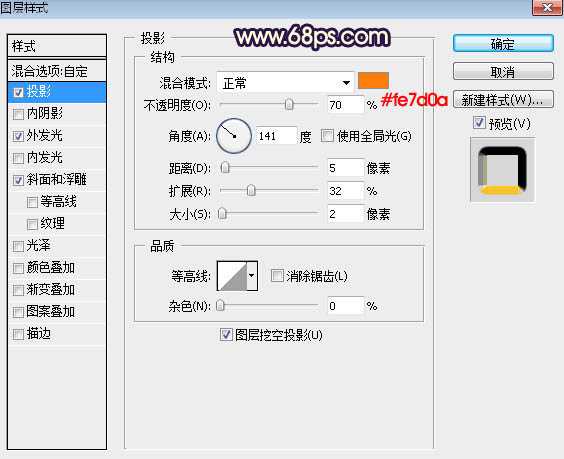
投影:
<图5>
外发光:
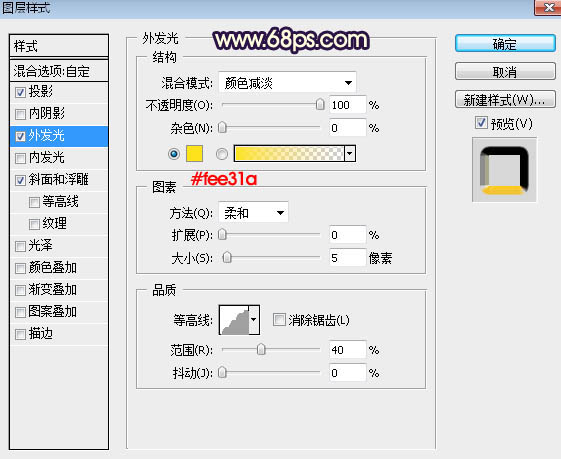
<图6>
斜面和浮雕:
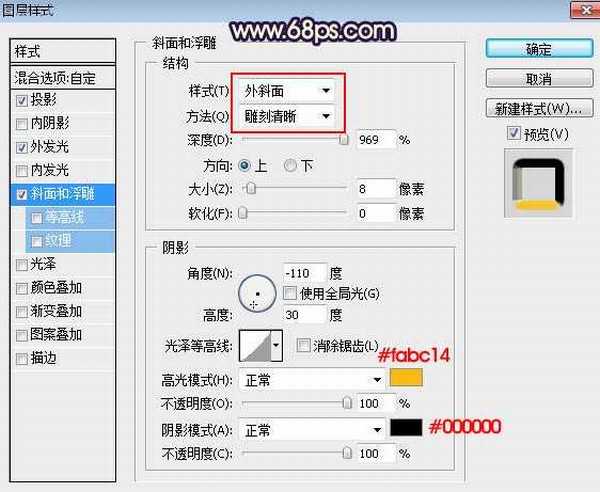
<图7>
上一页12 3 4 下一页 阅读全文
最终效果
1、打开PS软件,按Ctrl + N 新建画布,尺寸为1280 * 800像素,分辨率为:72像素/英寸,如下图。
<图1>
2、用油漆桶工具把背景填充黑色,如下图。
<图2>
3、点这里打开文字素材,然后保存到本机,再用PS打开,用移动工具拖进来,再适当调整好位置,如下图。
<图3>
4、双击图层面板文字缩略图后面的蓝色区域设置图层样式。
<图4>
投影:
<图5>
外发光:
<图6>
斜面和浮雕:
<图7>
上一页12 3 4 下一页 阅读全文