Photoshop制作出浮雕效果的透明文字
平面设计 发布日期:2026/6/8 浏览次数:1
正在浏览:Photoshop制作出浮雕效果的透明文字
今天小编为大家分享Photoshop制作出浮雕效果的透明文字方法,教程很不错,值得大家学习,一起来了解下吧。
步骤
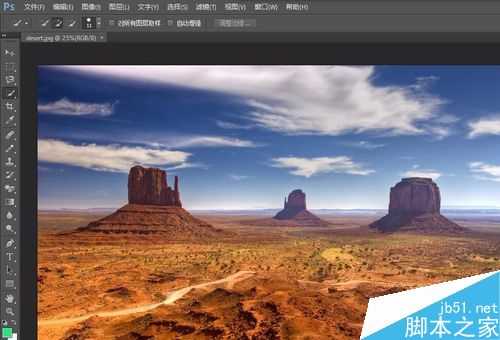
1、双击空白处,打开图片
2、选择工具栏的“T”型图标,鼠标右击,选择你要输入类型,在菜单栏选择文字大小、类型等


3、输入文字后,长按Ctrl键可进入自由变换状态来调节字体图案

4、鼠标移到到文字图层,右击,选择‘栅格化文字’
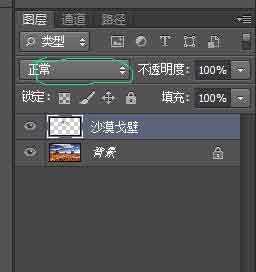
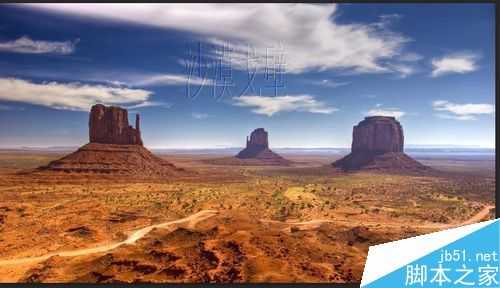
5、在右下角处的图层混合模式,选择你要的模式,我选择“强光”,效果就这样做好了。
以上就是Photoshop制作出浮雕效果的透明文字方法介绍,操作很简单的,大家学会了吗?喜欢的朋友可以尝试制作一下哦,真的很不错!
下一篇:ps怎么制作巧克力饼干字体?