Photoshop设计制作唯美绚丽的光丝光斑组合英文字
平面设计 发布日期:2026/5/26 浏览次数:1
正在浏览:Photoshop设计制作唯美绚丽的光丝光斑组合英文字
效果图虽然比较复杂,不过制作思路非常简单,只是过程比较繁琐而已。过程:先画出文字线稿;然后在PS中用钢笔勾出文字路径;再用路径描边,并用蒙版控制文字局部过渡;然后重复操作用钢笔勾出局部路径,描边后用蒙版控制边缘过渡;最后上色,添加星光及光斑等装饰即可。
最终效果

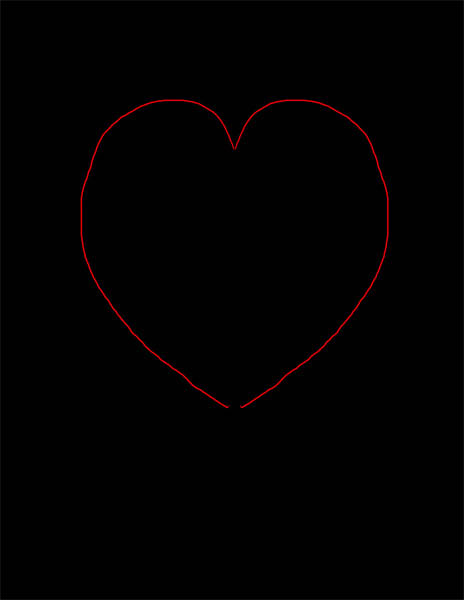
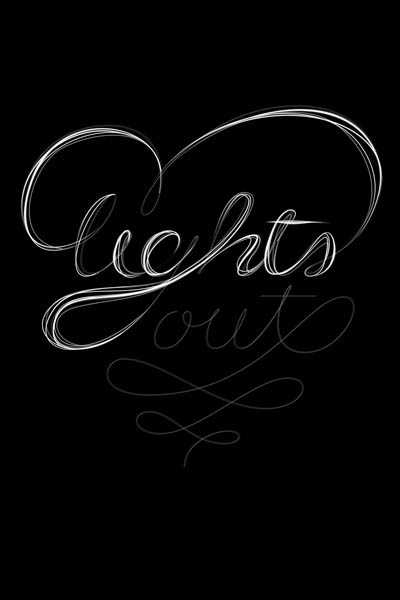
1、新建图层 W:42.5cm, H:59.4cm,300 dpi,CMYK。用画笔很快的画一个心形出来。
2、画出文字草图,考虑到只是一个草图,如果你觉得在纸上画更自在,你可以画好后再扫描到电脑上。
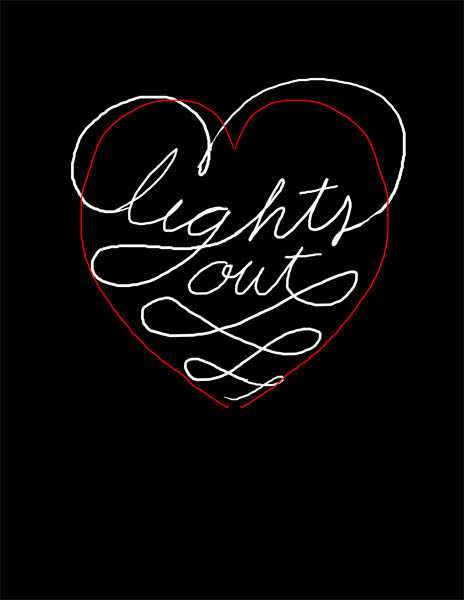
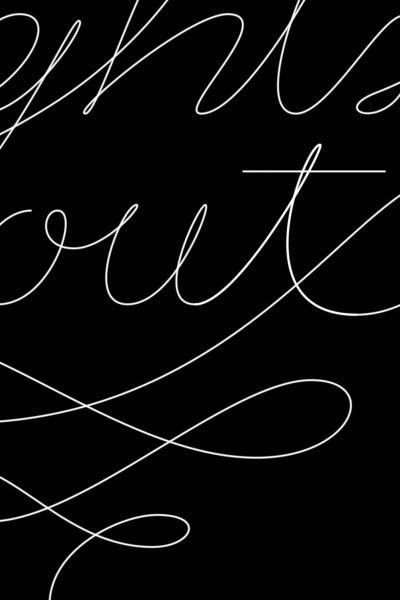
3、这一部很简单,用钢笔工具将你画的字 勾出来(原教程要在AI里执行,小编改编了一下~反正能做出来,就是王道,哇卡卡卡)。
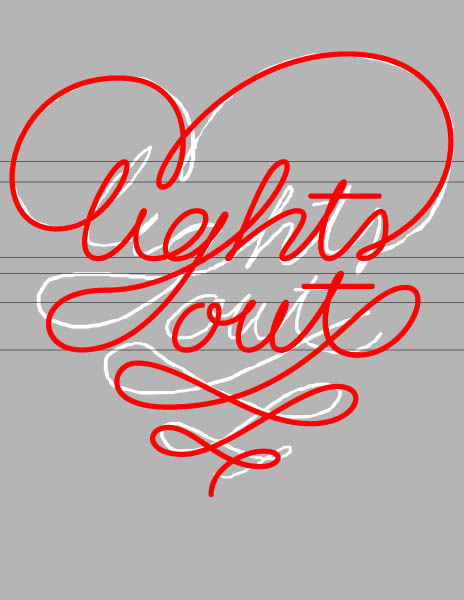
4、在路径通道里保存刚刚钢笔勾画出来的路径。
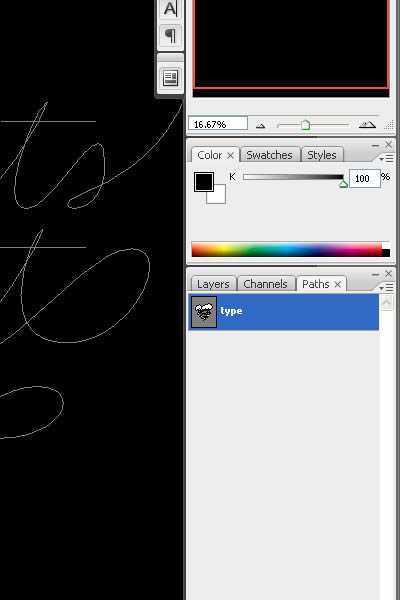
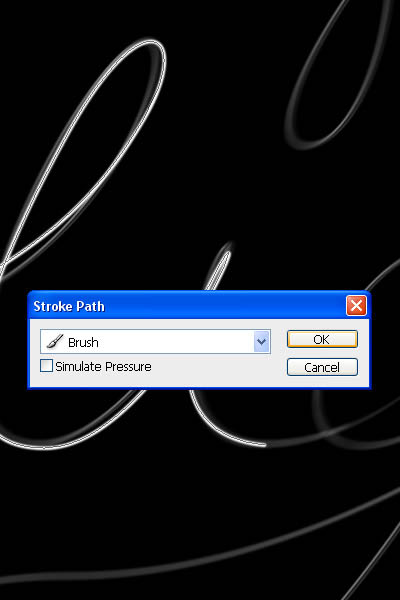
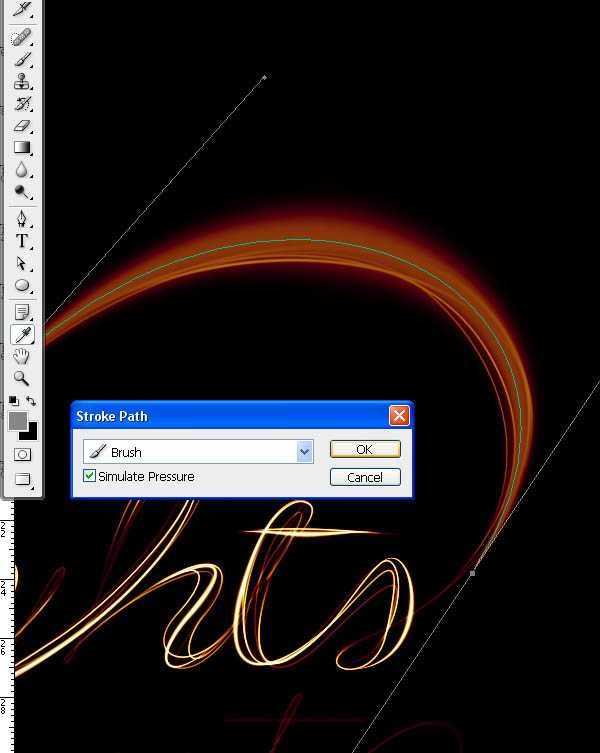
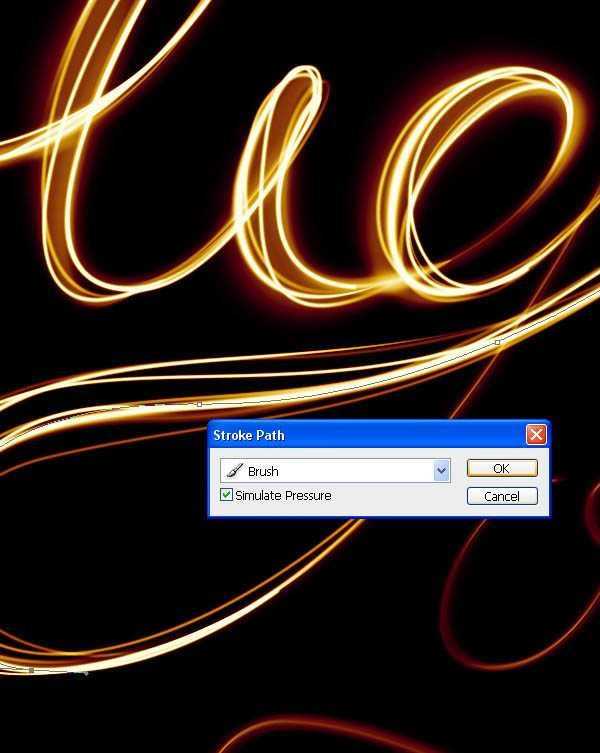
5、设置笔刷,软边,10像素,不透明度100%。回到钢笔工具,进行描边,无模拟压力。
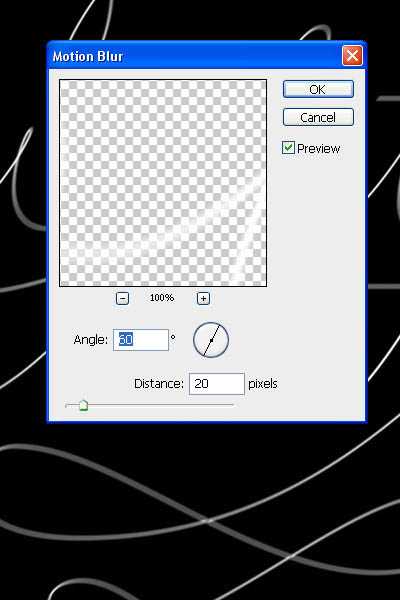
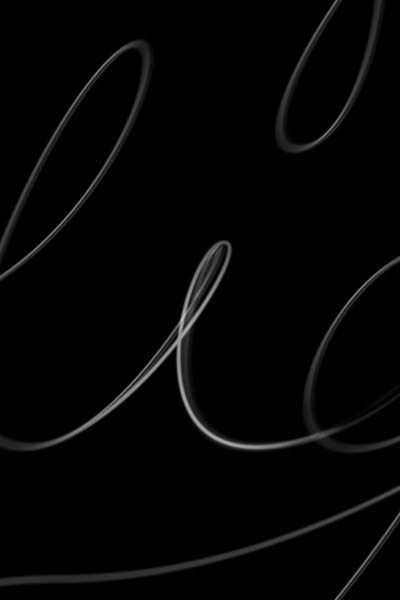
6、滤镜>模糊>动感模糊,60°,大小20。咱们点击确定。
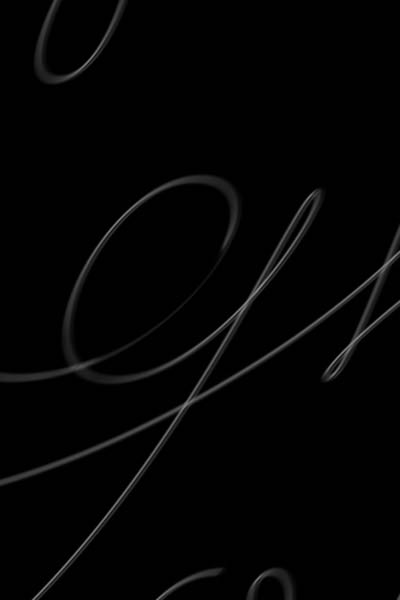
7、改变透明度到50%左右,添加蒙版,然后用黑色笔刷隐藏一部分。
8、在路径层里,找到你之前保存的路径,用钢笔工具稍作调整,大致的形状如下图所示哦。
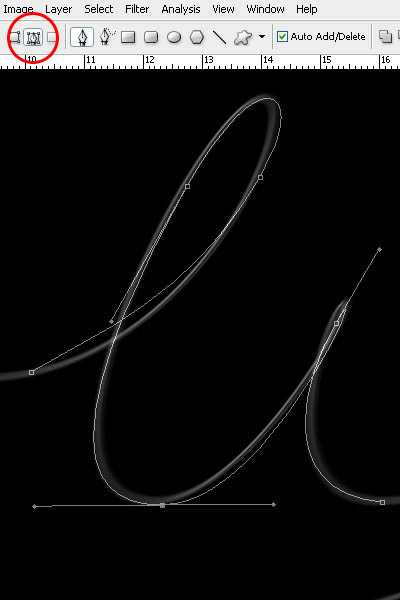
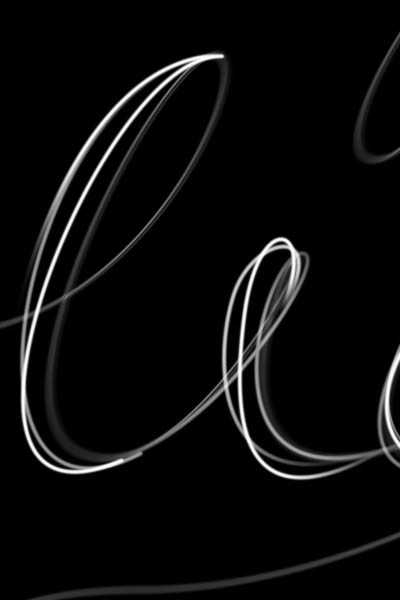
9、还是描边10px。为了让字效更逼真,我们要分别再描边5px、10px、15px,记得调整透明度,透明度也是不同的,效果参看第10步里的图。
10、添加蒙版,用黑色画笔隐藏这些线条的两端。
11、在原来的字线基础上,给其增加厚度感,线条的两端要细,效果如下图所示。

12、再画一条,尽量增厚每个字母的左边。因为这样可以留出字与字之间的间距哦。
13、记得要让每条线淡出,否则就不真实啦。
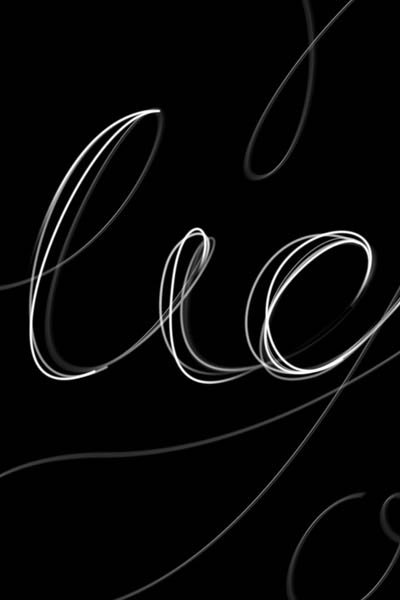
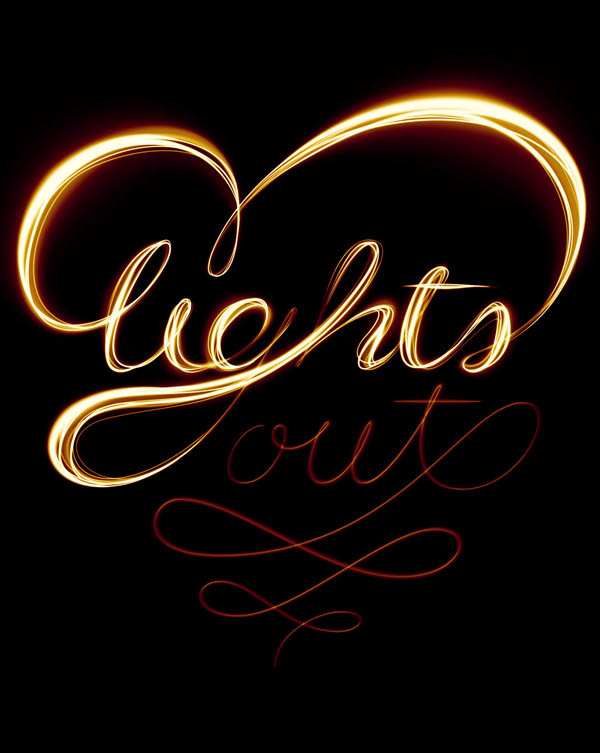
14、结果就是下图这样的。
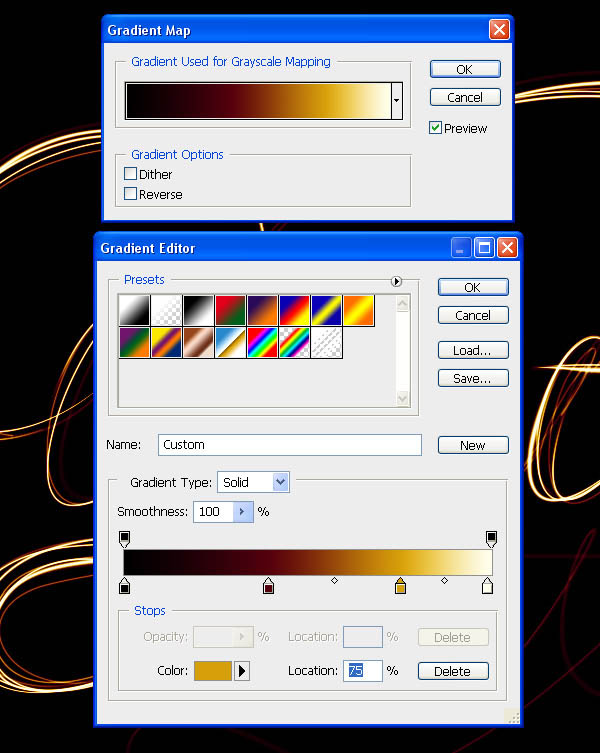
15、增加颜色: 现在呢~我们给所有的图层创建渐变映射调整图层(图层>新建调整图层>渐变映射)。颜色:#000000;#54000c;#d69f0a;#fffee9。
16、让渐变映射调整图层始终保持在最顶端。既然我们已经制作完了线条,现在就是我们给它加特效的时候的,也就是加高光! 重复之前的路径,但这次是100-200px,然后模拟压力。使用 50%的灰色 (#8c8c8c)。图层混合模式-滤色。
17、给文字所有加厚的部分添加高光。
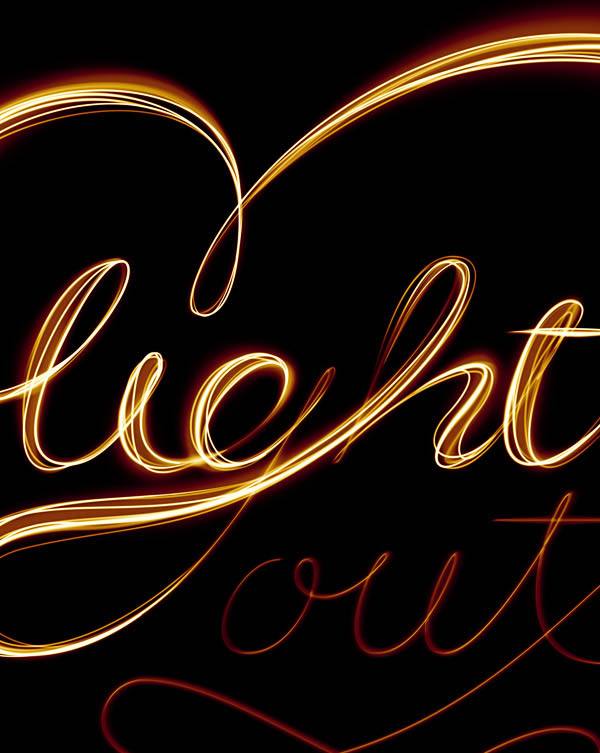
18、现在用白色来增加更多的更粗的线条,但是没有模拟压力哦,线条大概 在25-75px之间。
19、柔软的白色线条围绕文字,让它看上去更有厚感。
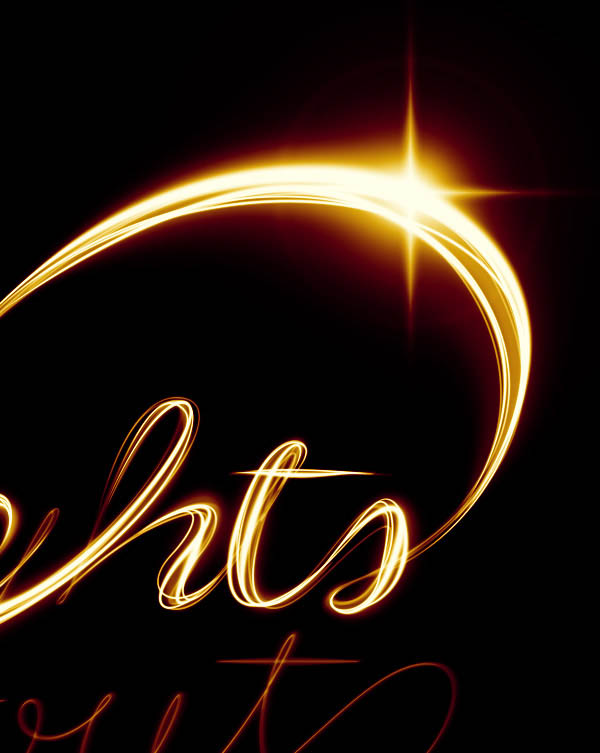
20、给文字增加光效: 使用flare image素材,放置进ps里 。改变光的角度,90°。图层混合模式-滤色。

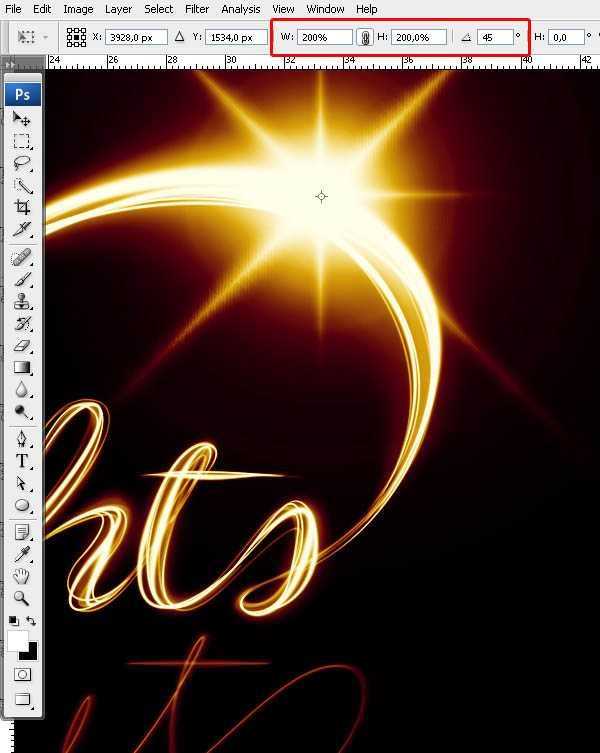
21、复制光效,然后改变大小,W:200%, H:200% ,角度:40°。
上一页12 下一页 阅读全文
最终效果
1、新建图层 W:42.5cm, H:59.4cm,300 dpi,CMYK。用画笔很快的画一个心形出来。
2、画出文字草图,考虑到只是一个草图,如果你觉得在纸上画更自在,你可以画好后再扫描到电脑上。
3、这一部很简单,用钢笔工具将你画的字 勾出来(原教程要在AI里执行,小编改编了一下~反正能做出来,就是王道,哇卡卡卡)。
4、在路径通道里保存刚刚钢笔勾画出来的路径。
5、设置笔刷,软边,10像素,不透明度100%。回到钢笔工具,进行描边,无模拟压力。
6、滤镜>模糊>动感模糊,60°,大小20。咱们点击确定。
7、改变透明度到50%左右,添加蒙版,然后用黑色笔刷隐藏一部分。
8、在路径层里,找到你之前保存的路径,用钢笔工具稍作调整,大致的形状如下图所示哦。
9、还是描边10px。为了让字效更逼真,我们要分别再描边5px、10px、15px,记得调整透明度,透明度也是不同的,效果参看第10步里的图。
10、添加蒙版,用黑色画笔隐藏这些线条的两端。
11、在原来的字线基础上,给其增加厚度感,线条的两端要细,效果如下图所示。
12、再画一条,尽量增厚每个字母的左边。因为这样可以留出字与字之间的间距哦。
13、记得要让每条线淡出,否则就不真实啦。
14、结果就是下图这样的。
15、增加颜色: 现在呢~我们给所有的图层创建渐变映射调整图层(图层>新建调整图层>渐变映射)。颜色:#000000;#54000c;#d69f0a;#fffee9。
16、让渐变映射调整图层始终保持在最顶端。既然我们已经制作完了线条,现在就是我们给它加特效的时候的,也就是加高光! 重复之前的路径,但这次是100-200px,然后模拟压力。使用 50%的灰色 (#8c8c8c)。图层混合模式-滤色。
17、给文字所有加厚的部分添加高光。
18、现在用白色来增加更多的更粗的线条,但是没有模拟压力哦,线条大概 在25-75px之间。
19、柔软的白色线条围绕文字,让它看上去更有厚感。
20、给文字增加光效: 使用flare image素材,放置进ps里 。改变光的角度,90°。图层混合模式-滤色。
21、复制光效,然后改变大小,W:200%, H:200% ,角度:40°。
上一页12 下一页 阅读全文